40791-1802
4
12
If the door of the safe starts to rub on the
door frame, open the door per the
instrucons above.
By the door hinges you will find a threaded
stem. Use an Allen Wrench to ghten the
threaded stem. This will realign the door.
MAINTENANCE
Tools Required:
Phillips screwdriver
5mm Allen wrench
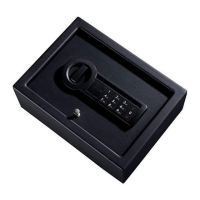
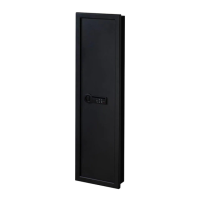
WALL MOUNTING
(FOR MODEL PDS-1805-E ONLY)
TIP: A securely fastened cleat (A) mounted level
and at the appropriate height will aid in
mounng the safe.
The hardware used may vary depending on
the type of wall and spacing of wall supports.
The safe must be fastened to the wall stud in
two locaons on one side and to the wall
using the wall anchors and the 1” long
fasteners on the other side.
The safe must be mounted flush to the wall.
It is important that the safe is securely
fastened to the wall and wall stud, as
described above. These units are heavy and
could cause serious injury if the unit falls from
any height off the ground.
NOTE: The safe must be secured to the wall
stud on one side of the safe in the top and
boom holes in the back of the safe so that it is
anchored to the wall stud in two locaons.
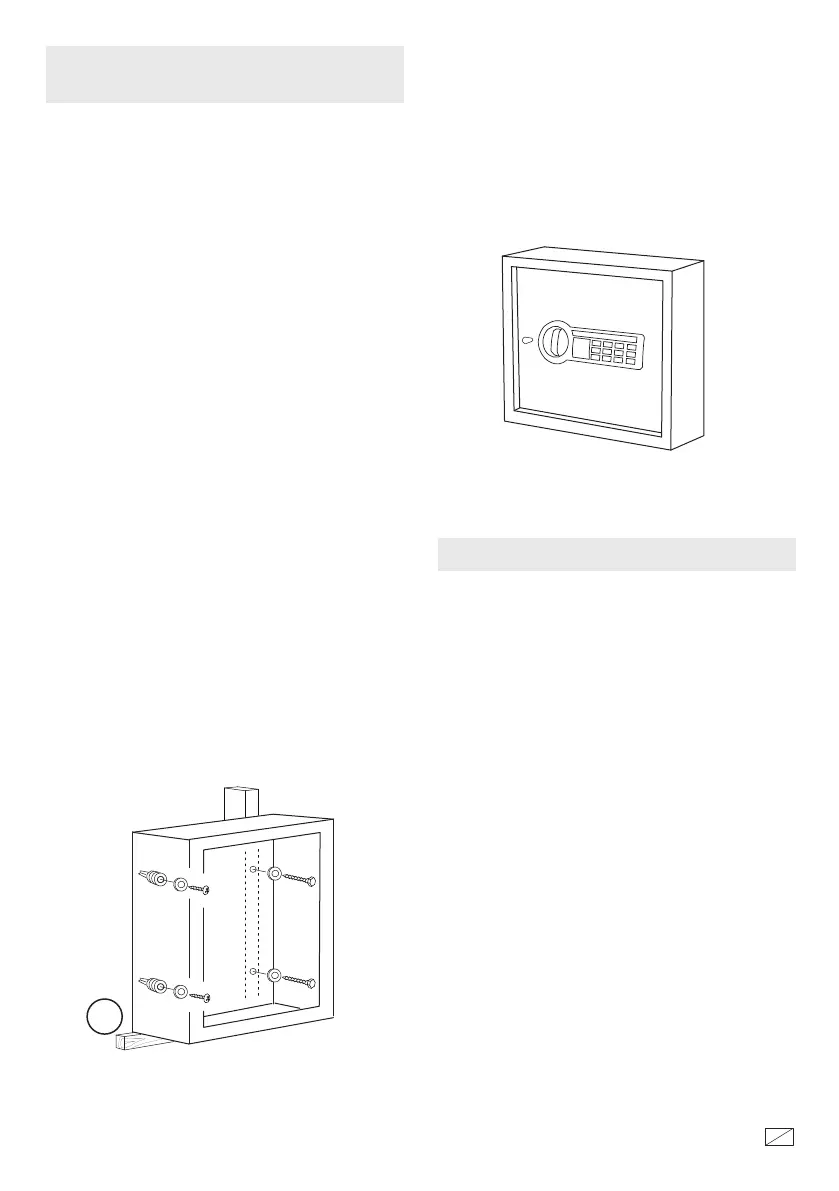
The wall anchors and the 1” long fasteners
should be used on the other side. Mark the
locaon of the mounng hole on the wall and
screw the anchor into the drywall unl the
head of the anchor is flush with the wall. Use
the 1” long screw to aach the safe to the
drywall anchors. (Figure 2)
A
NOTE ON LOCKING THE SAFE: When the safe is
mounted to a wall, it needs to be in an upright
posion, as shown in figure 3, for the locking
mechanism to funcon properly. Failure to
mount the safe in the correct upright posion
will compromise the safety and security
of the safe.
IMPORTANT
Keep keys and your combinaon number in a
secure place, away from children. Keep this
record of your serial number and combinaon
in a secure place separate from your safe. To
order a replacement key set, follow the
instrucons on the aached form.
FIGURE 2
FIGURE 3
STACK-ON PRODUCTS CO.
P.O. BOX 489, WAUCONDA, IL 60084
© 2018
STACK-ON PRODUCTS
 Loading...