40828-1806
5
14
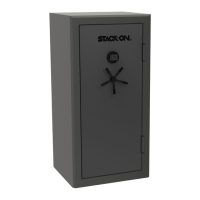
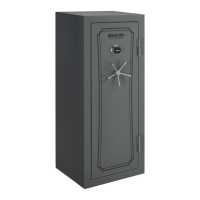
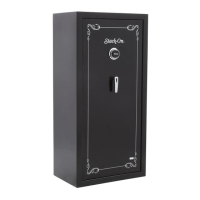
SECURING THE SAFE
IMPORTANT: When you drill out the fire
resistant caulking from the mounng holes,
you must mount the safe to the floor using the
lag bolts and gasket washers. Failure to do so
will void the fire rang and waterproof rang.
The safe must be fastened to the floor using
the lag bolts and gasket washers provided
with this safe to insure the waterproof
rang. Failure to do so will void the
waterproof rang.
IMPORTANT: You must remove the safe from
the skid/legs and place the safe on the floor.
Failure to do so will void the fire and
waterproof rangs.
WARNING: Because this safe is
waterproof it will float if not
secured. As the water level rises,
the safe will begin to float and could
fall over causing personal injury.
Place the safe in the desired locaon. When your
safe is open, li the carpeng up and locate the
mounng hole bushings. These bushings are
filled with fire resistant caulking which must be
drilled out before mounng the safe to the floor.
Use a 3/8" diameter drill bit to drill out this
caulking. Connue to use this drill to mark the
hole locaon on the floor. Move the safe away.
Drill pilot holes in the floor as follows: For a
wood floor drill 5/16" diameter x 2-1/2"
deep pilot holes. For a masonry floor drill 7/16"
diameter x 2-1/2" deep pilot holes for
the anchors.
Reposion the safe and secure the safe with
the lag bolts and gasket washers. Replace
the carpeng.
NOTE: This safe must be secured to the floor.
Use the hardware provided.
NOTE: This safe must be mounted to the floor.
Failure to do so will compromise the safety and
security of the safe.
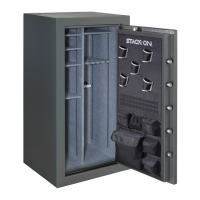
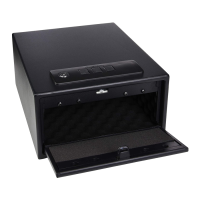
SHELVES
GUN REST INSTALLATION
The shelves can be installed by locang the shelf
clips to the desired locaon and seng the
shelf in place.
Gun rests are pre-installed with (4) L brackets
using (2) screws for each bracket. The gun rest
should be permanently secured to avoid shiing
when accessing your guns.
Gun rests can be adjusted by removing the
L brackets and securing them at a different
height locaon. See Figures 1 and 2 below, for
reaaching the brackets. The gun rest should be
level aer assembly.
Image does not
necessarily
reflect the
configuraon of
your safe.
1
2
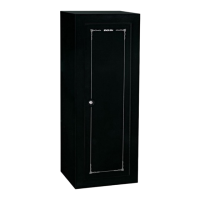
DOOR ORGANIZER ACCESSORIES
Your door organizer provides a variety of storage
opons for your supplies.
Note: Make sure the door accessories do not
interfere with items in the safe or when closing
the safe door.
1
2