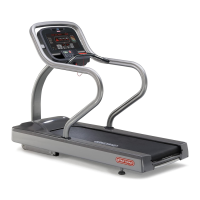
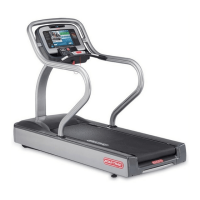
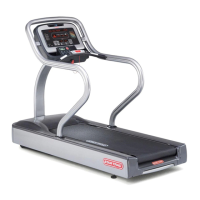
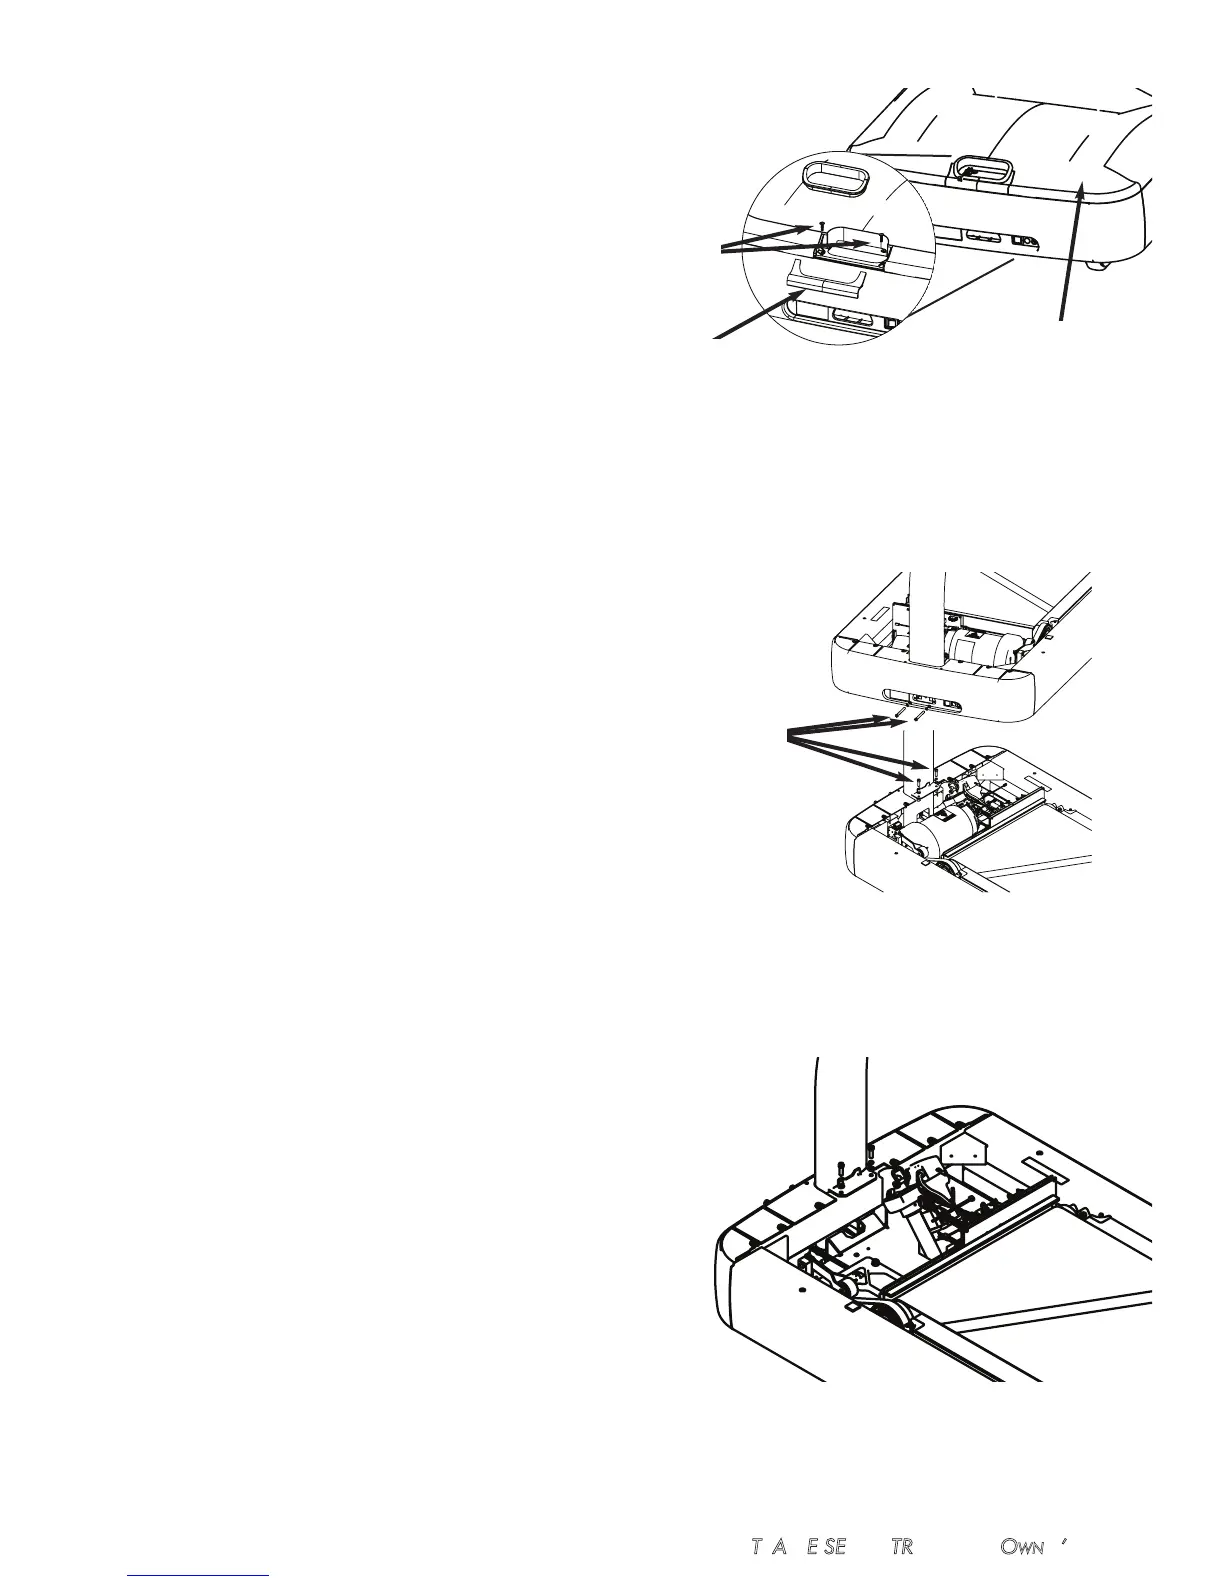
2. Installing the Neck
2a) Pop out the Front Motor Shroud Cap from the Motor
Shroud and remove the Neck Grommet and set it aside.
2b) Remove the Motor Shroud by removing the (2) #10 Truss
head screws.
2c) Insert neck as shown and fasten with (2) 5/16-18 x 3.0”, (2)
5/16-18 x 1.0” socket head screws, (4) 5/16 washers and
(4) lock washers. DO NOT fully tighten yet.
2d) Route all cables through lower neck service opening into
motor compartment. Refer to CONNECTING THE
CABLES for cable routing and connection.
12 STAR TRAC E SERIES TREADMILL OWNER’S MANUAL
Step 2a & 2b
Step 2c
Step 2d
Screws
Motor Shroud
Screws
Motor Shroud
Cap