Preparation | 11 10 | Preparation
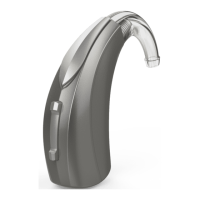
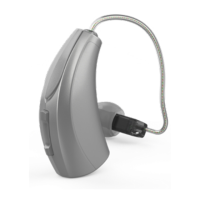
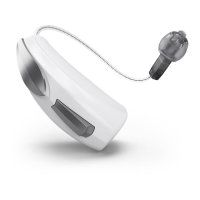
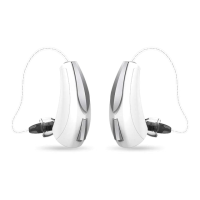
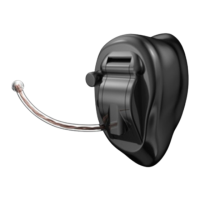
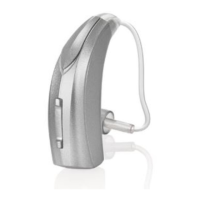
Insertion and Removal
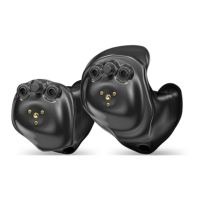
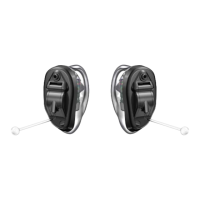
To insert the custom earmold and hearing aid:
1. Hold the custom earmold with your thumb and
forefi nger on the outer side near the tubing.
2. Tilt your hand slightly forward and gently insert
the canal tip of the custom earmold into your
ear canal.
3. Rotate the custom earmold backward.
4. Softly press the custom earmold into place with
your fi ngertip.
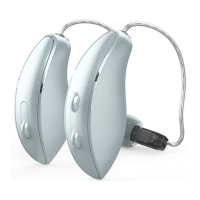
5. Carefully place the rechargeable BTE behind
your ear wrapping the earhook over the top
of your ear.
To remove the hearing aid and custom earmold:
Take the hearing aid from behind your ear and
gently pull the custom earmold outward. Pulling lightly
down on the earlobe may help loosen the custom
earmold as it is removed.
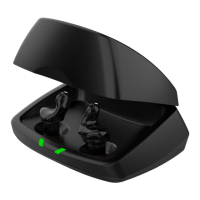
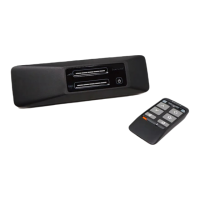
Charger On-Board
Battery LEDs
• When charger is
plugged in and fully
charged = 4 solid LEDs
will appear
• When charging without
the cord the LEDs will turn off after 10 seconds
• To refresh LEDs, remove a hearing aid from
the charging port for three seconds and then
replace it in the charger (refresh lasts 10
seconds only – then LEDs will turn off again)
– 4 Solid > 75%
– 3 Solid < 75%
– 2 Solid < 50%
– 1 Solid < 25%
– 1 Blinking = Charge Low
• While charging the on-board battery with
the provided cord, the 4 LEDs will be:
– Glowing while charging
– Solid when charged