Preparation | 9 8 | Preparation
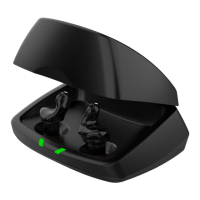
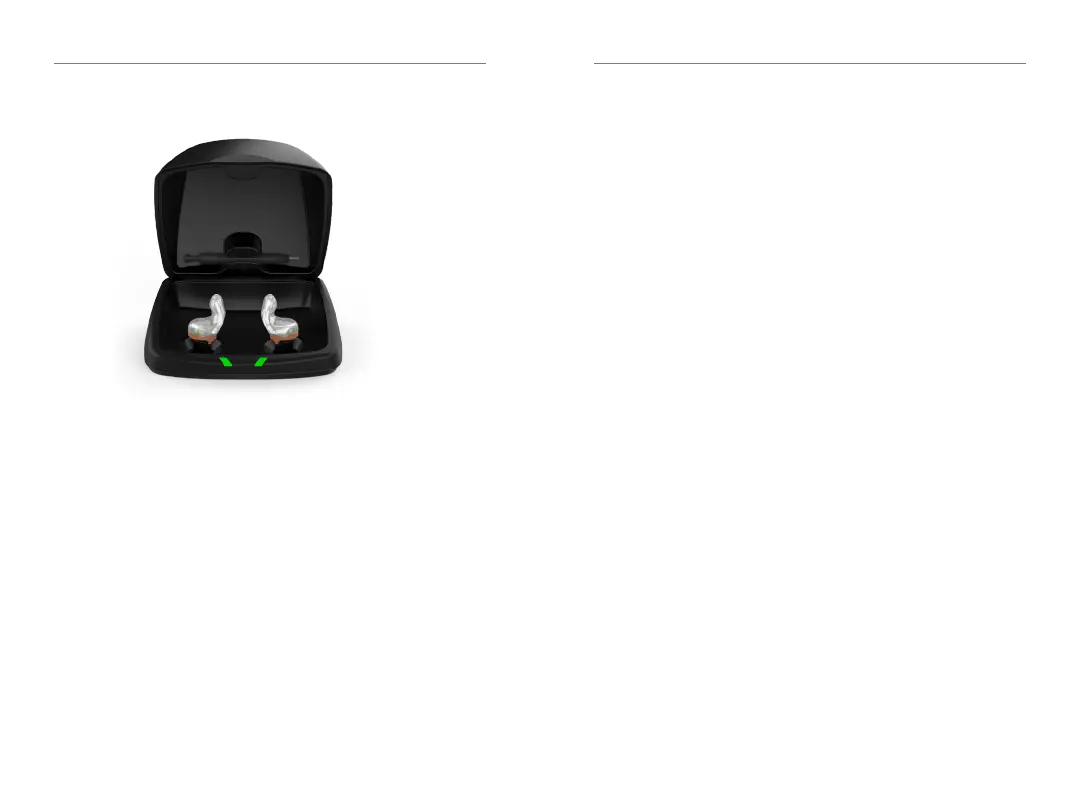
Charging Your Hearing Aids
• Place your hearing aids in the charger with the
charging contacts touching the charging posts
• Your hearing aids will turn off automatically
and begin to charge
• Note: The LEDs corresponding to each
hearing aid:
– Glowing Green = Charging
– Solid Green = Fully Charged *
– Blinking Red = Fault State – Remove from
charger, wait until LED turns off and re-insert
aids� If Fault State continues, call your hearing
professional�
* If you are charging without cord, the LEDs will turn off when charged, to save battery.
**Not all devices are configured to do this. Consult your hearing professional with questions.
• Charging occurs with the lid open or closed
• Your hearing aids will be completely charged in
under 3 ½ hours
• It is safe to keep them in the charger after they
are fully charged and any time that you are not
wearing them
• If you will not be wearing your hearing aids for an
extended period of time (i�e�, weeks) remove the
plug from the charger and the hearing aids from
the charging posts� You will need to manually
power the hearing aids off by pressing the push
button for three seconds
**
� You may store them in
the reservoir
• Your hearing aids will automatically power on
when removed from the charger
• When charging without the charger cord the
LEDs will turn off when the hearing aids are
fully charged
• To refresh LEDs when the charger is not plugged
in, remove a hearing aid from the charging posts
for three seconds and then replace it in the
charger (refresh lasts 10 seconds only – then LEDs
will turn off again)