Preparation | 11 10 | Preparation
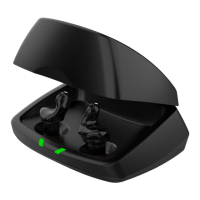
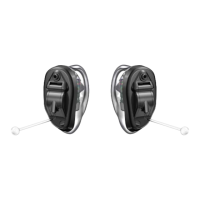
Charger On-Board Battery LEDs
• When charger is plugged in and fully charged =
4 solid LEDs will appear
• When charging without the cord the LEDs will
turn off after 10 seconds
• To refresh LEDs, remove a hearing aid from the
charging post for three seconds and then replace
it in the charger (refresh lasts 10 seconds only –
then LEDs will turn off again)
• 4 Solid > 75%
• 3 Solid < 75%
• 2 Solid < 50%
• 1 Solid < 25%
• 1 Blinking = Charge Low
• While charging the on-board battery with the
provided cord, the 4 LEDs will be:
• Glowing while charging
• Solid when charged
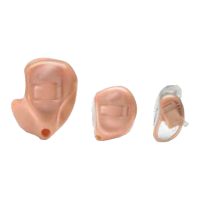
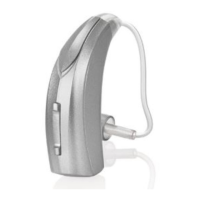
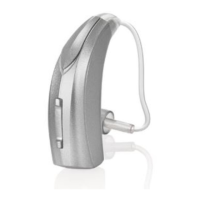
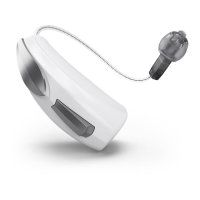
Insertion and Removal
To insert the hearing aid:
1� Hold the hearing aid with
your thumb and forefinger
on the outer edges of the
case�
2� Tilt your hand slightly forward
and gently insert the canal tip
of the hearing aid into your
ear canal and rotate the
hearing aid backward� Softly
press the hearing aid into
place with your fingertip�
To remove the hearing aid:
Grasp the hearing aid with your
thumb and forefinger; gently rotate
it as you pull outward�
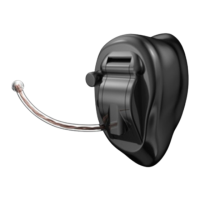
For hearing aids with removal handle: grasp removal
handle and gently remove from ear�
1
2