749.1 User Guide 3 Ver 1.0
The L. S. Starrett Company 6/8/2023
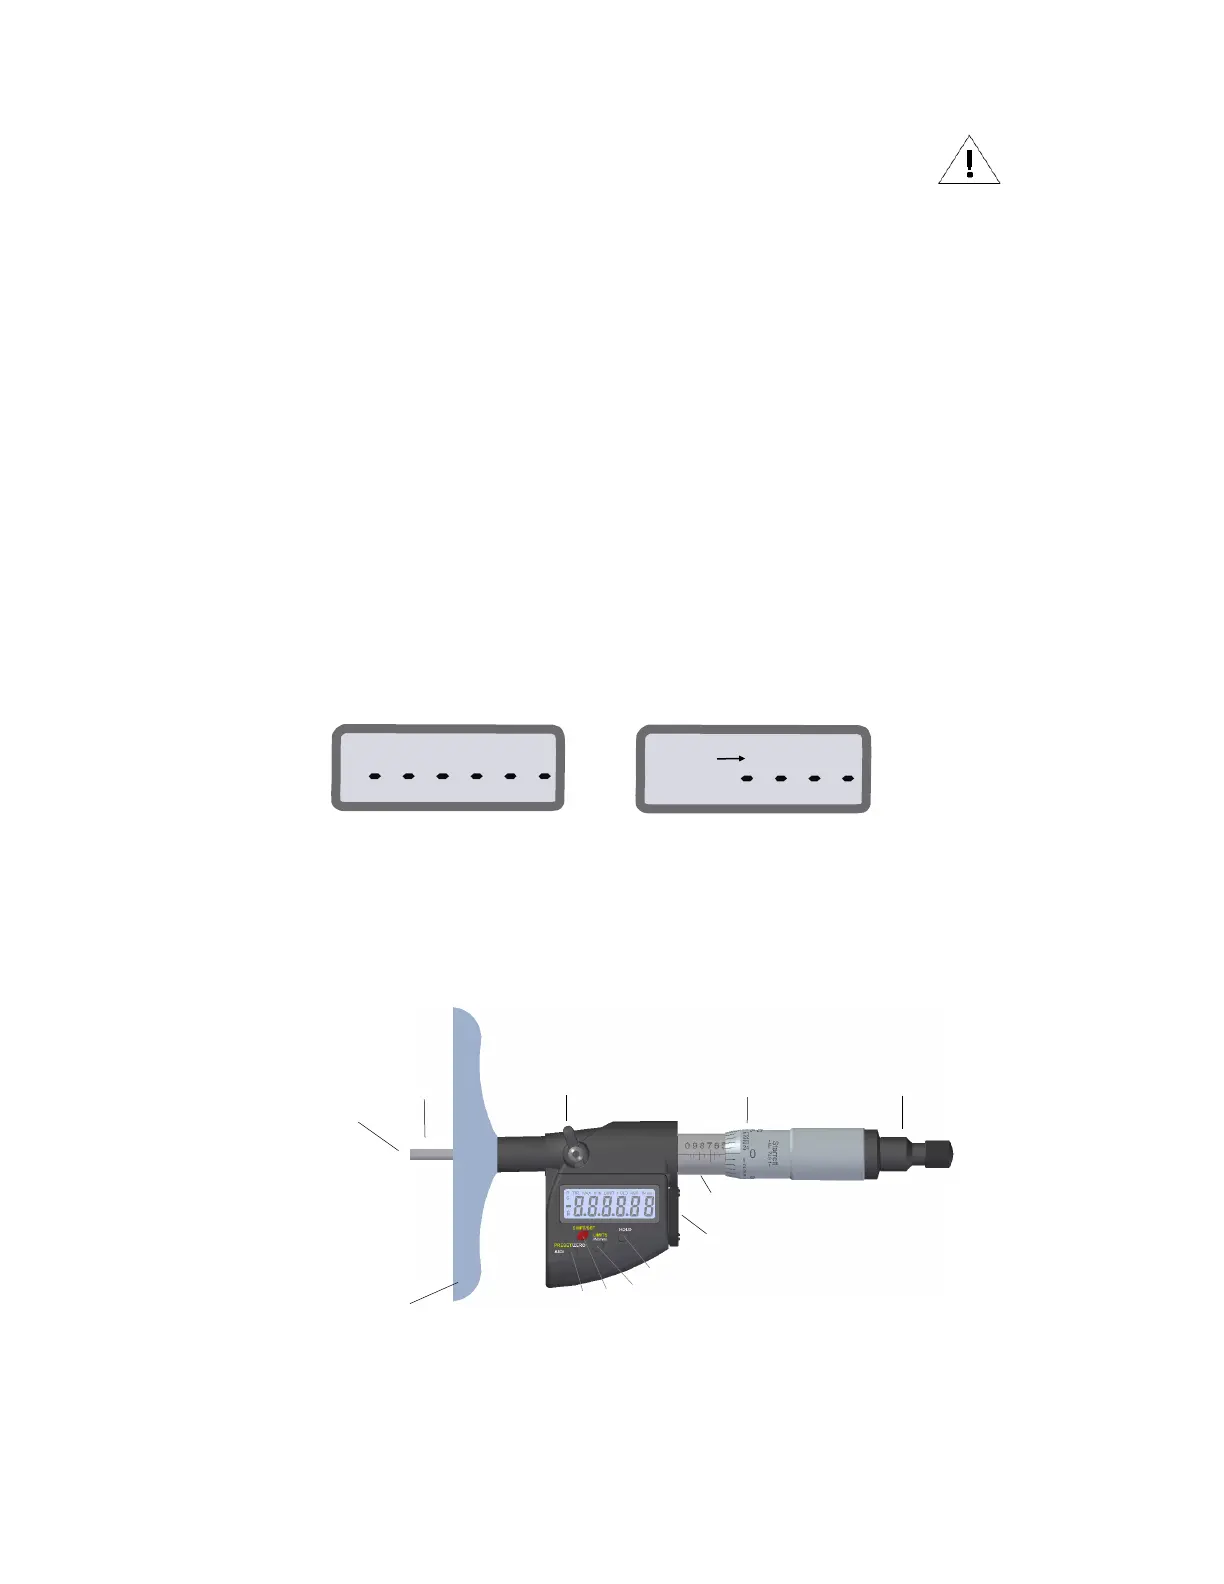
Fig.1A
Fig.1B
Section 1 General Information
1.0 Caution
• Avoid extreme temperatures, direct sunlight or below freezing for extended periods.
• Avoid dropping the Depth Micrometer. Avoid shocks to the Rod. Frequently clean the face using a dry cloth or a chamois.
• Isopropyl alcohol may be used to remove gummy deposits on metallic parts, but do not use strong solvents.
• Do not apply any type of lubricant to the Rod.
• Do not use aggressive solvents to clean the plastic components.
• Avoid any disassembly or modification of the Depth Micrometer other than changing the Rods .
• Avoid using anything that might damage the buttons when pressing the buttons.
• It is important to wipe the Depth Micrometer with a lint-free cloth after exposure to moisture.
• Do not mark the tool with an electric marking pen as this may damage the tool.
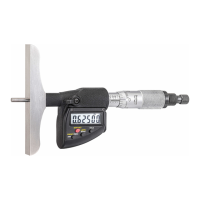
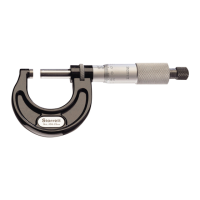
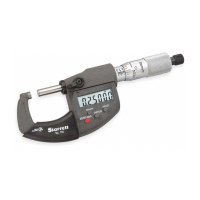
1.2 Components
1
2
3
4
8
7
6
5
1. Measuring face 5. Ratchet (Friction Thimble) 9. Limits - Inch/mm Button
2. Rod 6. Base 10. Hold Button
3. Spindle lock 7. Preset/Zero-ABS Button 11. Data Port
4. Graduated Thimble 8. Shift/Set Button 12. Graduated Sleeve
Fig.2, 749.1BZ-12RL
9
10
11
12
1.1 Basic Operating Instructions
• Turn on your tool by either pressing one of the buttons or moving the thimble.
• Lightly clean the contact point.
• If applicable, pick the unit of measure, inch or millimeter by pressing the IN/mm button.
• Zero Sequence: When you press the Zero / ABS button the display will show a dashed line as seen in (Fig.1A). The dashed
line will incrementally disappear from left to right (Fig.1B); Make sure not to move the thimble during this time. This is a visual
reminder to wait for the tool to zero out. This will happen each time the tool is zeroed, and takes less than a second.
• Move the Micrometer head all the way out to zero and then zero the tool with a quick press on the Zero / ABS Button.
• Check the rod, a (0”-1”) rod will be flush with the base when the micrometer head is moved to zero. A (1”-2”) rod will extend 1”
from the base at zero. Check the rod length from the base with a gage block on a surface plate.
Example: When using a 2”-3” rod, a 2” gage block would be used.
• The Micrometer will automatically enter sleep mode in 20 minutes, if left unattended.