749.1 User Guide 7 Ver 1.0
The L. S. Starrett Company 6/8/2023
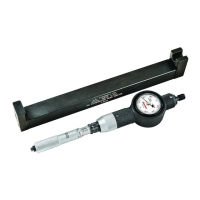
Fig.3
2.1 Setting the Limits (Tolerance)
1. Select the units to be displayed.
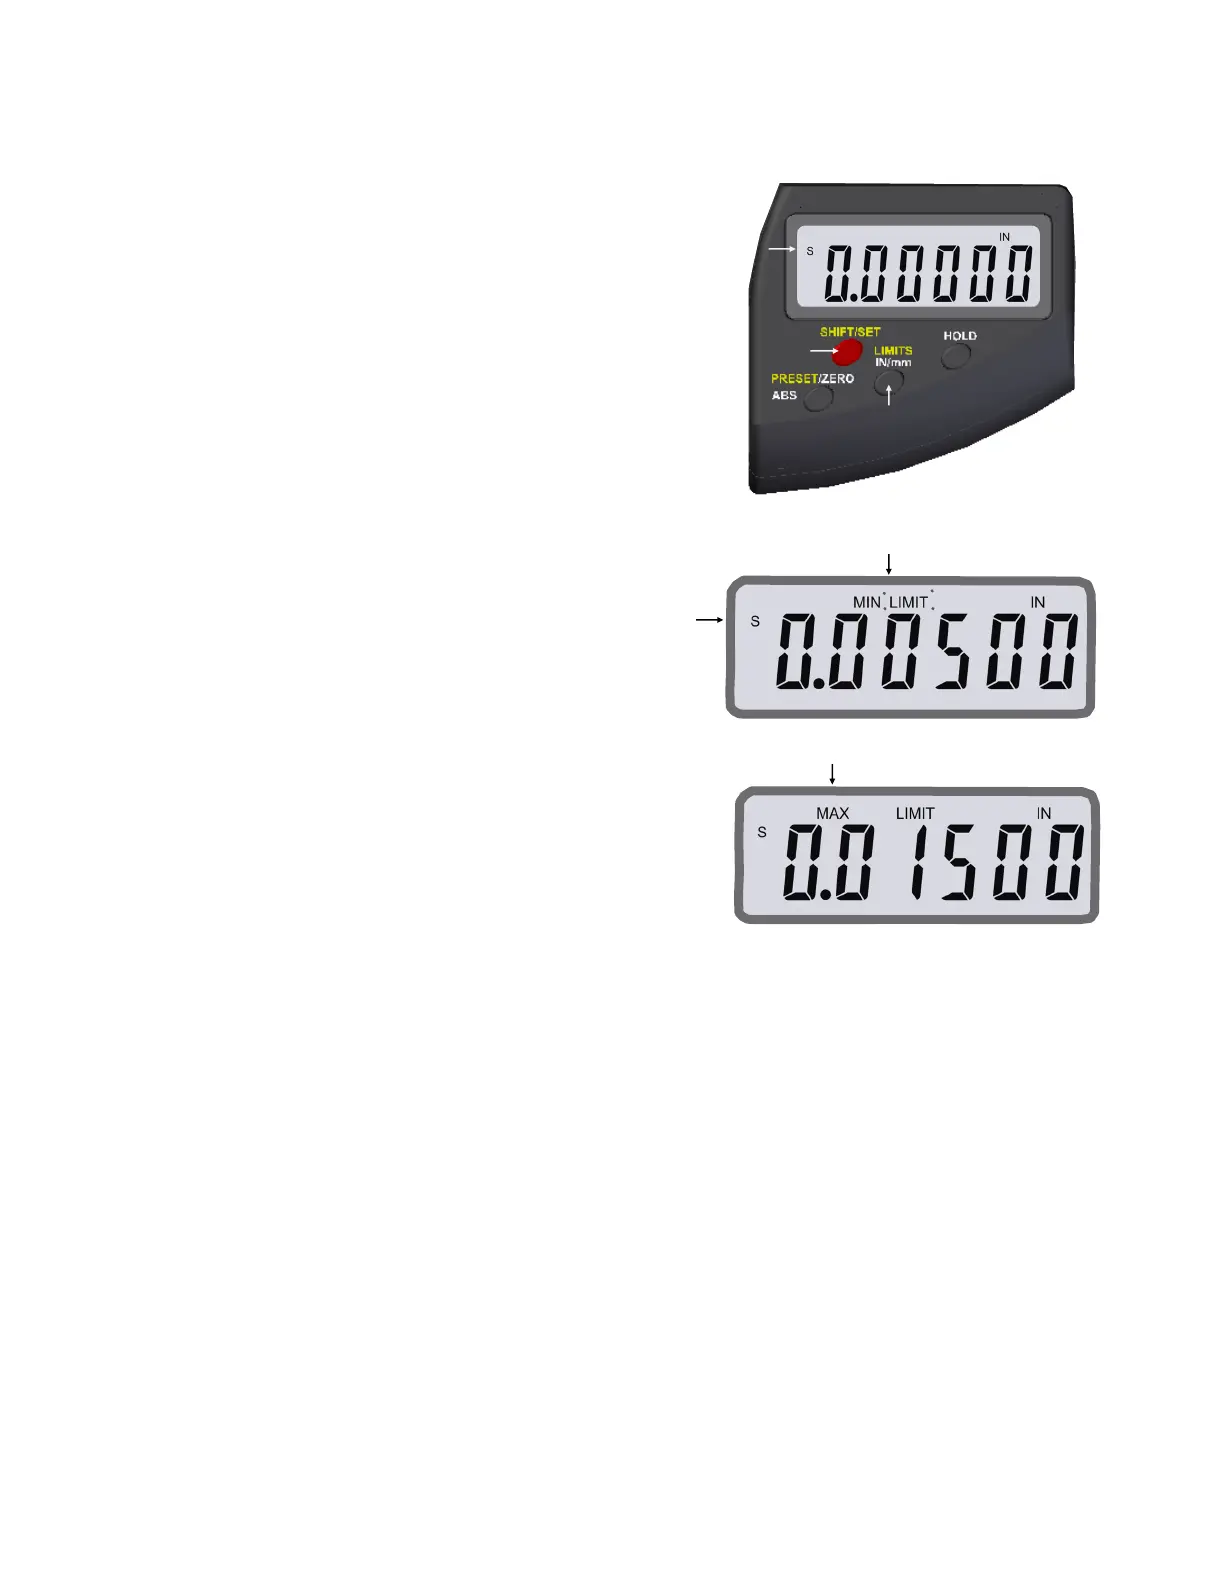
2. Push the SHIFT/SET button to get into the secondary button
functions, an “S” will show on the top Left of the display, Fig.9.
3. Press the LIMITS button. The MIN LIMIT icon (MIN LIM) will appear in the
upper middle of the display, Fig.10.
4. Press the SHIFT/SET button. The LIMIT icon will flash on/off.
5. Adjust the tool using a gage block or reference surface to the desired
minimum value or tolerance.
6. Press the SHIFT/SET button to capture the minimum value. The LIMIT
icon will stop flashing.
7. Press the LIMITS button. The MAX LIMIT icon will appear in the top
middle of the display, see Fig.11.
8. Press the SHIFT/SET button. The LIMIT icon will flash on/off.
9. Adjust the tool using a gage block or reference surface to the desired
maximum value or tolerance.
10. Press the SHIFT/SET button to capture the maximum value.
The LIMIT icon will stop flashing.
11. Press the LIMITS button to use the function.
The display will flash unless the reading is within the range
that you set your limits to. The SET icon will remain on. The MAX and
MIN icons will stay off as long as the reading is
within the set limits. If the measurement is beyond the set limits, the
display will flash and the MIN or MAX LIMIT
icon will indicate the direction the limit has been exceeded.
To exit Press the LIMITS button.
Fig.9
Fig.10
Fig.11