22
To view manuals, videos, drivers, downloads, technical drawings, and more visit www.startech.com/support
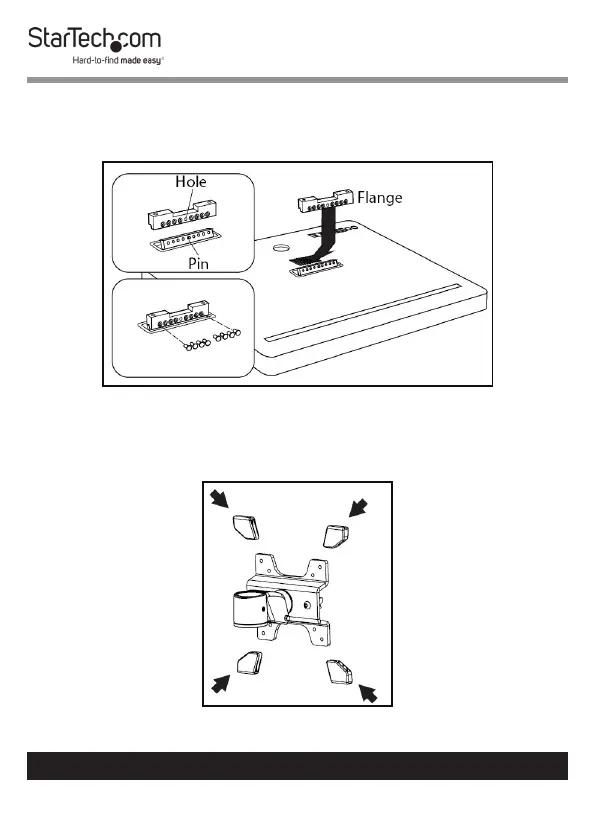
10. Re-insert the eight screws through the Flange.
11. Using the Torx Key tighten the eight screws, being careful
not to over-tighten.
Installing the Flange
12. Slide the Plastic Caps (x 4) over the ends of the Monitor
Mount, to protect the surface of the iMac Monitor.
Installing the Plastic Caps