6932200010
24
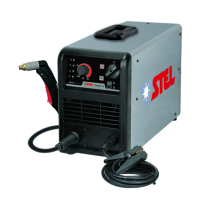
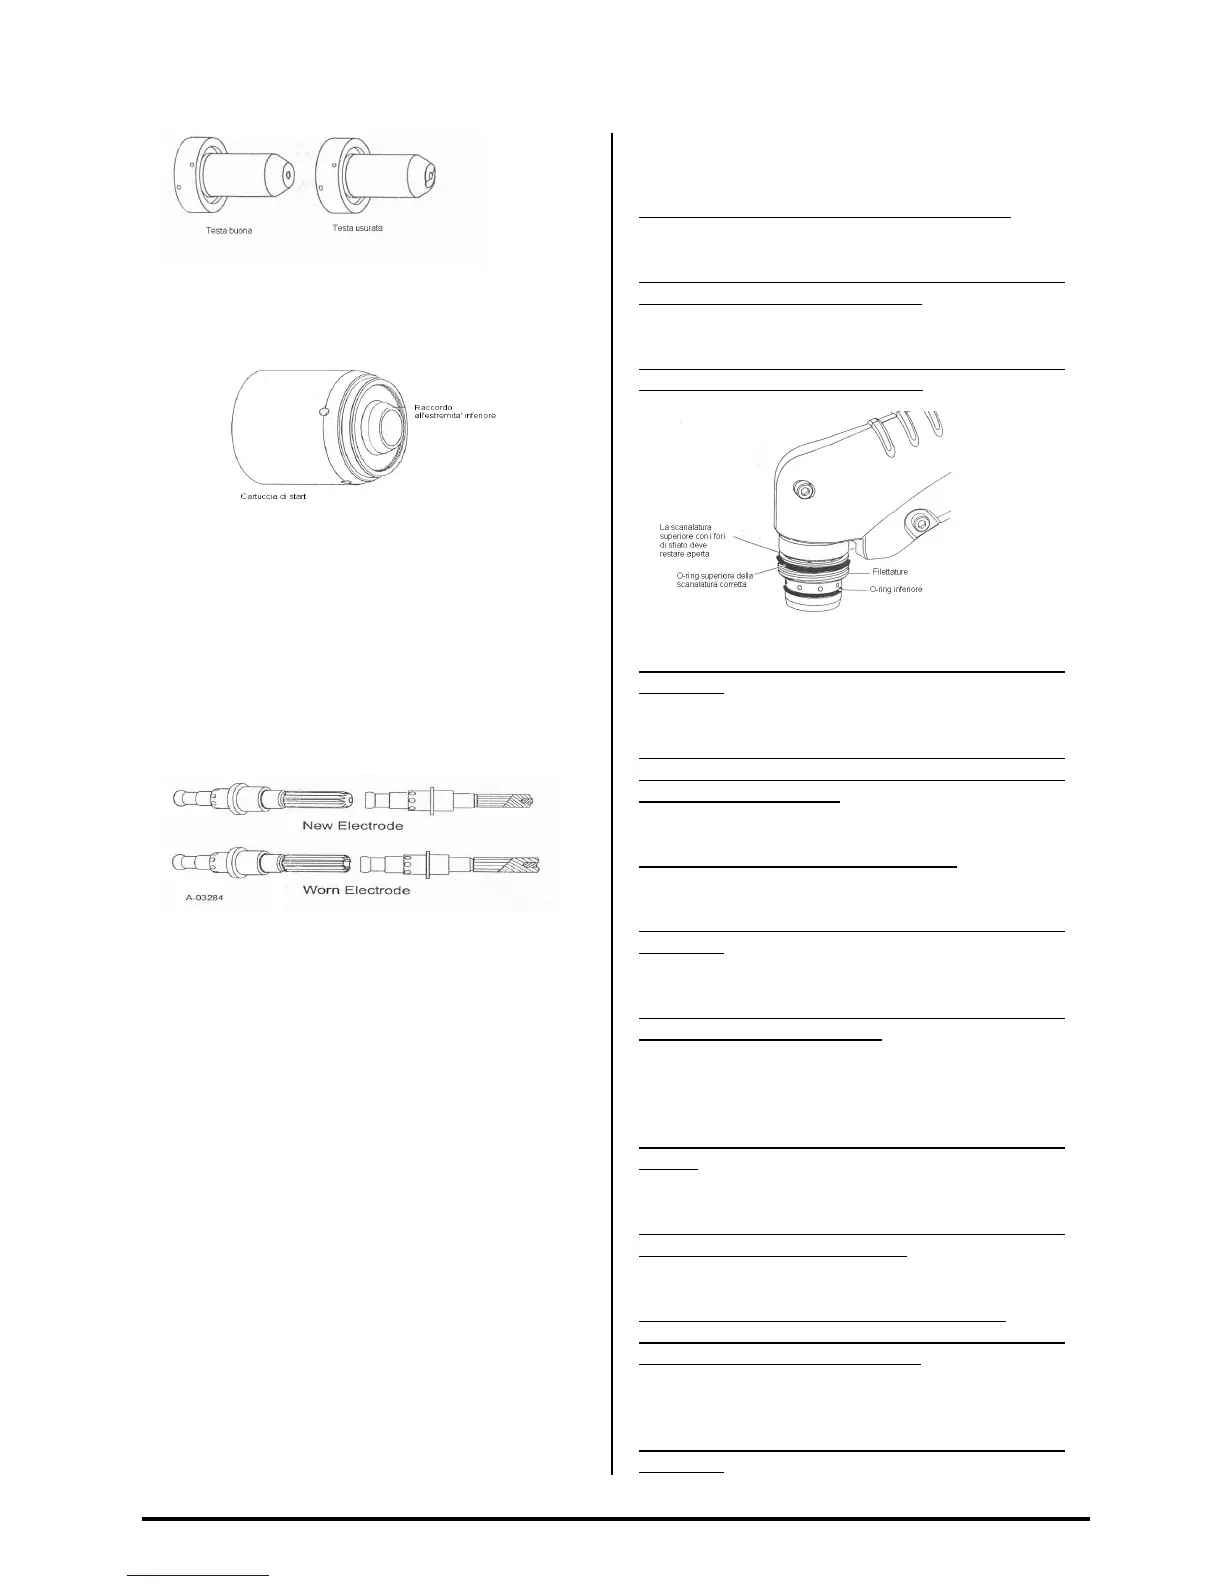
4. Remove the starter cartridge. Check for
excessive wear plugged gas holes, or
discolouration. Check the lower end fittings for free
motion. Replace if necessary.
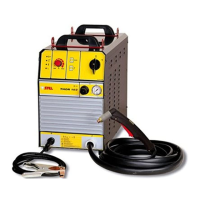
5. Pull the electrode straight out of the torch head.
Check the face of the electrode for excessive
wear. Refer to the following figure.
6. Re-install the electrode by pushing it straight
into the torch head until it clicks.
7. Re-install the desired starter cartridge and tip
into the torch head
8. Hand tighten the shield cup until it is seated on
the the torch head. If resistance is felt when
installing the cup, check the threads before
proceeding.
GUIDE FOR THE FAULTS and SOLUTIONS
This subsection covers troubleshooting that
requires disassembly and electronic
measurements. It is helpful for solving many of the
common problems that can arise with this torch
assembly.
- HOW TO USE THIS GUIDE
The following information is a guide to help the
customer / operator determine the most likely
causes for various symptoms.
This guide is set up as follows:
X. symptom (bold type)
Any special instruction (text type)
1. Cause (italic type))
a. Check/remedy (text type/underlined)
Locate your symptom, check the causes (easiest
listed first) then remedies. Repair as needed being
sure to verify that unit is fully operational after any
repairs.
- Troubleshooting
- A. torch will not pilot when switch is
activated
1.red led always on.
a. Check that shield cup is properly installed.
2.Upper O-ring on torch head is in wrong position.
a. Remove shield cup from torch; check position of
upper O-ring. Correct if necessary.
3.Upper o-ring on torch head is in wrong position.
a. Remove shield cup from torch; check position of
upper o-ring. Correct if necessary.
4. faulty torch switch or torch security
a. Check torch or security torch switch for
continuity.
5.faulty torch parts
a. inspect torch parts and replace if necessary.
Refer to section 5.04.inspection and replacement
consumable torch parts.
6 gas preassure too low
a. set proper operating gas preassure.
7. Faulty components in torch and leads assembly
a. Inspect torch assemblies and replace if
necessary
8. Faulty components in power supply
a. Return for repair or have qualified technician
repair as per service manual.
B. No cutting output
1. torch not properly connect to the system
a. Check that torch wires are properly attached to
system
2. shield cup not properly installed on torch
a. Check that shield cup is fully seated against
torch head ( do not over tighten)
3. Security thermic protection or faulty torch switch
a. Check that shield cup is properly installed
b. Check switch – in hand torch handle or in
machine torch head for continuity.
4. faulty components in torch assemblies and
replace if necessary
a. inspect torch assemblies and replace if
necessary