10
At the same time, the reference for the machine zero point is initialized (above example for STEPCRAFT-2/300).
The X-axis and the Z-axis will be initialized with 0, the Y-axis with the possible traverse distance.
Notice: The actual machine zero point is (front view) left (X), front (Y), top (Z). Notice that the reference switch for
the Y-axis is at the rear but the machine zero point for the Y-axis is at the front. This explains why all axes except
the Y-axis will be set to zero after initialization.
The reference run is to be carried out regularly after turning on the machine and before starting to work.
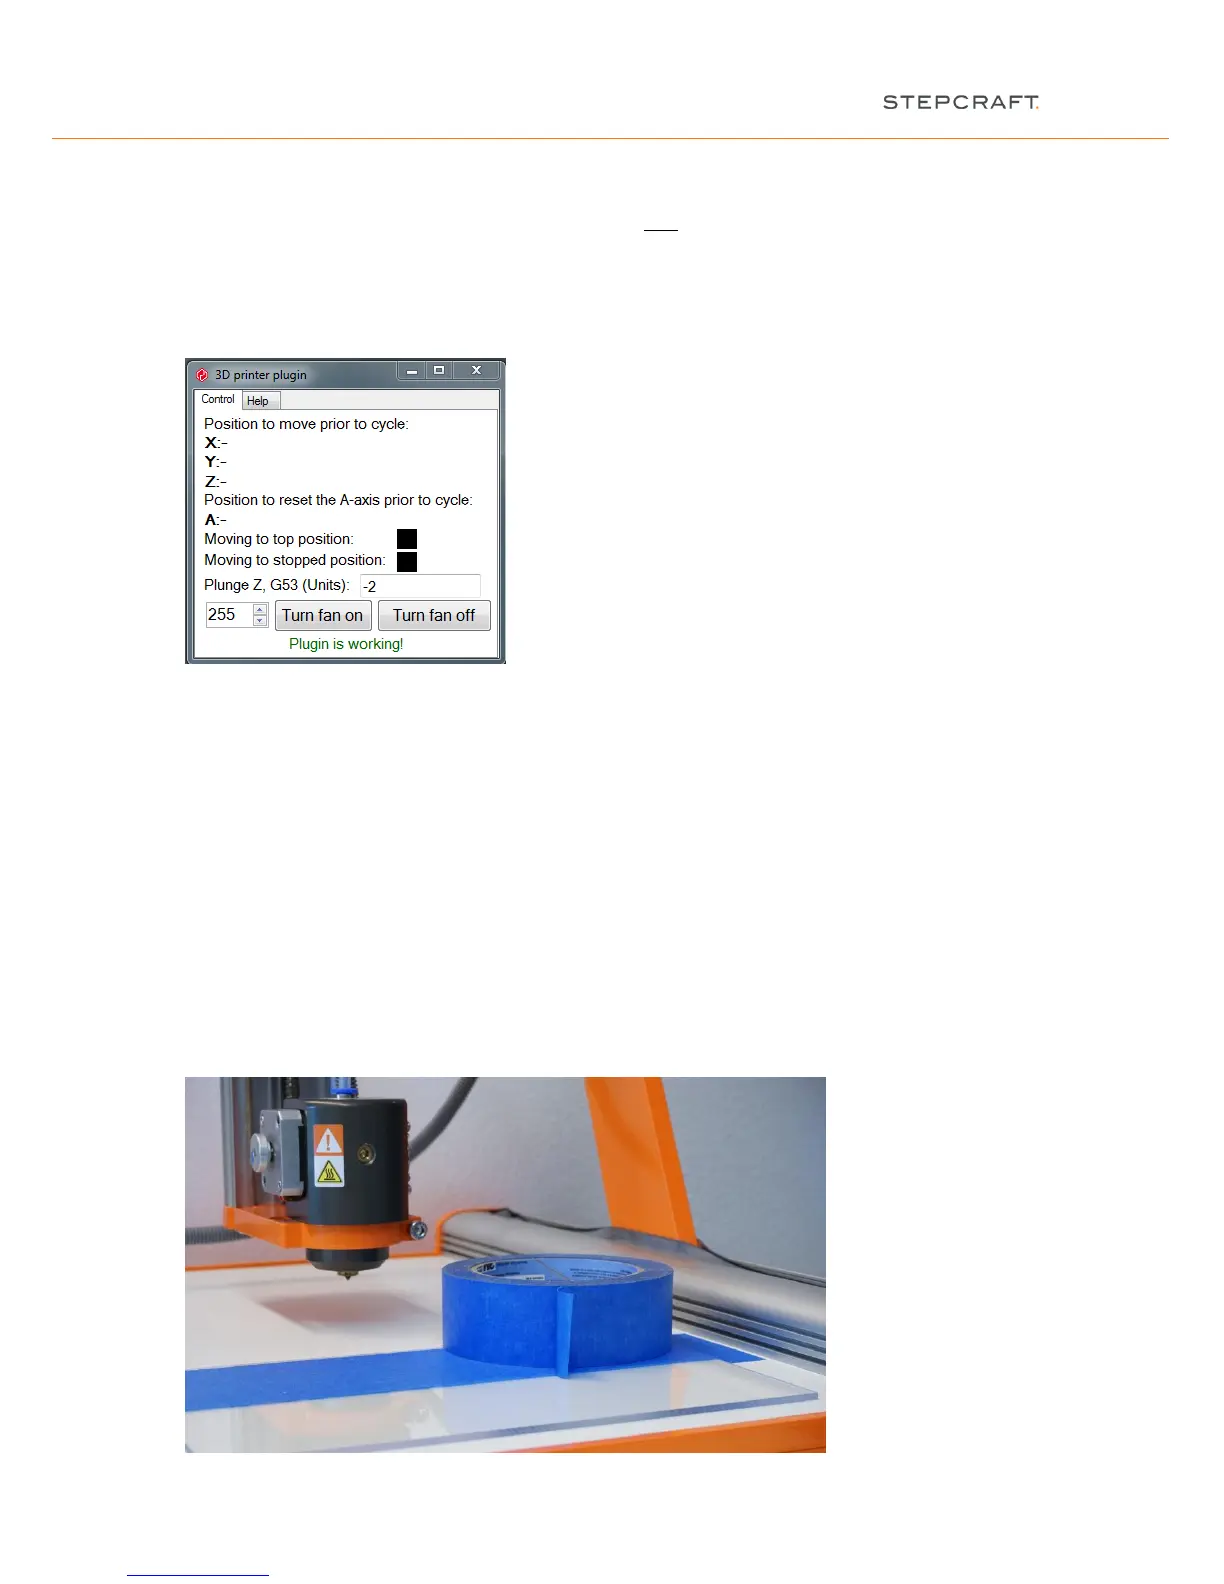
Additionally the 3D printer plugin is ready to work (“Plugin is working!”):
3 WORK PREPARATION
For further implementing the first step instruction, you are in need of the following materials:
- STEPCRAFT 3D print head
- Filament with diameter of 1.75 mm
- Print table, e.g. acrylic table
- Pair of tweezers
3.1 FIXATION OF THE PRINT TABLE
First you place the offer worktop on the machine table, secondly the workpiece material. Attach the two plates
with the accompanying retainers from the STEPCRAFT to the machine table. The screws need to be tightened by
hand only: