9
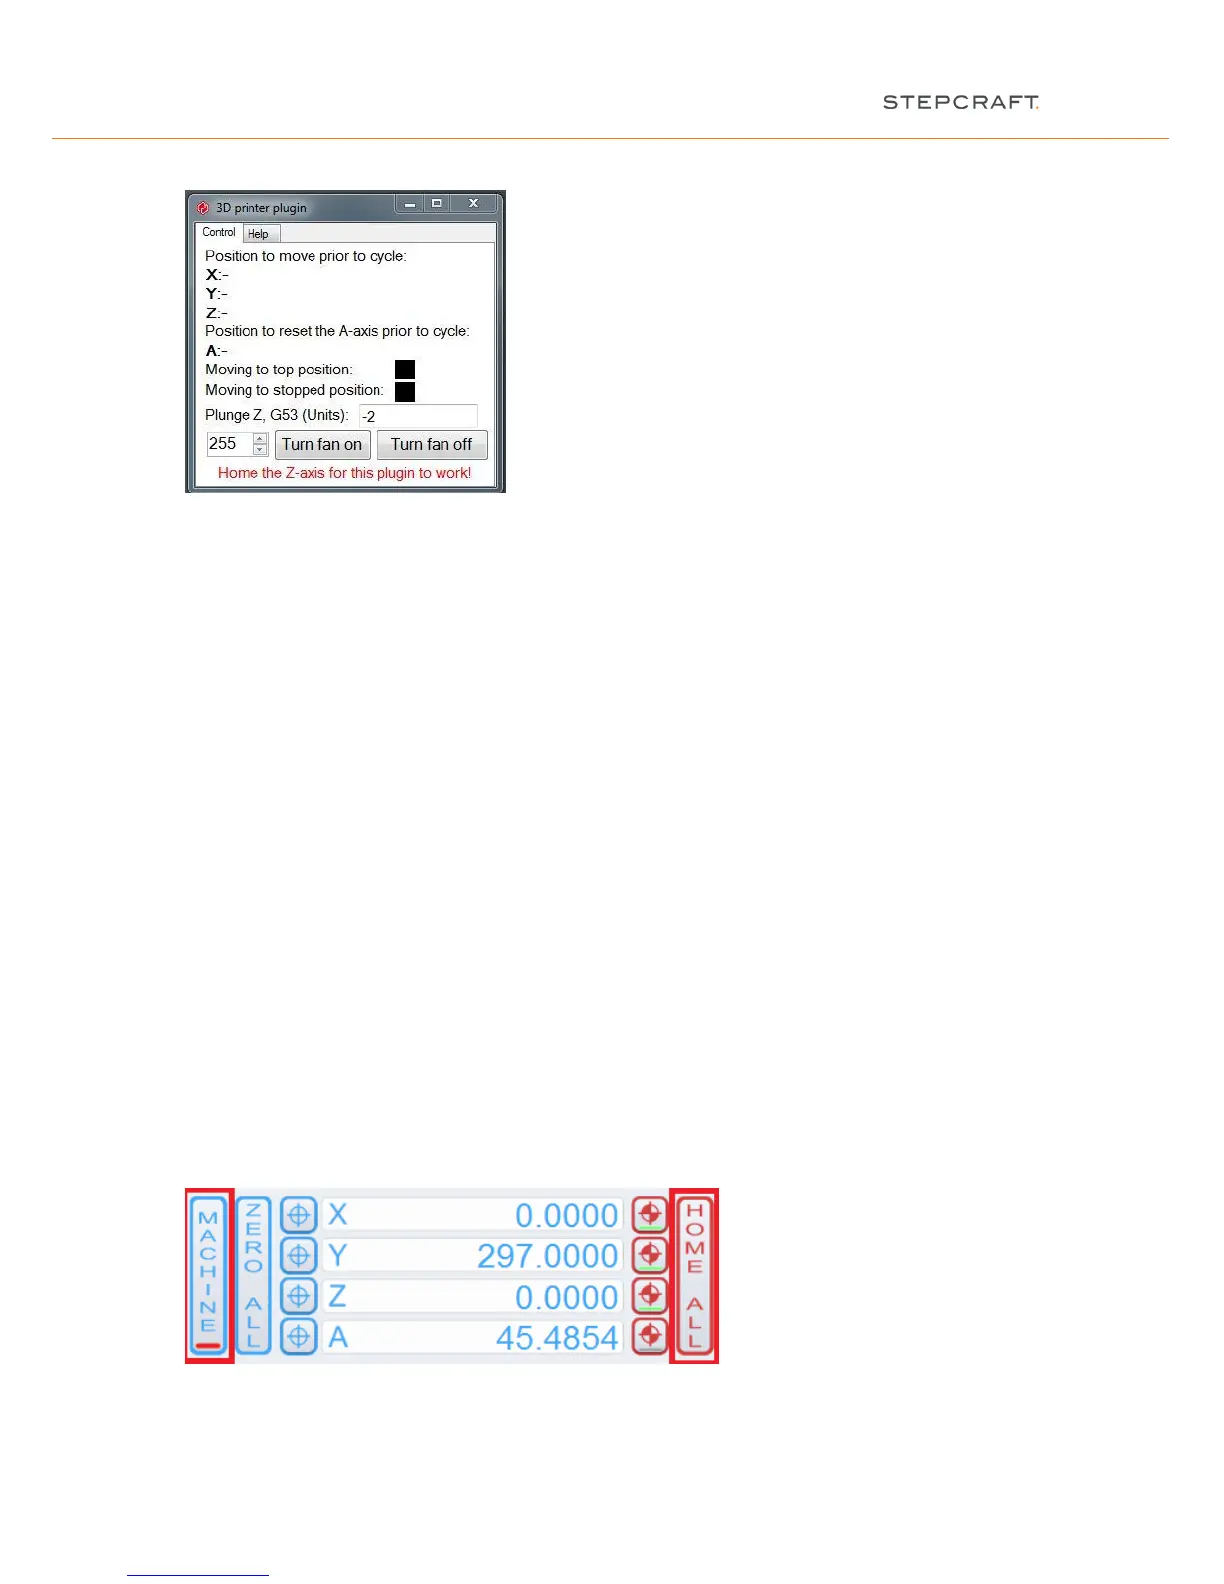
The 3D printer plugin is not ready to work because of the missing homing sequence (see later item 2.7):
2.6 VERIFICATION OF THE LINEAR AXES
Please refer to item 2.7 if you have already done the verification (see also the assembly manual and the
first steps manual).
NOTICE: The machine must be noiseless and needs to move without friction and tension in all linear axes.
NOTICE: If you have already levelled the machine you can skip this item and proceed with item 2.7.
For checking, please proceed as follows:
- Place the machine on a level surface.
- First loosen the screws of the gantry parts of the X-axis (see instructions 5.2 and 5.4), the rear (see
instruction 6.5) and the front (see instruction 8.10) of the Y-axis.
- Move the Z-axis manually to an average height.
- Move the X-axis manually to each end of the gantry and tighten the screws of each gantry part.
- Now move the Y-axis towards the back and tighten the screws of the rear panel firmly.
- Lastly proceed now towards the front and tighten the screws of the front panel.
NOTICE: If you do not reach the final position of an axis in this way, then you must check the smooth running of
linear axes and spindles. To do this, close the WinPC-NC / UCCNC or any other CNC control program and
unplug the machine from the electricity supply. The X- and Z- axis can then be moved by hand over the axis
connector (part 58). For movement of the Y-axis remove the tooth belt cover (part 75), and possibly also the tooth
belt (part 73), in order to check the axes individually.
2.7 HOMING
Before you can start to work, the machine has to be homed (pick-up the reference point or machine zero-point).
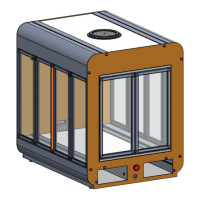
Press the “home all” button in the main screen:
The machine will start driving all axes now, beginning with the Z-axis, until it reaches the reference switch of each
axis. When the homing is completed, the machine (seen from the front) features (X) on the left, (Y) at the rear and
(Z) at the top.