7 — Operating Instructions
16
Operator Manual LED202 In-Ceiling Lighting System
11042437_A
Position Controls
NOTE: A dual light system is shown for reference. Single light systems will only have controls for
“Light 1”.
Each light has a multi-directional control touchpad (see Figure 7-1) which adjusts the aiming point for the light’s beam.
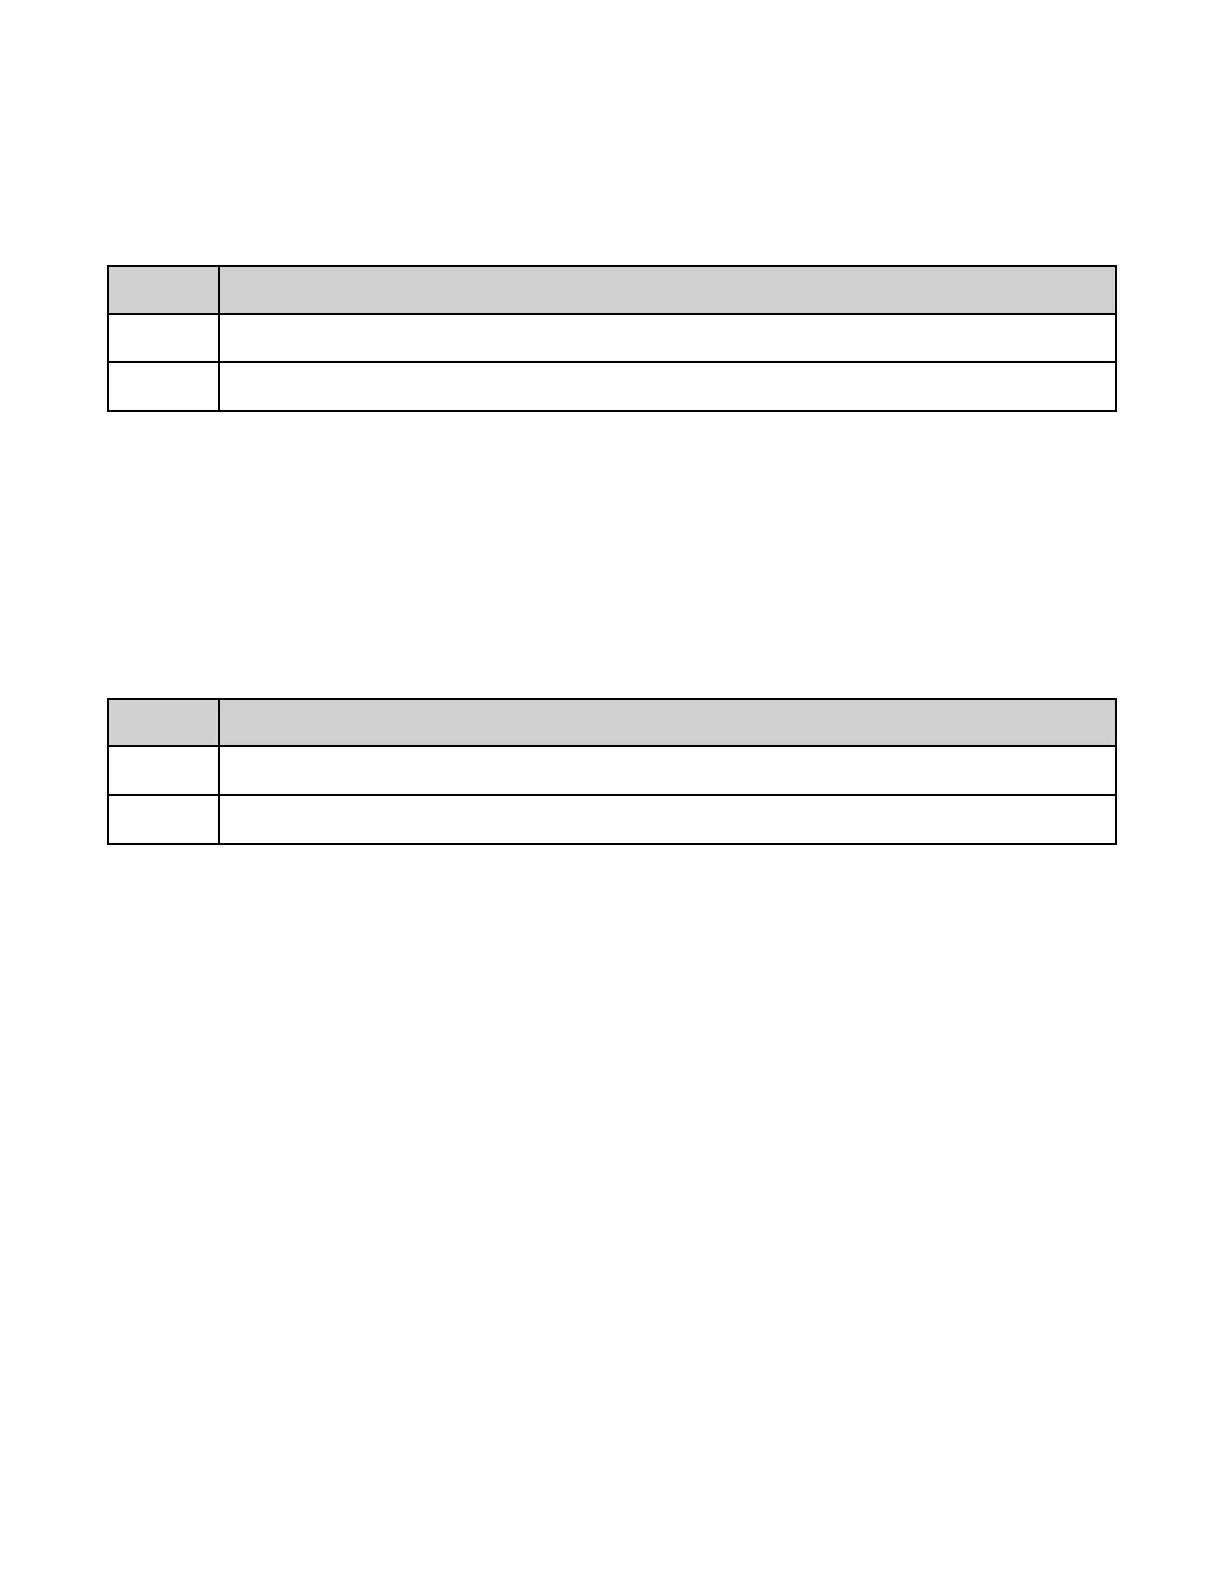
#
Component
1
Light 1 Position Controls
3
Light 2 Position Controls
To operate, push and hold a directional touchpad until light is in correct position for that axis. Repeat as needed until
proper aiming is achieved.
Intensity Controls
NOTE: A dual light system is shown for reference. Single light systems will only have controls for
“Light 1”.
Each light has its own intensity control (see Figure 7-1) which adjusts the fixture’s light intensity. The touchpads are
labelled “0” through “5”. "0" represents no power to the light engine and no light intensity. "1" through "5" represent
progressively greater light intensities
#
Component
2
Light 1 Intensity Controls
4
Light 2 Intensity Controls
To turn ON a light, push any desired intensity touchpad labelled “1” through “5”. A green LED on a touchpad indicates
that the light fixture has power, the light fixture power switch is ON, and the light engine is ON. Green LEDs will light
next to all intensity settings up to the desired level. The blue LED next to intensity "0" will be OFF.
To turn OFF a light, push the “0” intensity touchpad. The blue LED next to the "0" intensity touchpad indicates that the
light fixture has power, the light fixture power switch is ON, and the light engine is OFF. All green LEDs will be OFF.
NOTE: For longer light life, use higher intensity levels only when needed.