X. Operating Guide
23
X. OPERATING GUIDE
A. PERFORMANCE CONTROL SETTINGS
1. It is vital to match control settings to your level of function and ability.
2. Consult your health care professional and your supplier to select the best control set-
tings for you.
3. Check and adjust the settings every six to twelve months (or more often, if needed).
4. Adjust the control settings immediately if you notice any change in
your ability to:
• Control the joystick.
•Hold your torso erect.
•Avoid running into objects.
5. Control Settings are adjusted through the use of the Quickie QTRONIX Programming
Pad. See your supplier if you do not own a Quickie QTRONIX Programming Pad.
B. THERMAL ROLL-BACK
Your chair has a thermal roll back circuit. This protects the controller from damage due to
overheating. In extreme conditions (such as repetitive hill climbing) the circuit will
decrease the power to your motors. This allows the chair to operate at a reduced speed.
When the controller cools, the chair will return to normal speed.
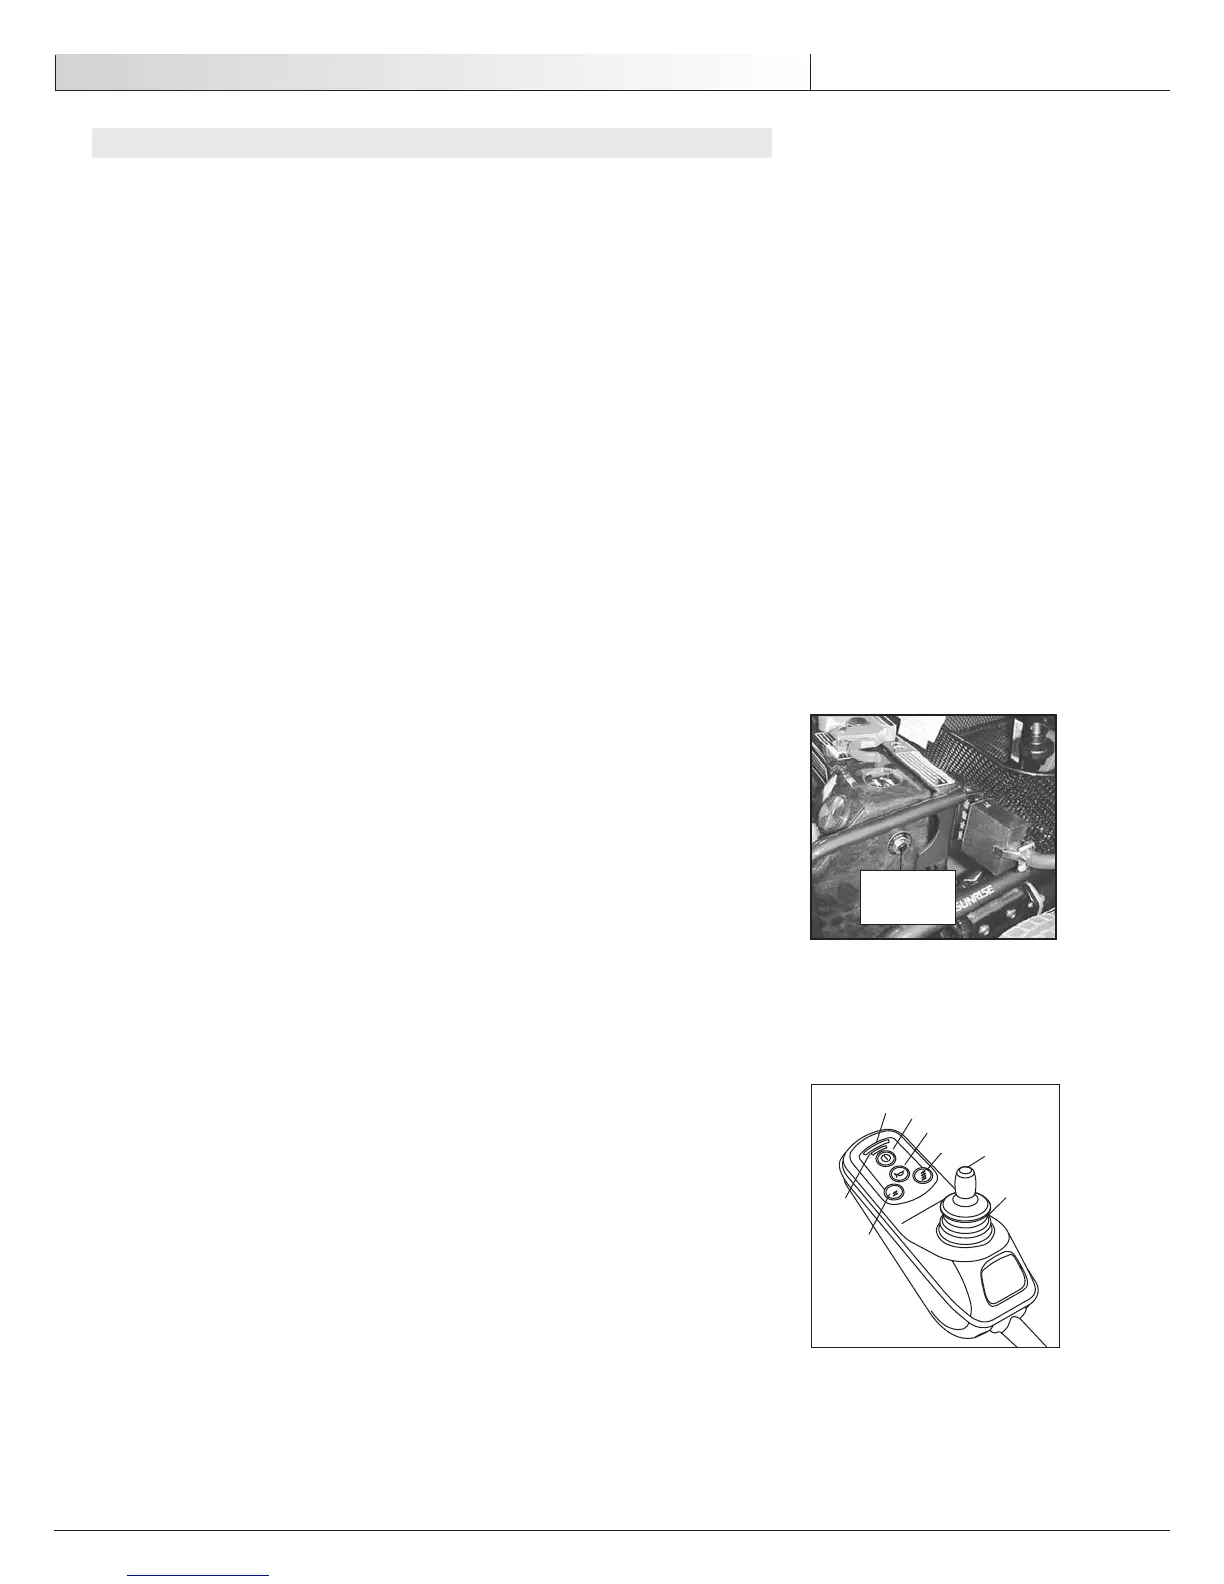
C. CIRCUIT BREAKERS
1. Notes:
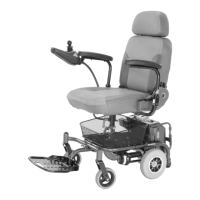
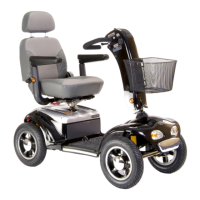
Your Sunrise Microlite has a circuit breaker on the battery case.
• In the unlikely event of a short circuit or heavy overload, all power to your chair will
be shut off.
•To reset your chair, depress the circuit breaker button located at the rear corner of
the chair. A few minutes wait is required before the circuit breaker will reset.
2. Repeated Shutdown:
If the chair continues to shut down after resetting, have it serviced by a supplier.
D. JOYSTICK ASSEMBLY
The standard integral joystick controls the chair’s performance. It consists of the following
parts:
1. Speed Control or Drive Mode Selection Buttons (A and B)
To decrease the speed level depress button A. Or, when 1- 5 Drive modes are programmed,
depress button A to activate lower drive mode(s).
To increase speed level, depress button B. Or, when 1- 5 Drive modes are programmed,
depress button B to activate higher drive mode(s).
Speed level active, or Drive Mode selected, is indicated on display (C) by a series of five
lights. One light indicates slowest level/mode currently active, while five lights indicates
highest level/mode currently active.
2. Battery Charge Indicator (D)
•Green lights indicate that batteries are fully charged.
•Yellow lights indicate that batteries need recharging.
•When the lights stay in the red band, the batteries must be recharged.
3. On/Off Button (E)
Turning the chair on or off is accomplished by depressing button E.
A
D
F
G
H
B
E
C
Integral Joystick
Circuit
Breaker