Do you have a question about the Stiga Autoclip M7 and is the answer not in the manual?
Explains the manual's role in providing necessary information for safe operation and interaction with the appliance.
Details the information provided on the appliance's nameplate, essential for safe operation and technical assistance.
Highlights potential hazards and risks, emphasizing the need for extreme caution during equipment interaction.
Sensor activated by solid objects, stopping movement and initiating backward motion.
Stops the cutting blade if the robot operates on excessively steep slopes or tips over.
A large button on the robot that immediately stops movement and blade rotation.
Monitors motors for overheating, initiating specific actions to prevent damage or stop operation.
Automatically stops the robot if no signal is detected.
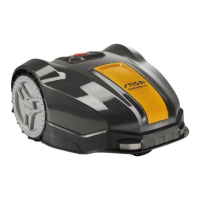
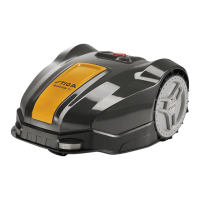
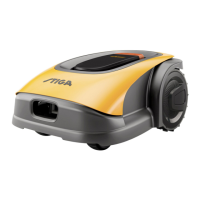
Provides detailed technical specifications for the Autoclip M7 robot mower, including dimensions, weight, cutting height, speed, and power.
Instructions for unpacking the equipment and checking its integrity. Includes safety warnings for packaging materials.
Guidance on selecting the best area for the charging station, power supply unit, and planning the perimeter wire layout.
Ensures the lawn is even and free of obstacles, covering slope requirements for mowing and wire installation.
Instructions for laying the perimeter wire on the ground, securing it with pegs, and curving it.
Steps for burying the perimeter wire in a furrow, ensuring depth and tautness.
User must make adjustments only as described in the manual. Special adjustments require authorized personnel.
Step-by-step guide to adjust the cutting height using the provided key and bracket.
User must read the manual, use the product only for its intended purpose, and avoid bad weather conditions.
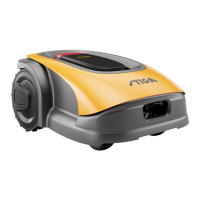
Illustrates and explains the function of each control button on the robot, such as ON, OFF, PLAY/PAUSE, HOME/WORK.
Procedure to access the robot's programming menu, starting from lifting the display protection to entering the SETTINGS function.
Options for configuring the rain sensor and auto-setup features, along with setting the date and time.
Allows programming work days, rest days, and setting up to two different work schedules.
Defines settings for secondary lawn areas, including percentage of the total area, distance, and direction.
Functions related to password management, including changing, starting, and locking the keyboard.
Sets the robot's operating mode to Automatic or for Closed Areas without a charging station.
Allows selection of the user interface language and formats for date, time, and distance.
Function for setting the robot's behavior in case of rain, returning to station or continuing to mow.
Automatically reduces mowing time based on lawn conditions, setting rest periods or continuous mowing.
Function for setting the current date.
Function for setting the current time.
Programs the robot's operating days, setting each day as a work day (1) or rest day (0).
Sets the first working time for the robot, defining start and end times for mowing operations.
Sets the second working time for the robot, allowing for additional mowing periods.
Defines parameters for secondary areas: percentage of total lawn, distance from station, and direction.
Sets configuration parameters for a second secondary area, similar to the first.
Sets configuration parameters for a third secondary area, if available.
Function to set or change the robot's access password, requiring old and new password entry.
The standard operating mode where the robot returns to the charging station autonomously.
Mode for operating in closed areas without a charging station, requiring manual management.
Selects the user interface language and formats for date, time, and distance.
Sets the format for entering the date (e.g., DD/MM/YY).
Sets the format for entering the time (e.g., 24H).
Sets the format for entering distances when managing secondary areas (Meters or Feet).
Steps to follow to restart the robot after a period of inactivity, involving connection and charging.
Recommendations for routine maintenance, emphasizing safety precautions and using personal protective equipment.
Table outlining scheduled maintenance tasks (weekly, monthly, yearly) for the robot's parts.
Identifies common problems, their causes, and remedies for the robot mower.
Advice on replacing parts, recommending following manufacturer instructions or contacting service centers.
Guidance stating that battery replacement should be performed by an authorized service center.
Instructions for safely replacing the cutting blade, including safety precautions and using original parts.
Illustrates a garden layout with a narrow passage, secondary area, and closed area, explaining programming for these zones.
| Brand | Stiga |
|---|---|
| Model | Autoclip M7 |
| Category | Lawn Mower |
| Language | English |