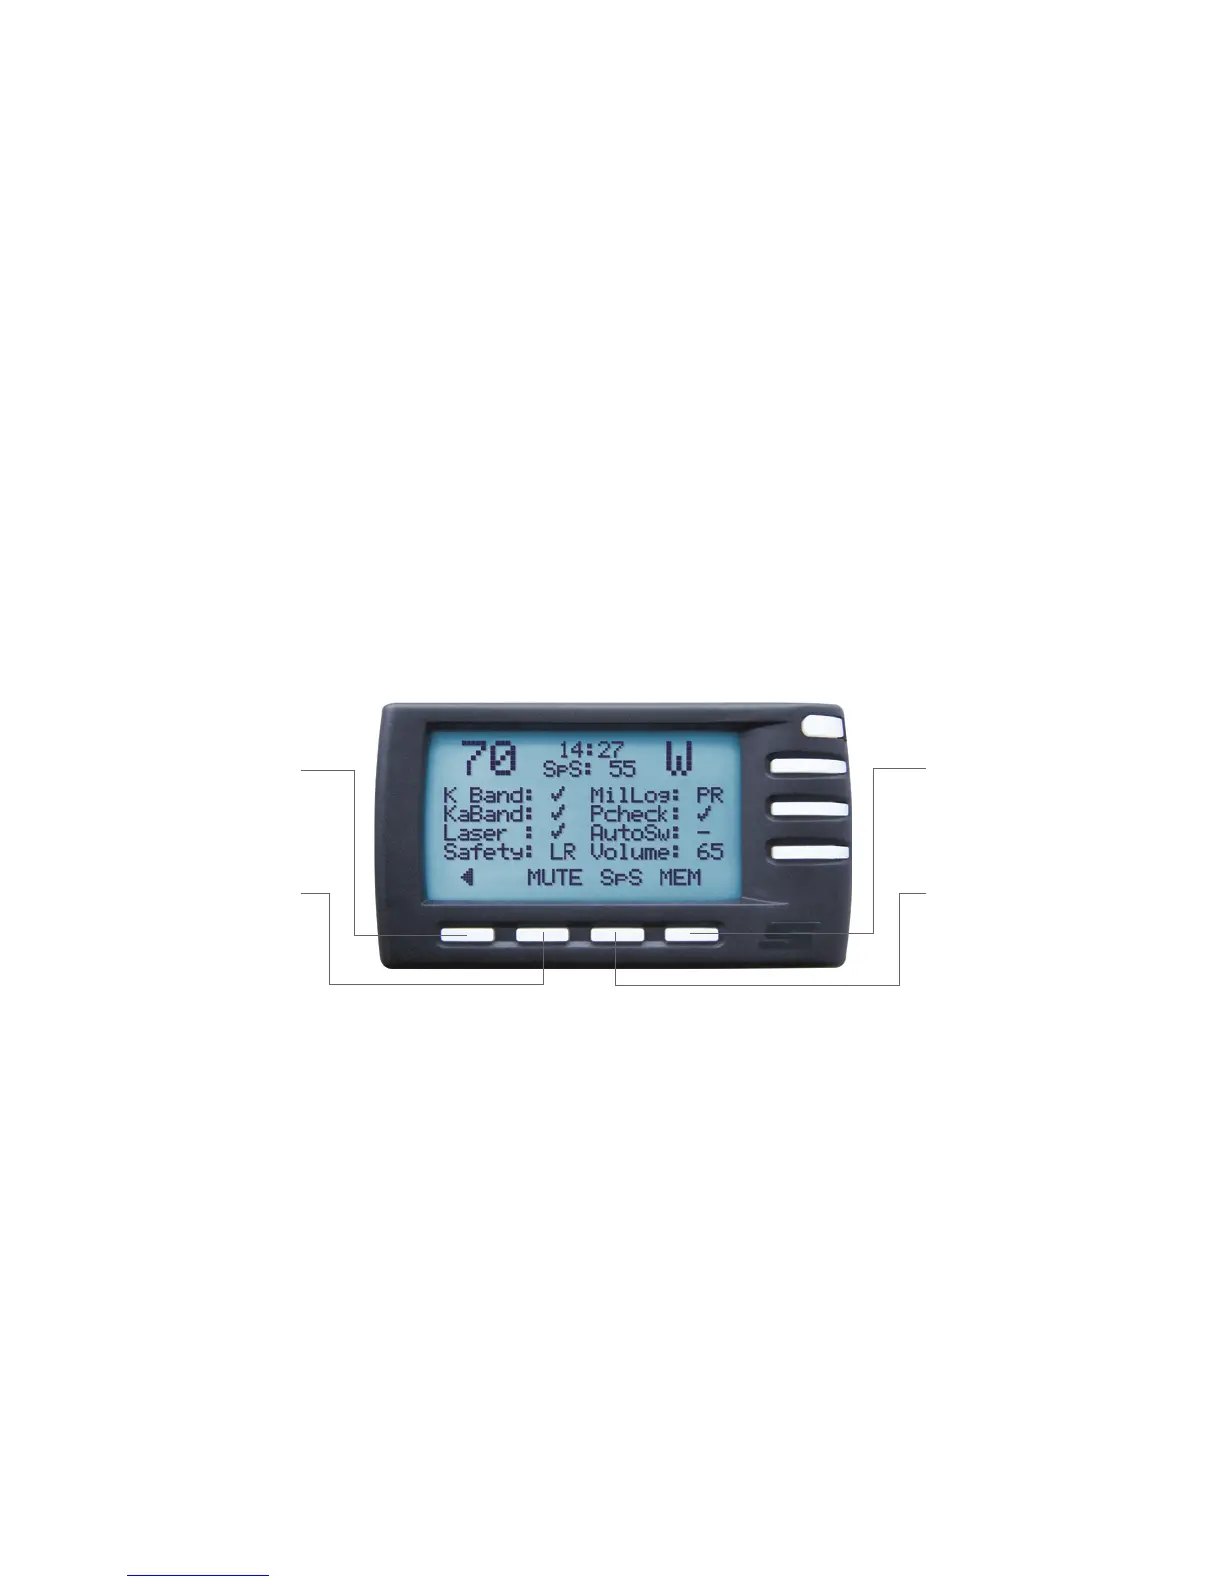
Favorite screen
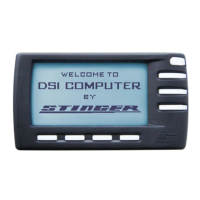
After the DSI switches on, the Memory Display first shows the Stinger logo and during 10 seconds notifies you that by using the DSI you
declare yourself in agreement with the Stinger User Agreement.
If you have the MileageLog functionality on (Main Menu > Configuration > MileageLog), next you will see the screen that offers the route
type options (business, private, commute).
Lastly, you will see your favourite screen, as selected in the Configurations Menu. Depending on your selection, this can be the Spectrum
Analysis* screen, the Signal Strength screen*, or the Pilot screen (depicted below), which conveniently shows your current speed, the time,
your direction of travel, the SpeedSense (SpS) value and all active functionalities at any given moment.
BACK
This button takes you to the
previous menu untill you reach the
Main Menu
MUTE
Button that temporarily switches
off a sound alert
SpS
With this button you change the
speed value under which you will
not get any audio alerts (p.16)
MEM
Button that puts FalseList and
SpotList lcoation into the memory
(p.14)
Configuration menu
Pressing the BACK button one time or more will always bring you back to the Main Menu. From the Main Menu you cannot just navigate
to the various functionality screens, but also to the Configuration menu where you can customise a multitude of settings such as volume,
brightness, time, language, mph or km/h, SpeedSense level, etc.
5
Controls
*Available where allowed