WWW.STOREITCOLD.COM
SUPPORT@STOREITCOLD.COM
18
2019 © Store It Cold, LLC. Rev 2019-04A All Rights Reserved.
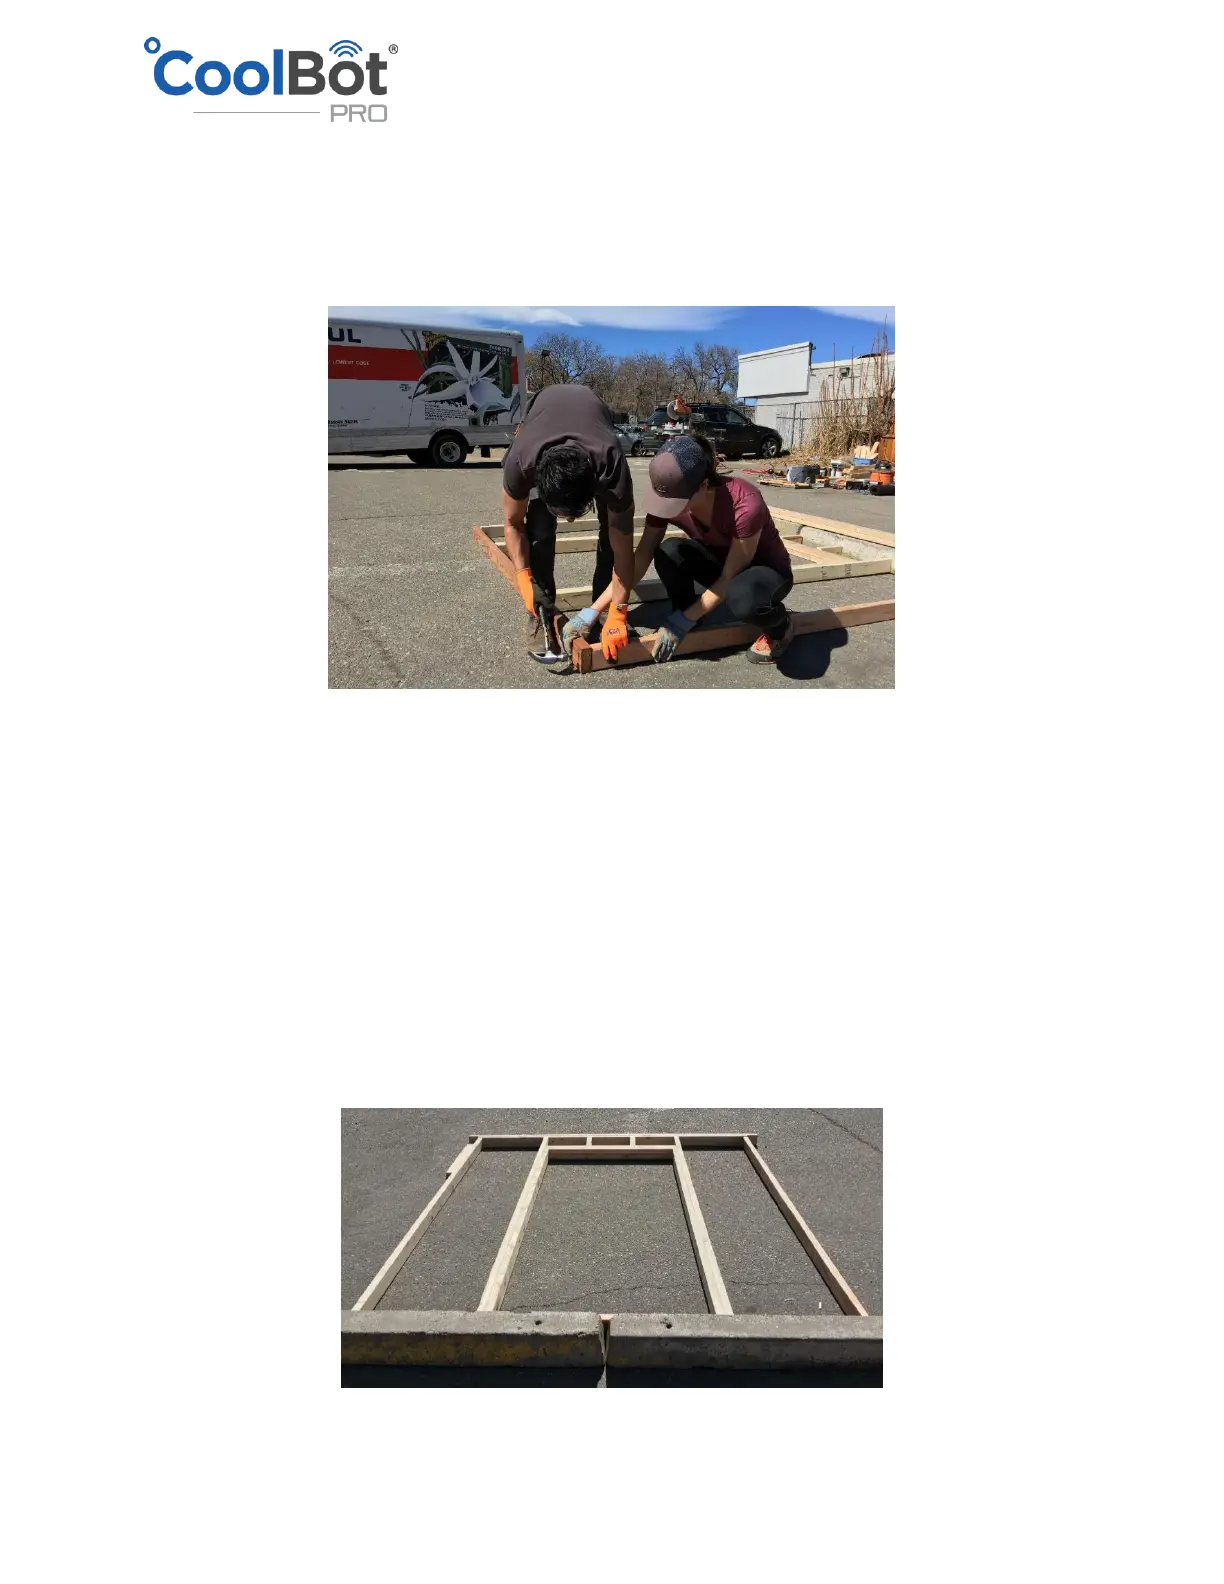
• Nail together the two pairs of doubles STUDS for the doorway using 16 penny vinyl-coated
sinker nails staggered every 12". Nailing from the shorter STUD* through the taller 92-5/8” stud
will ensure that the protruding nail tips do not face into the doorway.
• Nail the treated BOTTOM PLATE to the six STUDS using two 16 penny galvanized nails in each
STUD.
• Rotate the entire front wall frame 180˚ and place the BOTTOM PLATE against the backstop.
• Use two 16 penny vinyl-coated sinker nails per joint for the remaining nailing of the front wall
frame.
• Nail the TOP PLATE to the studs.
• To build your HEADER cut a piece of ½”OSB to the same size as the 2x4 headers and sandwich it
in between the 2x4s to fill the space in between - nail them together from both sides.
• Nail the DOORWAY HEADER (2 x 4s on edge) to the adjacent STUDS with the faces of the
DOORWAY HEADERS flush with the outside of the STUDS. Nail the CRIPPLE STUDS above the
doorway header in place.
• Align the TOP DOUBLE PLATE centered on the TOP PLATE which will leave 3-1/2" overhang on
each side. A 2x4 lying flat on the ground is a good reference for the required overhang
• Nail the TOP DOUBLE PLATE to the TOP PLATE with nails approximately every 12" staggered side
to side.
The front wall is now complete.
 Loading...