WWW.STOREITCOLD.COM
SUPPORT@STOREITCOLD.COM
36
2019 © Store It Cold, LLC. Rev 2019-04A All Rights Reserved.
ROOF FELT
• Some roofers recommend laying a strip of adhesive rubberized membrane over the drip edge at the
eave as an added protection. This should be laid before the first felt layer is applied.
• Start felt at the bottom on a corner and work your way up.
• Leave excess fabric to overhang on the front and back of the shed- it will be trimmed later.
• Use a construction stapler or nails with plastic caps for installation.
• Use fasteners at least every 8 inches – some manufacturers recommend every 4 inches.
• Leave the top portion of each sheet loose as you go up. The next layer will overlap and will be
stapled on the overlay catching both sheets.
• Overlay your layers at least 2 to 3 inches. Follow your manufacturer’s recommendation
• If the roll ends before reaching the other end, overlap the end of the roll 4 inches with the start of
the new one and fasten both pieces to the decking.
• Trim the excess felt on the front and back of the shed with a utility knife after installation.
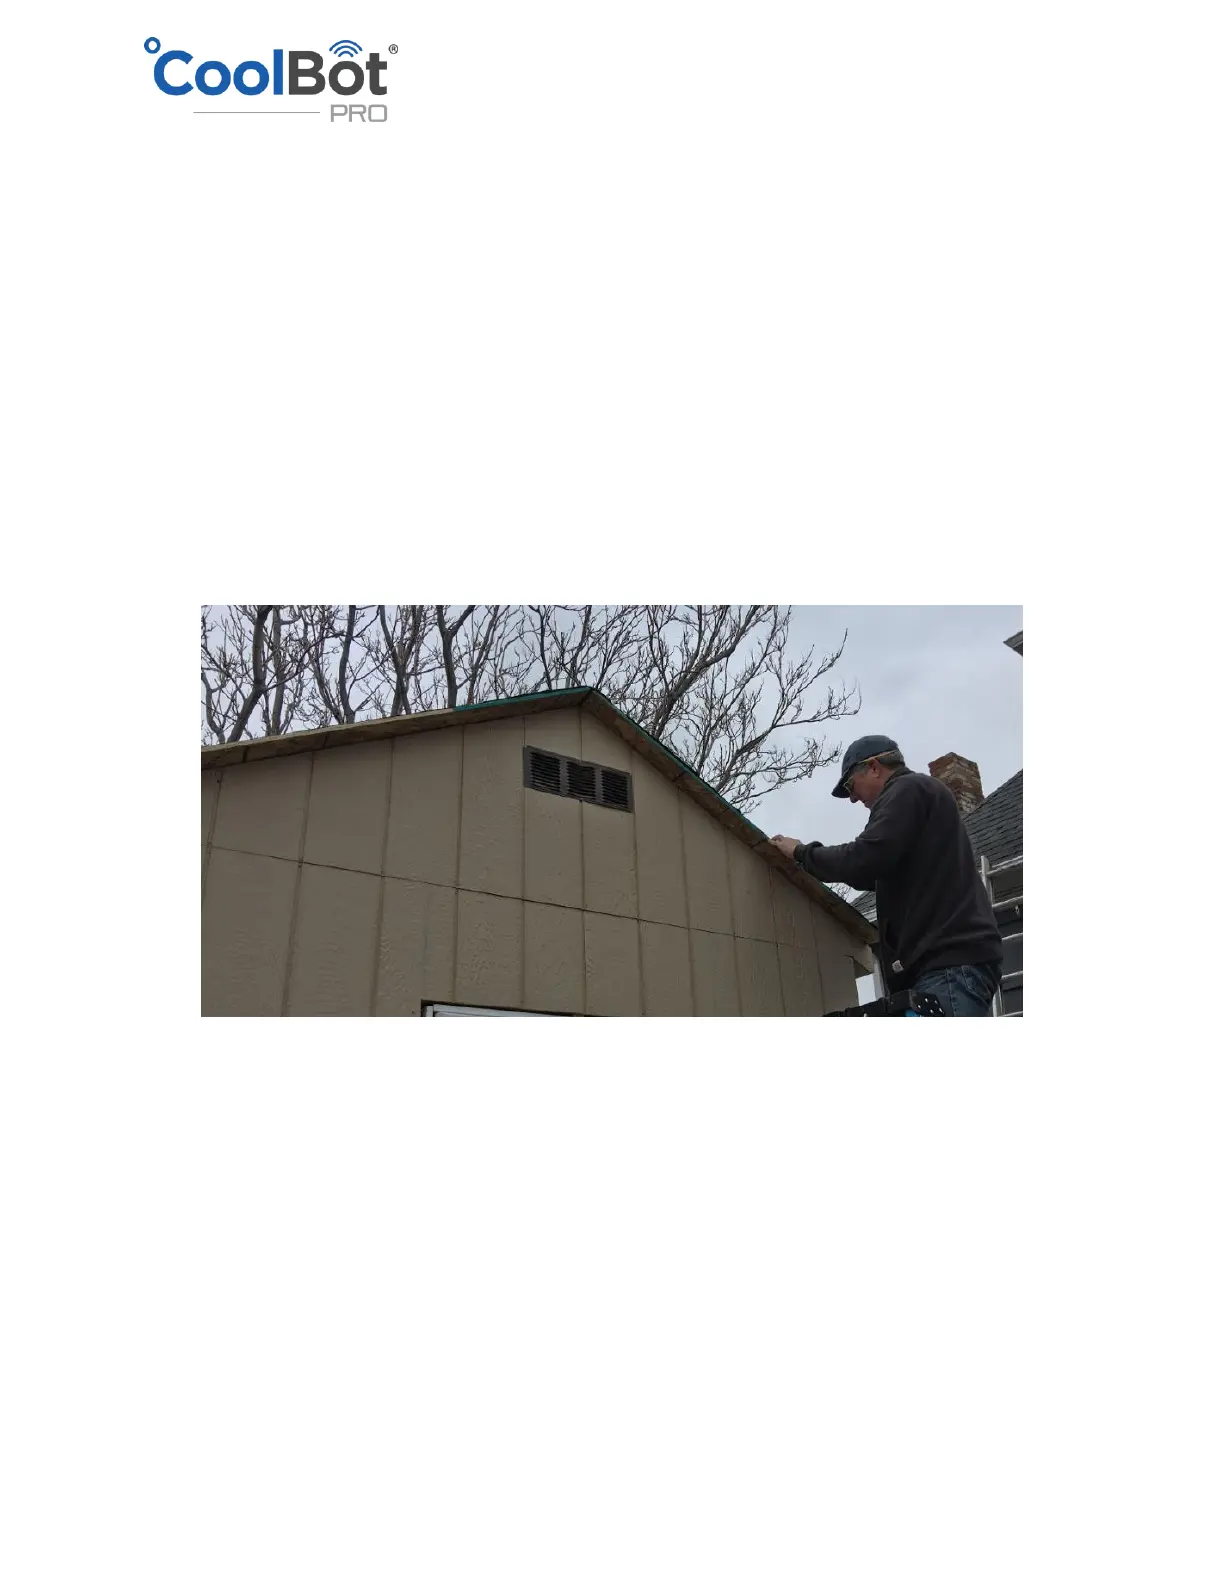
• Install the drip edge on the front and back sides of the shed’s roof- over the felt.
ROOF SHINGLES
• All shingles come with instructions printed on the back- PLEASE FOLLOW THEM.
• A common mistake is using the wrong nail pattern or not enough nails. Follow manufacturer’s
instructions for how many nails and what pattern should be used for your shingles.
• Avoid too much overhang on the shingles on the eave sides. Please follow manufacturer’s
instructions - this is commonly no more than ½ to ¾ of an inch.
• On most cases you should avoid using architectural style shingles with a racking pattern installation.
Follow your specific manufacture’s recommendation for installation pattern of your shingles.
 Loading...