WWW.STOREITCOLD.COM
SUPPORT@STOREITCOLD.COM
59
2019 © Store It Cold, LLC. Rev 2019-04A All Rights Reserved.
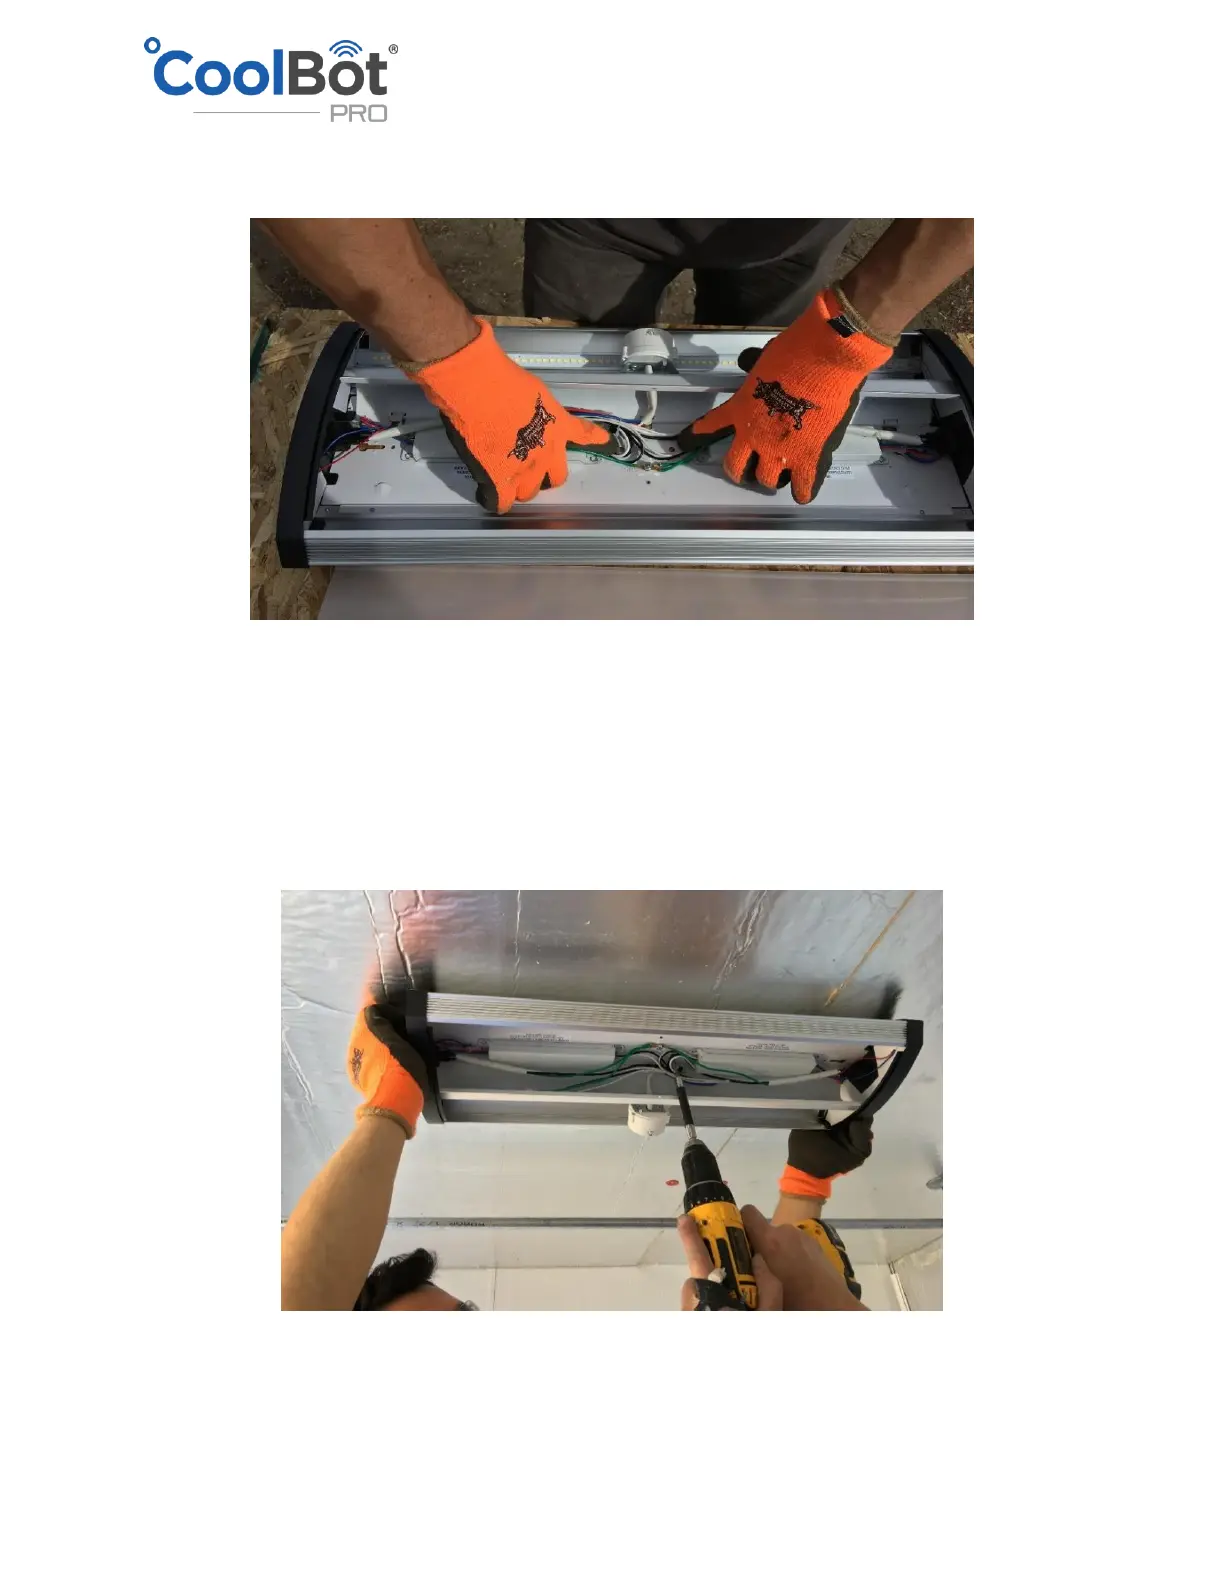
• Gently squeeze both ends of the metal section in the center of the fixture and flip the metal
cover to expose the wires and the mounting holes.
• Locate the position of the 2 by 4 under the ceiling insulation.
• Position the fixture longways along the direction of the entrance and the back wall. Leave the
end with the cord plug towards the back wall (A/C unit wall). This will simplify electrical
connections as it can be plugged in in the same outlet as the CoolBot and the A/C without
having to run additional outlets.
• Using 4” wood screws anchor the fixture to the ceiling panels. It is very important to make sure
that the screws are going in the 2 by 4 and not just through the insulation to ensure that the
fixture is properly anchored to the ceiling.
• Screw the metal cover back in place using the Philips screw that was removed at the beginning.
• Replace the clear covering of the light fixture.
• Install the electrical cord supplied with the fixture and plug in the power outlet.
 Loading...