C. Place the toggle switch boot nut over the switch handle and tighten the nut with a 5/8”
wrench. Note: Do Not Over Tighten the Nut.
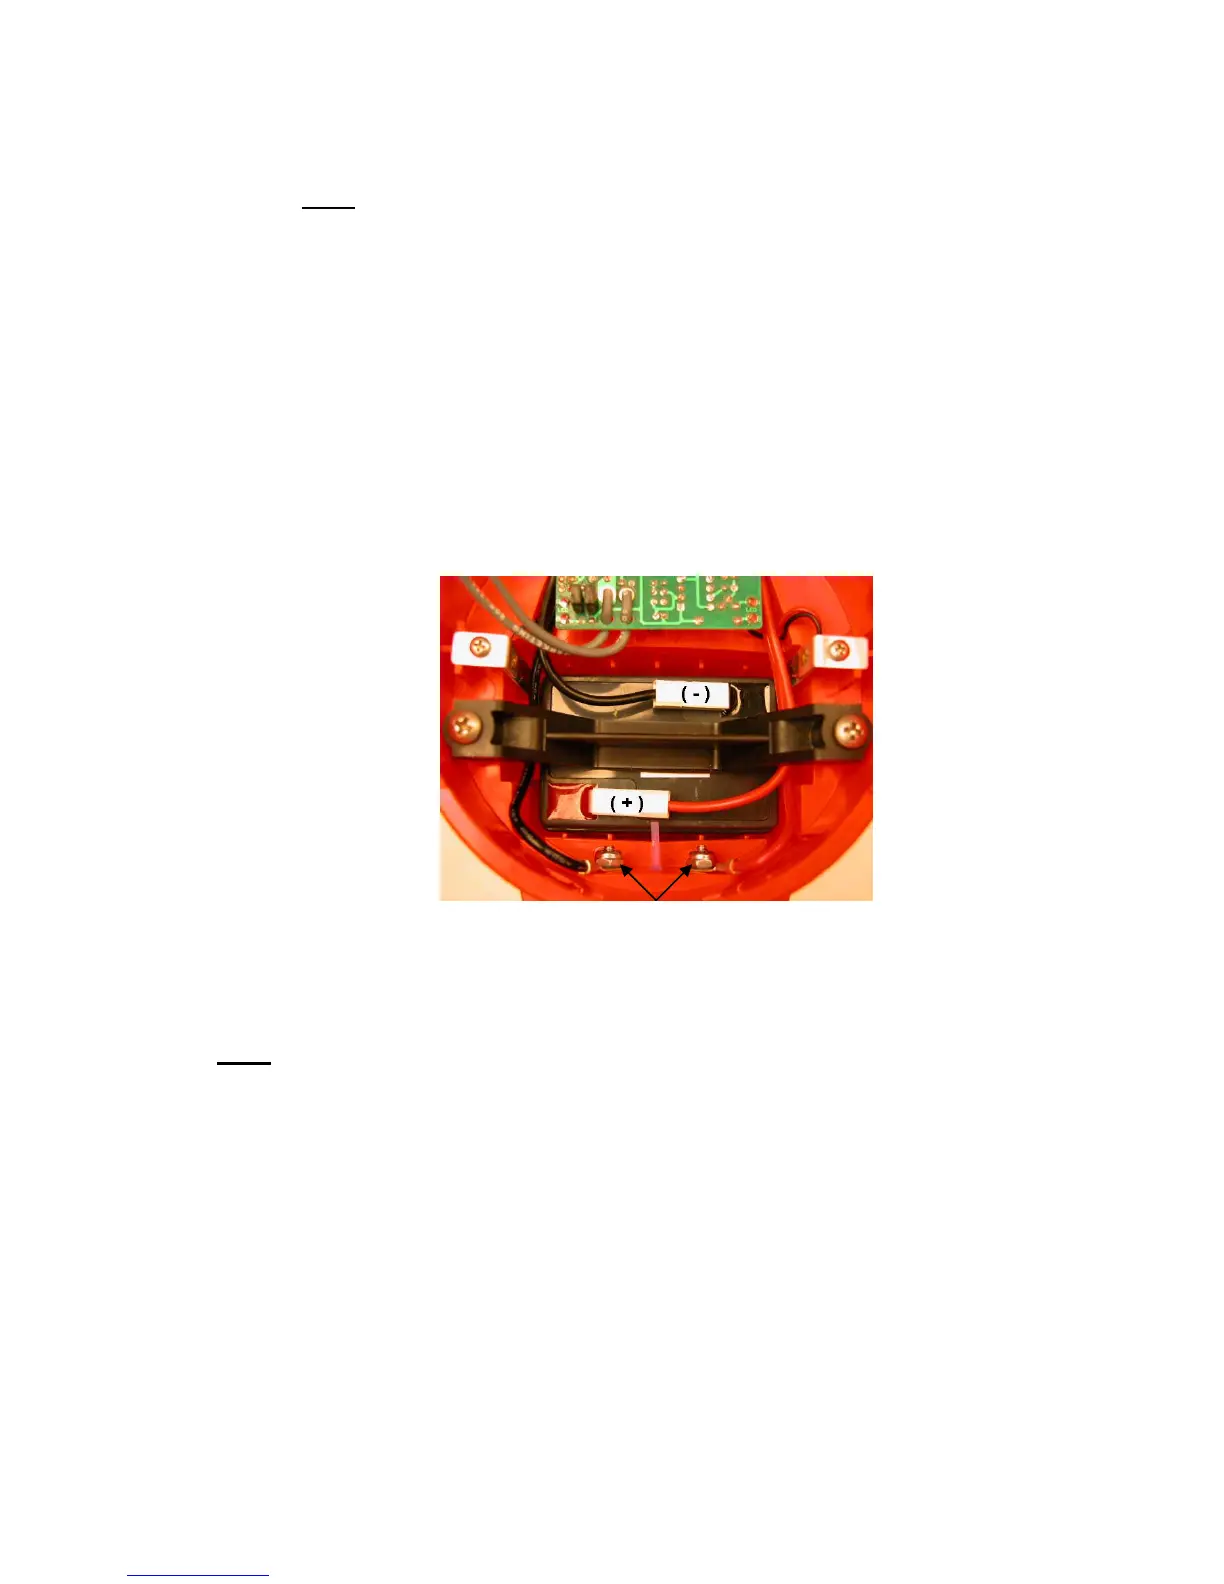
D. Insert the battery into the body of the flashlight. The battery terminals should be pointing
upward and the positive battery contact should be adjacent to the charge contact mounting
holes.
E. Reconnect the battery leads and test the switch for function. After confirming the
switch functions properly, remove the battery leads.
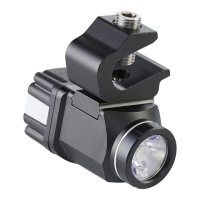
F. Reattach the charge leads to the charge contact screws and secure them in place.
1. The negative (black) lead goes to the charge contact screw on the left side (open
side of body facing upward, handle facing away from you) and the positive (red)
charge lead goes to the contact screw on the right.
Charge Contacts
2. Use a 5/16" wrench to tighten the lock nuts until they are snug against the body.
When the contact screws are snug turn the Tri-Wing contact screw an additional 1/8th
turn to insure a waterproof seal.
Note
: Do not over tighten the screws or the body may crack.
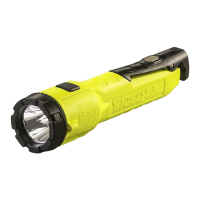
G. Place the battery clamp on the battery, but do not secure it in place.
1. Route the positive battery and charge leads between the Vulcan body and the
battery clamp on the right side of the Vulcan (handle facing away from you).
2. Route the negative charge lead (only) between the Vulcan body and the battery
clamp on the left side of the Vulcan (handle facing away from you).
H. Secure the battery clamp into place with the two Phillips mounting screws.
I. Reassemble the Vulcan as described in Section l.
- 41 -