22 MA_310D-R_3100D-R_A16-3_181015_en
3.8
The presser plate presses the sewing material from below onto the stitch plate
during initial stitch. During transport the presser plate should lift from the stitch
plate when processing thick sewing material by 5 mm, with thin to medium
sewing material by 2.5 mm.
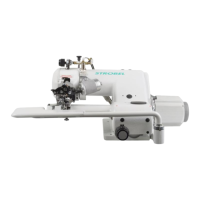
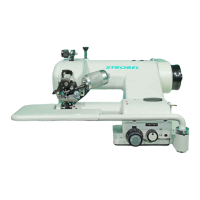
Presser plate
The plate (2) is then mounted on the work plate (3) with the two plastic blind
rivet (1). (Cl. 3100D-R)
Fig. 10
3.8.1
Adjusting the presser plate (Fig. 7)
Attention!
Disconnect machine from the mains!
With a presser plate lift of 5 mm (basic setting), 2 mm loop stroke and the
largest stitch length, the clamping plate lifts form the stitch plate when the
needle point is 10 mm before the centre of the plunger after leaving its lower
dead point.
The presser plate is in contact with the stitch plate, when the needle point is
4 mm before the centre of the plunger.
By releasing the counter sunk screw (3) and by sliding the crank (2), the
presser plate lift can be reduced or enlarged. Afterwards please retighten the
counter sunk screw.
When venting the distance between presser plate and stitch plate must be
11 mm.
In this vented condition the machine must be able to be turned through easily,
without any parts colliding or locking.
 Loading...