Page 13
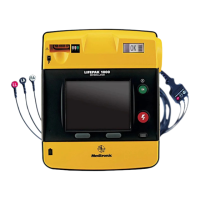
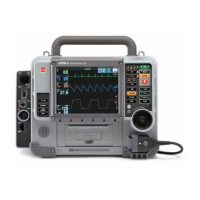
LIFEPAK 15 Monitor/Defibrillator
Invasive pressure
monitoring procedure
1. Prepare transducer system according to local protocol
2. Position transducer at the patients phlebostatic
axis – zero-reference
3. Press ON
4. Connect IP cable to the transducer and to the port on the
monitor, P1 or P2 connector and Channel 2 or 3 can be
used for IP monitoring
5. Use default or select ART, PA, CVP, ICP, LAP
6. Use speed dial to outline and select CHANNEL 2 on
Home Screen
7. Select WAVEFORM and then label as desired
8. Open transducer stopcock to air to zero the transducer
and remove stopcock cap. Select P1 area. Select ZERO
from menu. P1 ZEROED appears once complete and
pressure values displayed as zeros.
9. Close the stopcock to air. Patient’s pressure waveform
should be displayed. Scale automatically selected. Conrm
pressure amplitude correlates with digital readout.
Note: If you place a cap on an open port before you close the port
to air, an error message may appear. You will be required
to zero again.
 Loading...
