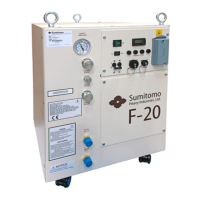
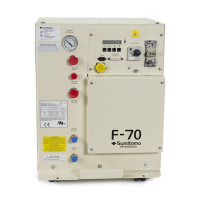
Maintenance
13. Allow the compressor to cool. Read the pressure gauge with the compressor at 20° C
(68° F). Adjust the equalization pressure by charging or venting to conform to the
Specifications.
14. Close the gas cylinder valve and adjust the pressure regulator to zero psig.
15. Disconnect the charge line from the adapter fitting. Store the charge line to keep it clean.
16. Remove both adapter fittings.
17. If other components need cleaning, perform the appropriate procedures in their manuals.
Otherwise, reconnect the supply and return gas lines. Torque the gas line couplings to
47 ± 7 Nm (35 ± 5 ft. lbs.).
18. Leak check the Aeroquip couplings. See the Leak Check section.
This completes the gas cleanup procedure for the compressor.
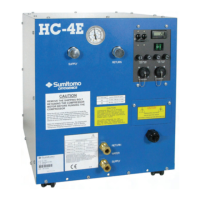
Fuse Replacement
Tool required: Flat screwdriver
Fuses for the FA-20L are located in the front panel of the electrical chassis of the compressor
Control circuit (FU-1, FU-2, FU-3 and FU-4 ) as shown in Figure 18:
a. Four (3) 1AT , 250V
For FU-1, FU-2, FU-3 and FU-4
1. Disconnect the mains power supply to the compressor (if connected).
AVOID ELECTRIC SHOCK. Disconnect the power to the compressor before
troubleshooting the electrical components.
AVOID ELECTRIC SHOCK. All electrical supply equipment must meet
applicable codes and be installed by qualified personnel.