Installation
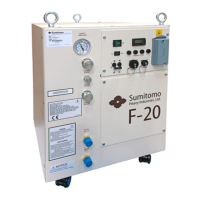
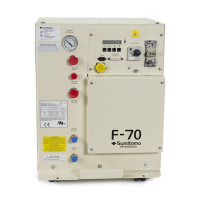
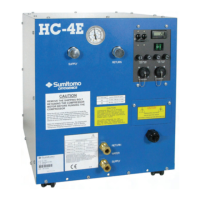
Compressor Checkout
The compressor should be operated before being connected to the other system components.
1. Ensure that the circuit breaker on the compressor is open (handle is down).
2. Supply power to the compressor.
3. Close the circuit breaker (handle up).
4. Press the ON/OFF rocker switch to ON position. The ON/OFF switch will light and the
compressor will start.
5. Run the compressor for ten (10) minutes and then stop.
If the compressor starts but does not build pressure, turn it off immediately. It could be running
in reverse.
This completes the checkout of the compressor.
Install the Gas Lines
Tool required: Open-end wrenches, 1", 1 1/8", 1 3/16"
Gas lines are shipped with protective dust plugs. Do not remove the plugs until the gas lines
are ready to be attached. All bending and routing of gas lines should take place with plugs in
place.
AVOID INJURY. Always wear eye protection when handling pressurized gas
lines and other pressurized equipment. Never apply heat to a pressurized gas
line or other pressurized components.
PREVENT EQUIPMENT DAMAGE. Damage to gas lines can result from
crimping by repeated bending and repo
NOTE
Be sure to have 99.999% pure helium gas available at the installation site in case
gas needs to be added to the system. See Refrigerant Quality in Specifications
1. Identification labels are furnished with the gas lines. Before installing the gas lines, identify
each with an appropriate label, SUPPLY (high pressure, color-coded red) or RETURN (low
pressure, color-coded green) by applying the label adjacent to each Aeroquip coupling. See
Figure 6.
NOTE
Supply and return gas lines are identical. Labels are used to prevent making a
wrong connection at installation or at reassembly following maintenance.