36
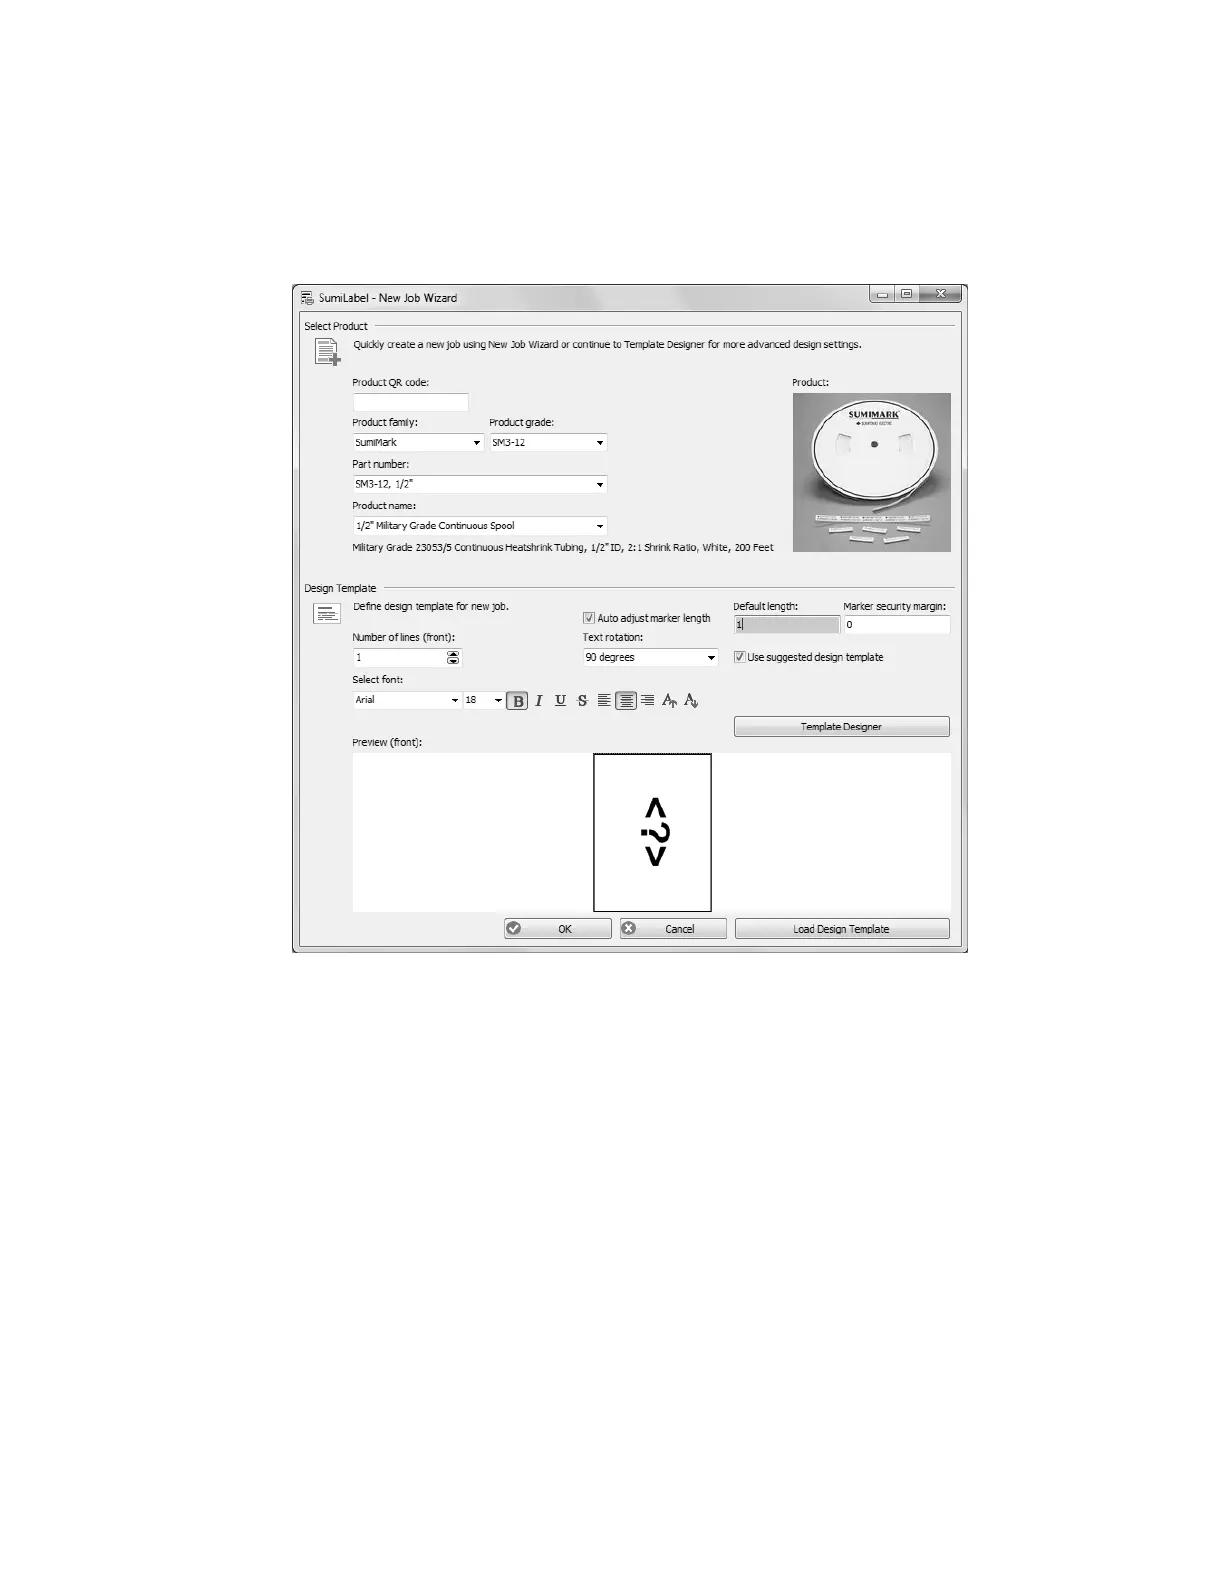
to select the specific product being printed upon. There are three key aspects to each
product: the Product grade (e.g. SM3-12), the Part number (e.g. 1/2”), and the Product
name (Automatically populated upon selecting both the Product grade and the Part number,
e.g. 1/2” Military Grade Continuous Spool).
The lower portion of the New Job Wizard contains the Design Template, where you are free
to modify the base template used for markers in the first Job of your new Set.
Cookie cutter markers
There are several key elements to understand in order to make effective use of the Design
Template. Note that your choices will apply to every marker in the first Job of your set
unless otherwise specified.
• “Number of lines (front)” sets the default of number of lines for your markers.
Got a series of three-line markers you need to make? Up the number of lines to
three, and away you go! As you can tell, this is for the front side of the marker only.
But for all intents and purposes, unless you have the SumiTag
®
DS printer,
you’ll only be dealing with the “front” side of your markers anyways.
• The “Select font” section controls the style of the marker’s text in terms of font,
modifiers, and size in the same fashion as any text editor. (e.g. Times New Roman,
12 pt., Bold, Center Aligned)
• “Default length” defines the default minimum length (in Inches) for your markers.
When a new marker is added to the Job, it will assume the length specified here,
with a few exceptions for choosing a length shorter than the combined security
margins or the length of text in an Auto-adjusting marker.