4.8、Final assembly
After ensuring that the wiring is reliable and the wire sequence is correct, install the terminal protection
cover in place.
•
Step 1 : Close the circuit breaker of the battery.
•
Step 2:Press the rocker switch on the bottom of inverter, the screen and indicators light up to indicate that
the inverter has been activated.
• Step 3:Sequential close of the circuit breakers for PV, AC input and AC output.
•
Step 4:Start the loads one by one in order of power from small to large
4.9、Start up the inverter
4.9.1 Introduction
1. Up to six units connected in parallel.
2. When using the parallel operation function, the following connecting lines (package accessories) shall be
firmly and reliably connected:
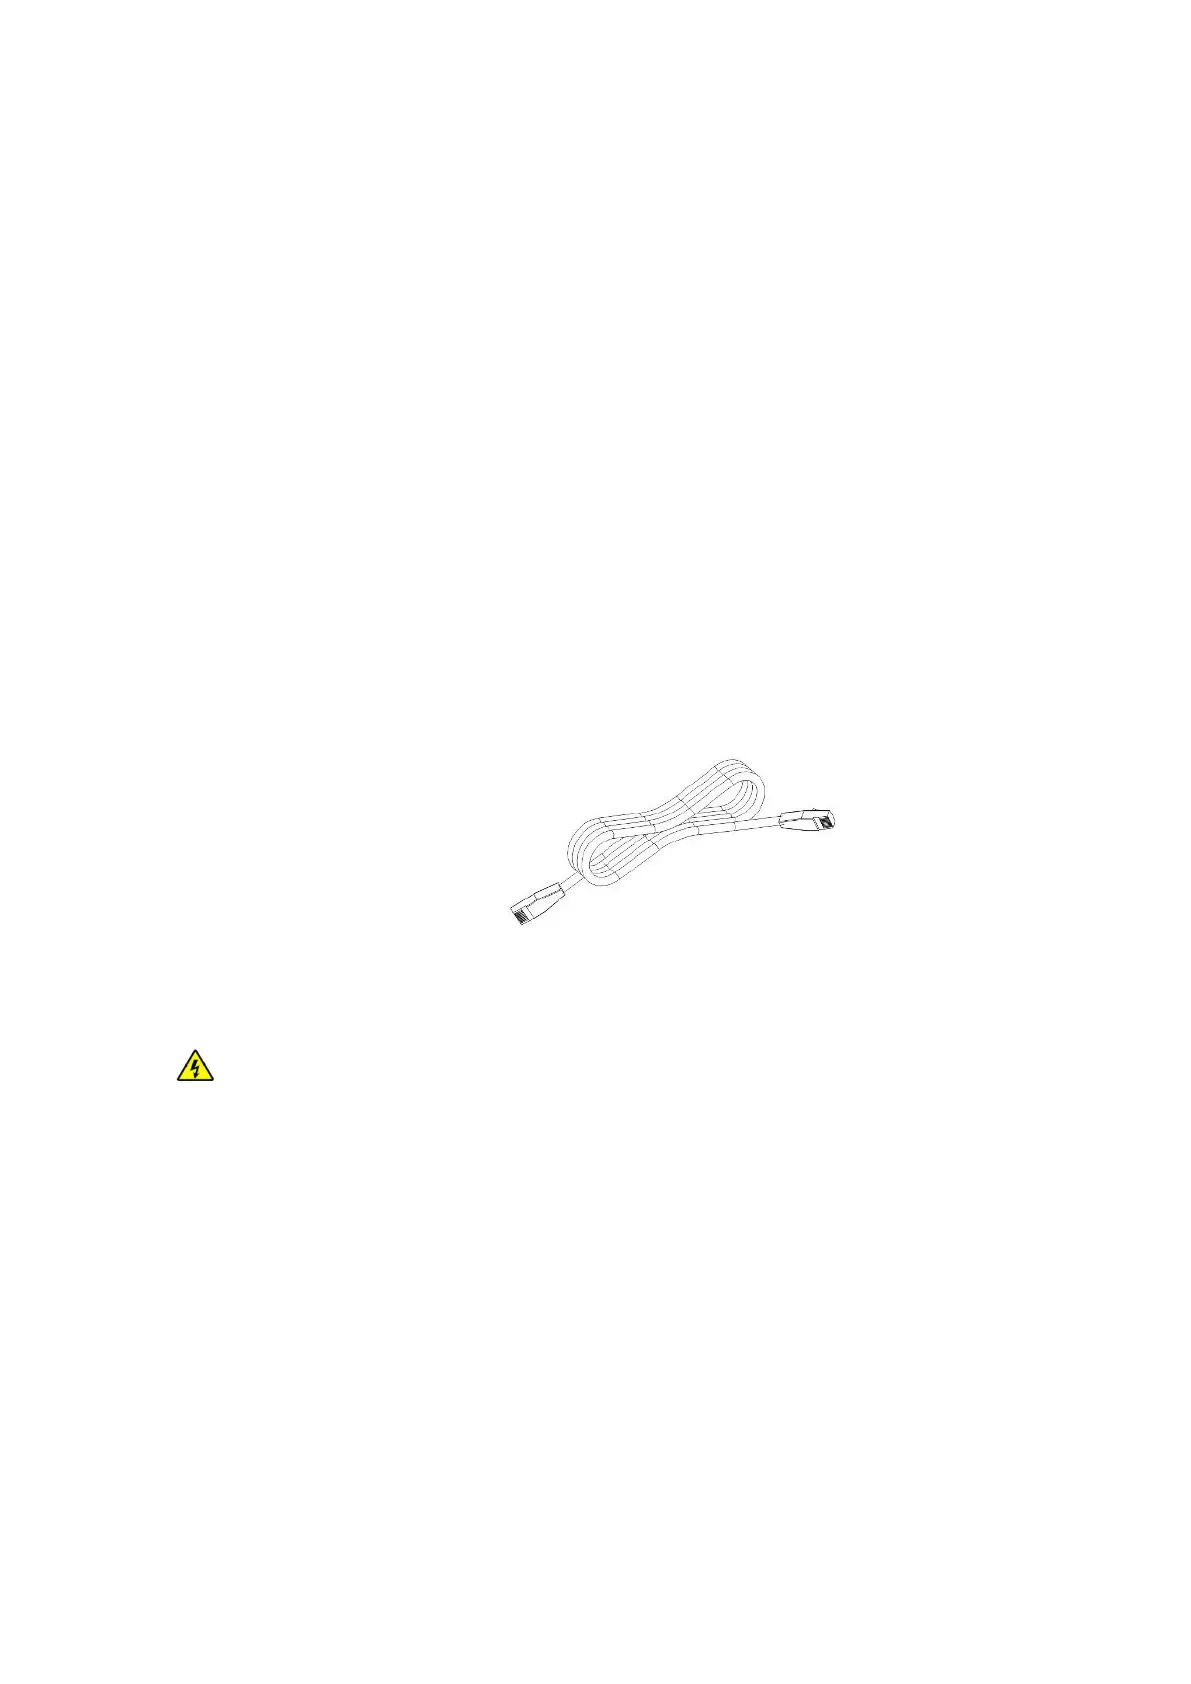
Parallel communication line*1:
4.9.2 Precautions for connecting the parallel connecting lines
Warning:
1. PV connection:
When connected in parallel, the PV arrays of each machine must be independent and the PV arrays of PV1 and
PV2 of each machine must also be independent.
2. Battery wiring:
Parallel connection in single or three-phase: ensure that all solar storage inverters are connected to the same
battery, with BAT + connected to BAT + , BAT - connected to BAT -, and that the connection is correct with
the same wiring length and line diameter before power on, so as to avoid the abnormal operation of parallel
system output caused by wrong connection.
3. LOAD wiring:
Parallel connection in single phase: ensure L-to-L, N-to-N and PE-to-PE connection for all solar storage
inverters, and that the connection is correct with the same wiring length and line diameter before power on,
so as to avoid the abnormal operation of parallel system output caused by wrong connection. For specific