You need to replace “WiFi-A” with your custom name of WiFi and “Sunfounder” with your password. By
doing these, the Raspbian system will move this file to the target directory automatically to overwrite the
original WIFI configuration file when it runs next time. After doing this step, you also need to keep the USB
card reader plug in your computer.
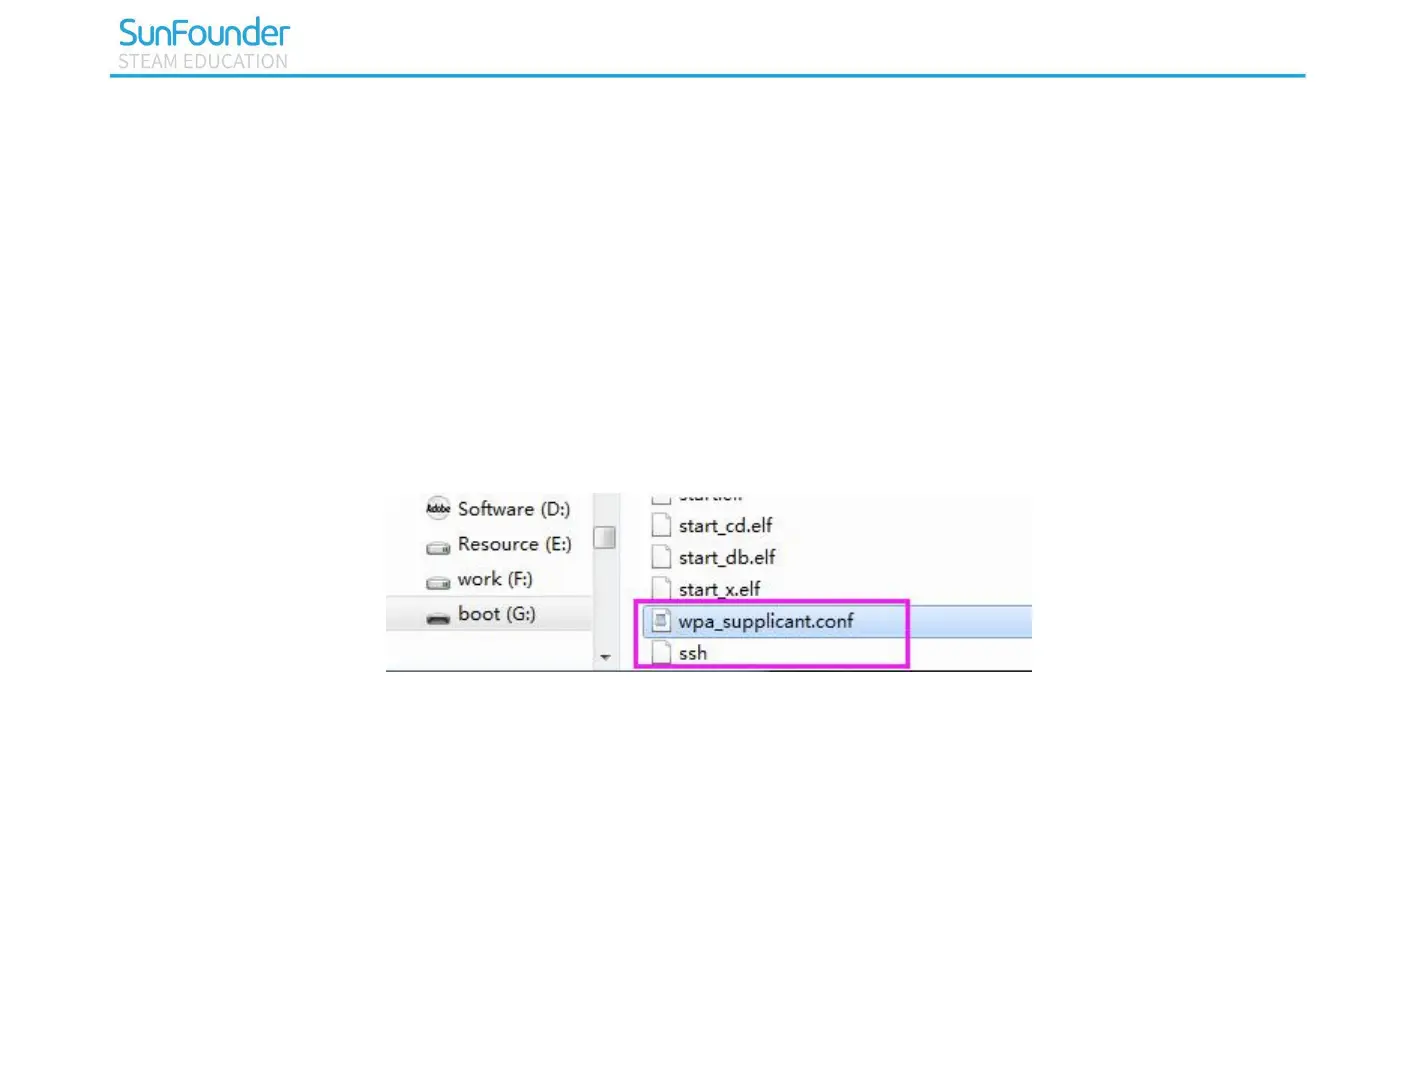
Start SSH
To use the function of remote control of the Raspberry Pi, you need to start SSH firstly that is a more
reliable protocol providing security for remote login sessions and other network services. Generally, SSH of
Raspberry Pi is in a disabled state. Additionally, if you want to run it, you need to create a file named SSH
under directory /boot/.
Now, the Raspbian system is configured.
Power on the Raspberry Pi
You can plug out the USB card reader and then plug the Micro SD card into the Raspberry Pi. Finally
switch on the 4WD-Hat board. Due to the long test time, you can also plug a 2.5A power adapter into the
Raspberry Pi.