3
15. Secure the Solar Panel to the EasyShade Housing
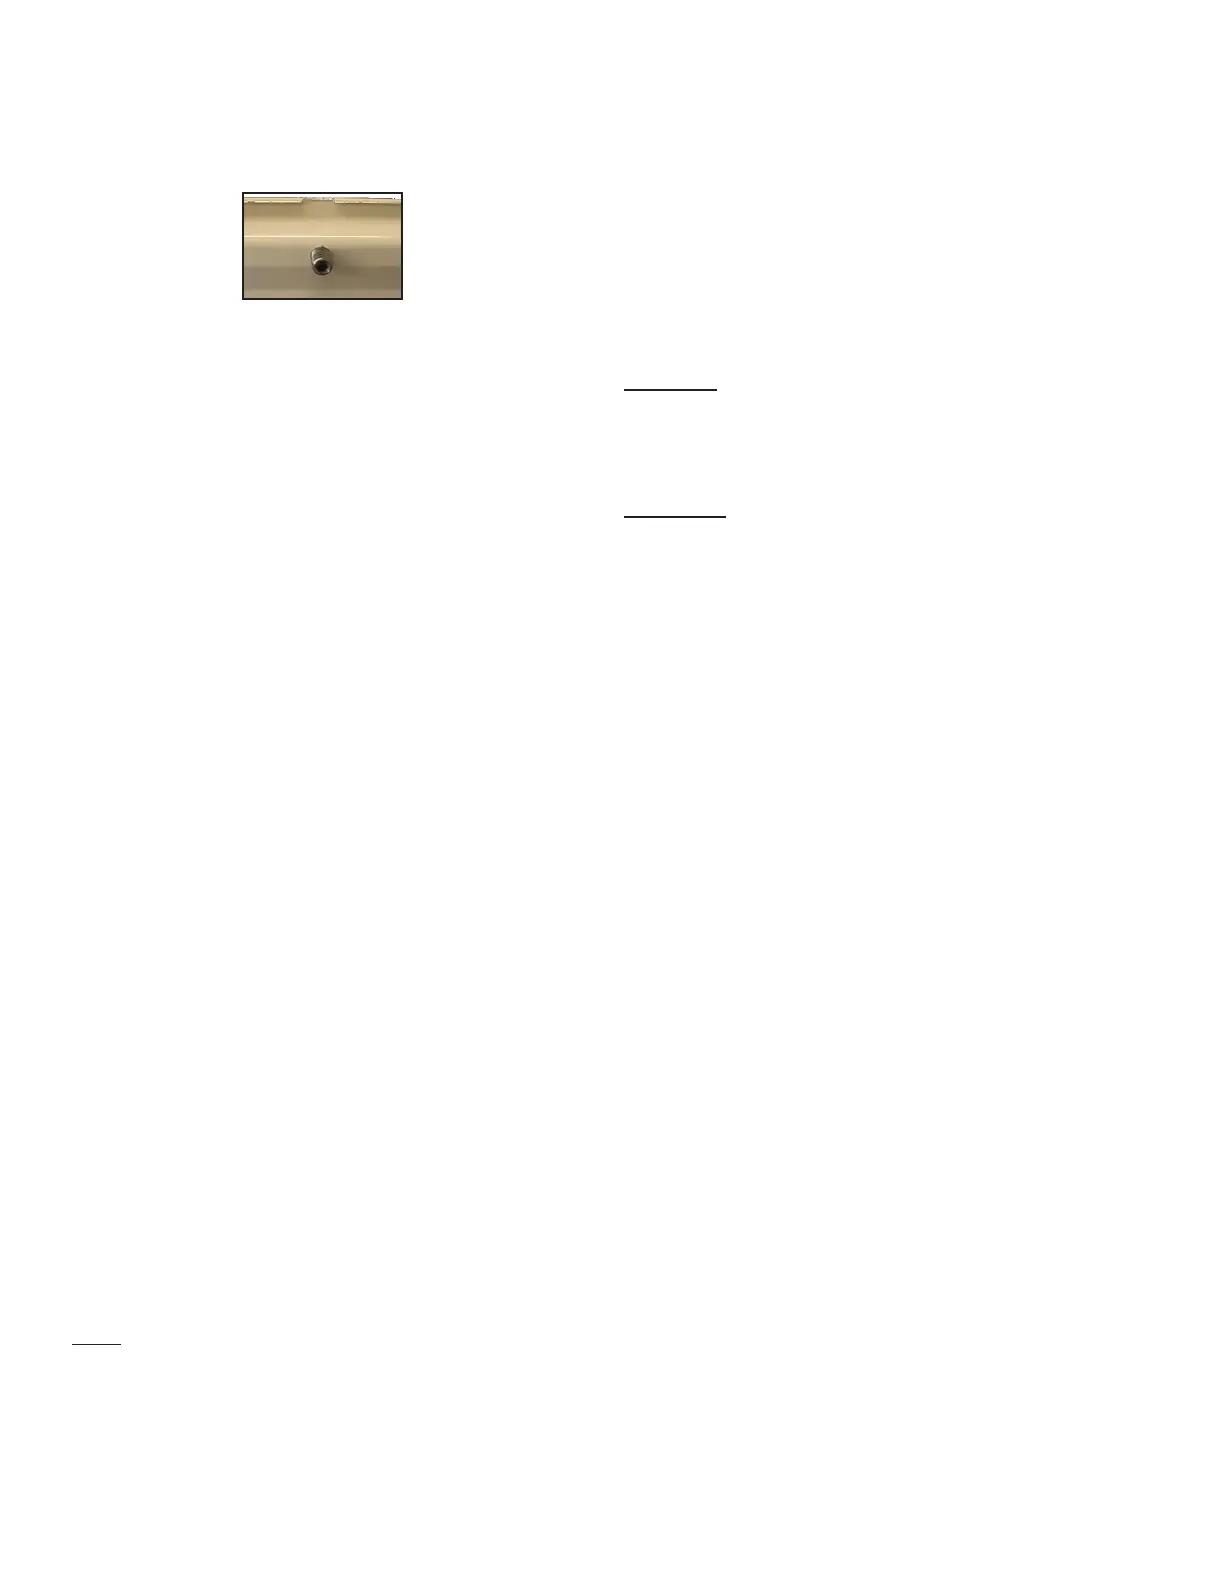
set screw into the threaded opening under the
16.
top groove of the EasyShade assembly onto the
Figure 5.
17. While maintaining upward pressure to keep the
top groove of the EasyShade Assembly on the tab
sure that the set screw is aligned in the recessed
Figure 5.
18.
19. At each end of the EasyShade Housing Assembly
uncoil the Vinyl Coated Cable. Allow the coiled
20. Insert the Vinyl Coated Cable located at each end
of the Housing Assembly through the guide holes
at each end of the EasyShade Drop Down Fabric
Panel. See Figure 3.
21. Place the lower end of one of the Vinyl Coated
cables through the hole in the Cable Guide
Cable Guide Stops onto the Vinyl Coated Cable
Repeat for the other side of the EasyShade.
See Figure 2.
22.
follows. On each of the Cable Guide Stops you will
Note: DO NOT OVER TIGHTEN THE CABLE.
Connect the Motor Power Cord to the Solar Panel.
APPENDIX A
REMOVAL OF SOLAR PANEL FROM
WALL MOUNT BRACKET
1. Disconnect the Power Cable between the Solar
Panel and EasyShade Motor.
2. Figure 4) under
the Solar Panel.
3.
CAUTION: If the Solar Panel does not easily slide
o the Wall Mount Bracket, nudge it gently. Do not
use a hammer to bang the Solar Panel Assembly, as
permanent damage may occur.
WARNING: WHEN USING A LADDER OR ANY OTHER
CLIMBING DEVICE, YOU MUST USE EXTRA CAUTION
WHEN SLIDING THE PANEL OFF THE BRACKET.
WE RECOMMEND TO POSITION THE CLIMBING
DEVICE TO THE SIDE TOWARD WHICH YOU WILL BE
REMOVING THE PANEL. IT IS HIGHLY RECOMMENDED
TO HAVE A HELPER SECURE THE CLIMBING DEVICE.
FAILURE TO DO SO COULD RESULT IN A FALL AND IN
PERSONAL INJURY.
INSTALLATION OF SOLAR PANEL
TO WALL MOUNT BRACKET
1.
Bracket.
2.
Figure 4) points
3. Hook the lower edge of the Panel under the lower
step 1 in Figure
4.
4. Press the top of the Solar Panel over the top of
snaps onto the top Groove of the Bracket. See
step 2 in Figure 4.
5. Tighten the Allen Set Screw, under the Solar Panel,
ensuring the Solar Panel is secured to the Bracket