20
3) Winding lower thread
A. How to wind the lower thread
a) Turn the thread from the backside of the tension
adjusting plate② to the front through the hole①.
b) Bring the thread towards the bobbin
③
and wind it 5~6
times in a clockwise direction, starting from the bottom up.
c) Push the lever④ to make the pulley⑤ touch the V-belt
and start the machine
d) When the lower thread is winded up completely on the
bobbin, the pulley⑤ will automatically separate from
the V-belt.
e) The adequate quantity of lower thread winding is
about 80%.
B. Winding adjustment for lower thread
a) If the lower thread winds irregularly, loosen the screw⑥ to move it left and right. Fasten it back after adjustment.
b) Winding quantity of the lower thread can be adjusted by turning the adjusting screw⑦. Move the screw clockwise for more
quantity and counterclockwise for less quantity.
c) As for adjusting the tension of the lower thread winded on the bobbin, turn the nut⑧ clockwise direction to increase the tension and
counterclockwise to reduce the tension.
4) Routing upper thread
After placing the take-up lever in its highest position, hang the upper thread as shown in the figure.
-For initial sewing, the suitable length of the upper thread tail from the needle hole is about 50 mm.
[ Fig. 24 ]
[ Fig. 25 ]
②
③
④
⑤
⑦
①
⑥
⑧
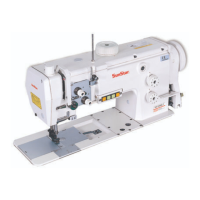
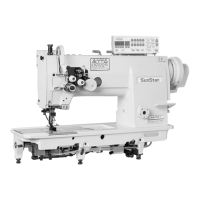
1060BL 1062BL
Caution
▶Turn off the power switch when routing the upper thread. If the operator mistakenly presses
down on the pedal while switched on, the machine will start automatically and can cause
physical injuries.
▶When using the clutch motor, be aware that the motor will continue to rotate for a while after the
power is switched off. Start to work on the sewing machine only after the motor has come to a
complete stop.