©2018 SwellPro All Rights Reserved
41
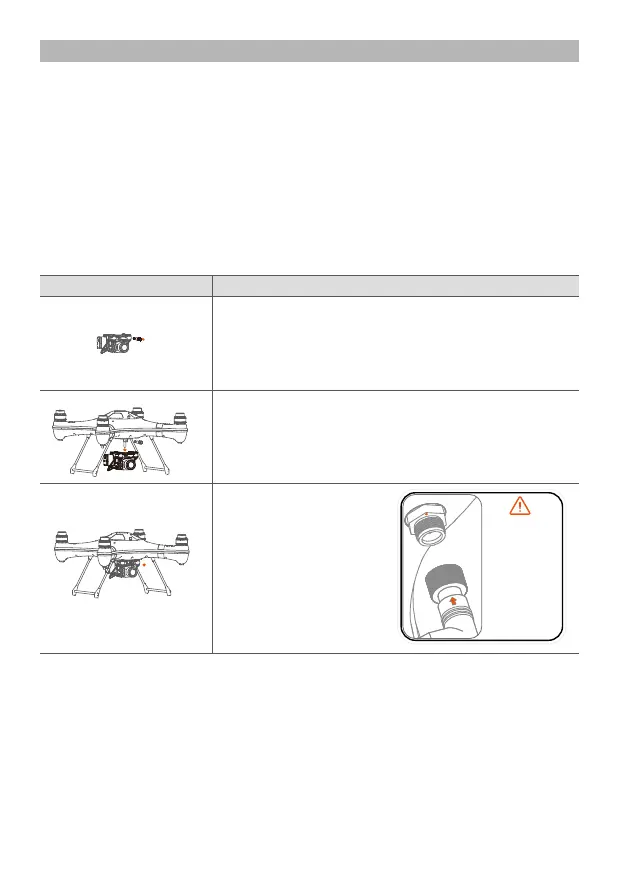
Note: when connecting
the waterproof plug,
please align the
positional arrow on the
plug to the
corresponding mark on
the socket, please don’t
twist the socket so as to
avoid damaging the
connecting seat. Please
Establish a good and
comprehensive
connection, finally
tighten the locking nut.
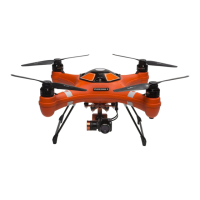
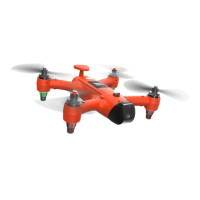
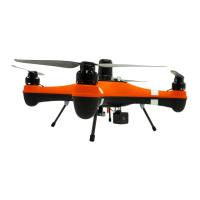
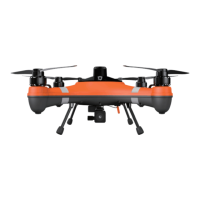
Payload Release
Installation
The patented payload release device is a powerful and versatile accessory to expand the use
and applications of the Splash Drone 3. With the help of the payload release, Splash Drone 3
can help fishermen to put the fishing bait far away from the shore. Rescuers use Splash Drone
3 to search for stranded person/s, and deliver vital rescue equipment to them in advance. The
maximum 1kg payload, controlled by the remote control, the Splash Drone 3 can do much
more that, reaching beyond the abilities and efficiency of people.
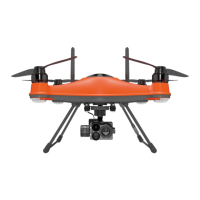
How to use the payload release system.
1. After the device is installed, power on the remote controller, and the drone.
2. Put the Airdrop switch to the Airdrop position, you can then see the release of the pin.
3. Prepare the goods to be delivered, and put the rope into position in the mechanism. Then
put the Airdrop switch to the OFF to close the bolt.
4. Clear to takeoff and get airborne, find and locate the right dropping area with the help of
the FPV screen, and drop the goods.
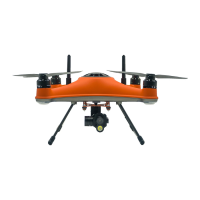
Mount the payload release onto the quick dismounting
plate, and fasten the bolt.
Slack off and remove the mounting screw on the topside
of the gimbal, in the event of it being very tight, you can
use a coin to assist.
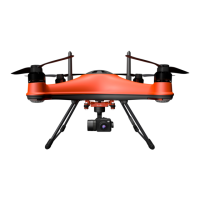
Insert the cable connector
plug in the right direction,
and lock the waterproof
nut.
Description
Installation Illustration
 Loading...