©2018 SwellPro All Rights Reserved
08
Note: When opening the top cover, be careful to not strain the GPS cable. When closing
the top cover, ensure that the hatch is oriented correctly with the arrow facing the front
of the drone.
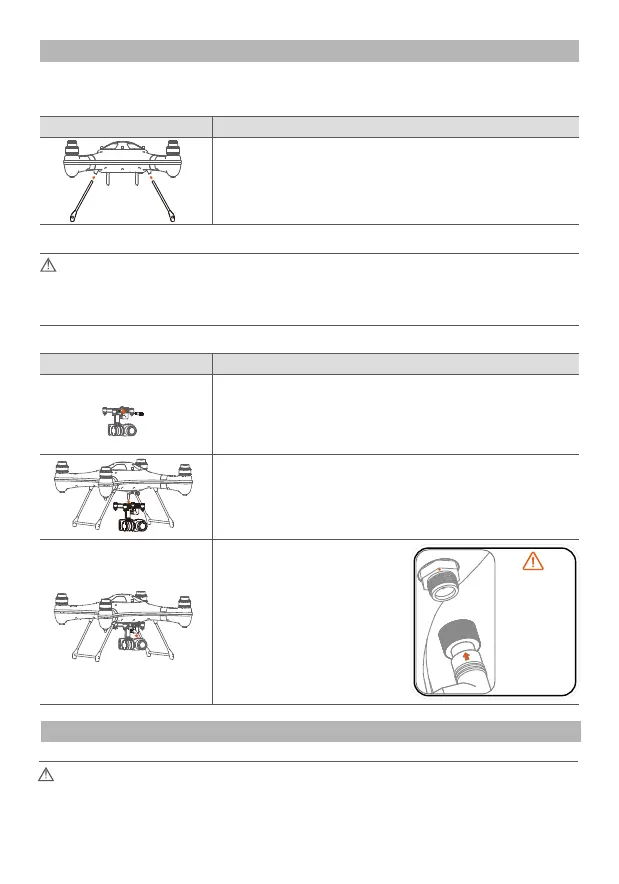
Note: please align the
positional arrow on the
plug to the mark on the
socket, please don’t
twist the socket as the
waterproof seal can be
afected.
Once aligned, push the
plug into the socket and
tighten the locking nut.
Do not force the plug or
the nut.
Preparation of the drone
Drone Assembly and Set Up
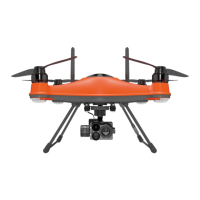
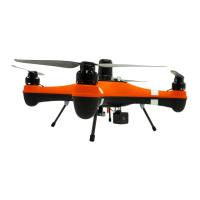
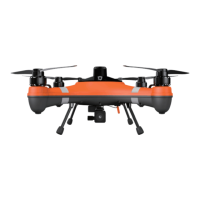
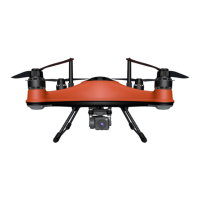
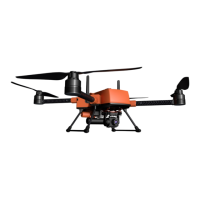
Drone Illustrations
Mount the gimbal onto the bottom plate, and secure it
with the fixing screw.
Slack of and remove the mounting screw on the topside
of the gimbal, in the event of it being very tight, you can
use a coin to assist.
Gimbal Installation
Installation of the landing gear
Detailed Description
Installation Diagram
Insert the landing gear according to the red arrows.
Detailed DescriptionInstallation Diagram
Insert the gimbal
connecting plug into the
corresponding socket on
the underside of the
drone, and tighten the
waterproof cap on the
plug.
Attention: Install the camera gimbal after completing the accelerometer and compass
calibrations on the Splash Drone, to avoid unnecessary rotation & vibration. (Refer to the
accelerometer calibration and compass calibration on pg 29 & 30 for more details)