62
ELECTRICAL SYSTEMS
8.3 Battery replacement
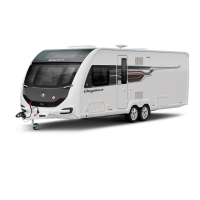
Step one
Place the new battery on the cab floor and
remount the battery terminals using a 10mm
spanner, taking care to observe the positive and
negative terminals. Refit the terminal covers and
secure in place using new zip ties.
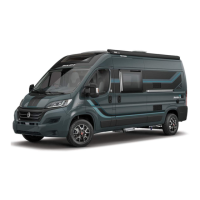
Step two
Ensuring that the buckle are face down. Feed the
two fabric straps under the lower front and back
bars. Hook the rear of the strap over the front top
bar – this will prevent the strap being dragged
backwards when sliding the battery into place.
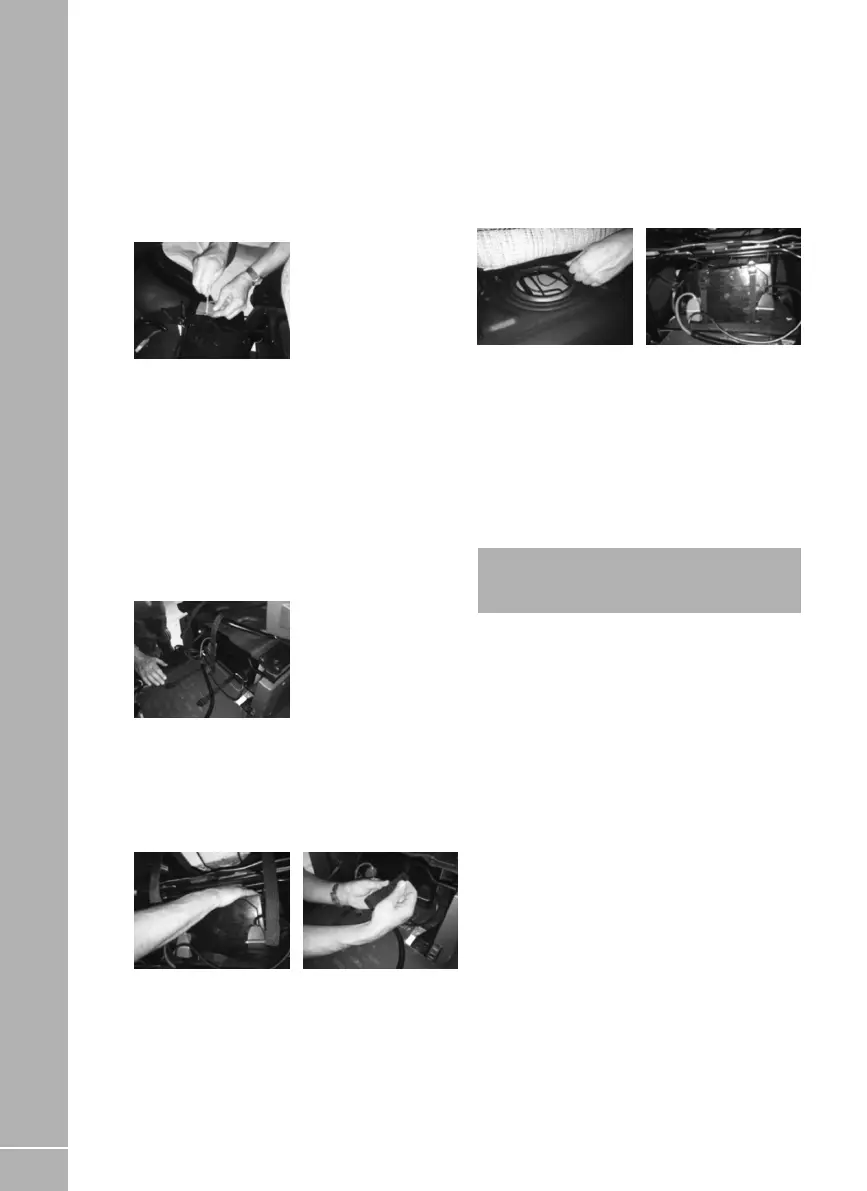
Step three
Lie the battery on its side with the terminals
closest to the floor. Slide the battery into
position taking care not to drag the straps
backward.
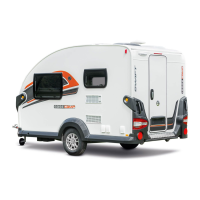
Step four
Reach up above the battery and up through the
centre of the seat base to draw the strap back
from the top bar. Now the strap is located on top
of the battery re-secure the straps through the
buckles.
Step five
Tighten the strap as far as possible then slide
the seat forward and passing the tails through
the hole in the seat base. Then fully tighten the
straps and place the tail straps under the seat
when fully tightened. Ensure that the straps
are located next to the battery terminals to limit
movement of the battery.
Step six
Reattached the battery harness by firmly
pushing the electrical connector back together,
stow cable and secure using zip ties across the
front the seat frame.
Step seven
Reattach the lower front seat fascia by pushing
into lower clip positions first then rotating the
fascia until the upper central clip engages.
Note: Any replacement auxiliary battery shall
be of the same type and specification as the
original fitted or specified by Swift.