- 5 -
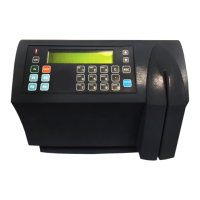
2.2 Mounting the Terminal
Make sur
e the unit is unplugged and that it is not connected to the network/PC.
Caution: The terminal should not be mounted where it will be exposed to
extreme heat or cold, water, steam, violent vibrations, high electromagnetic
radiation including high voltage power lines and electrical equipment.
Place the terminal near an easily accessible power source. Select an appropriate location for the terminal. The
recommended height from the floor is 140 cm (4’ 7”).
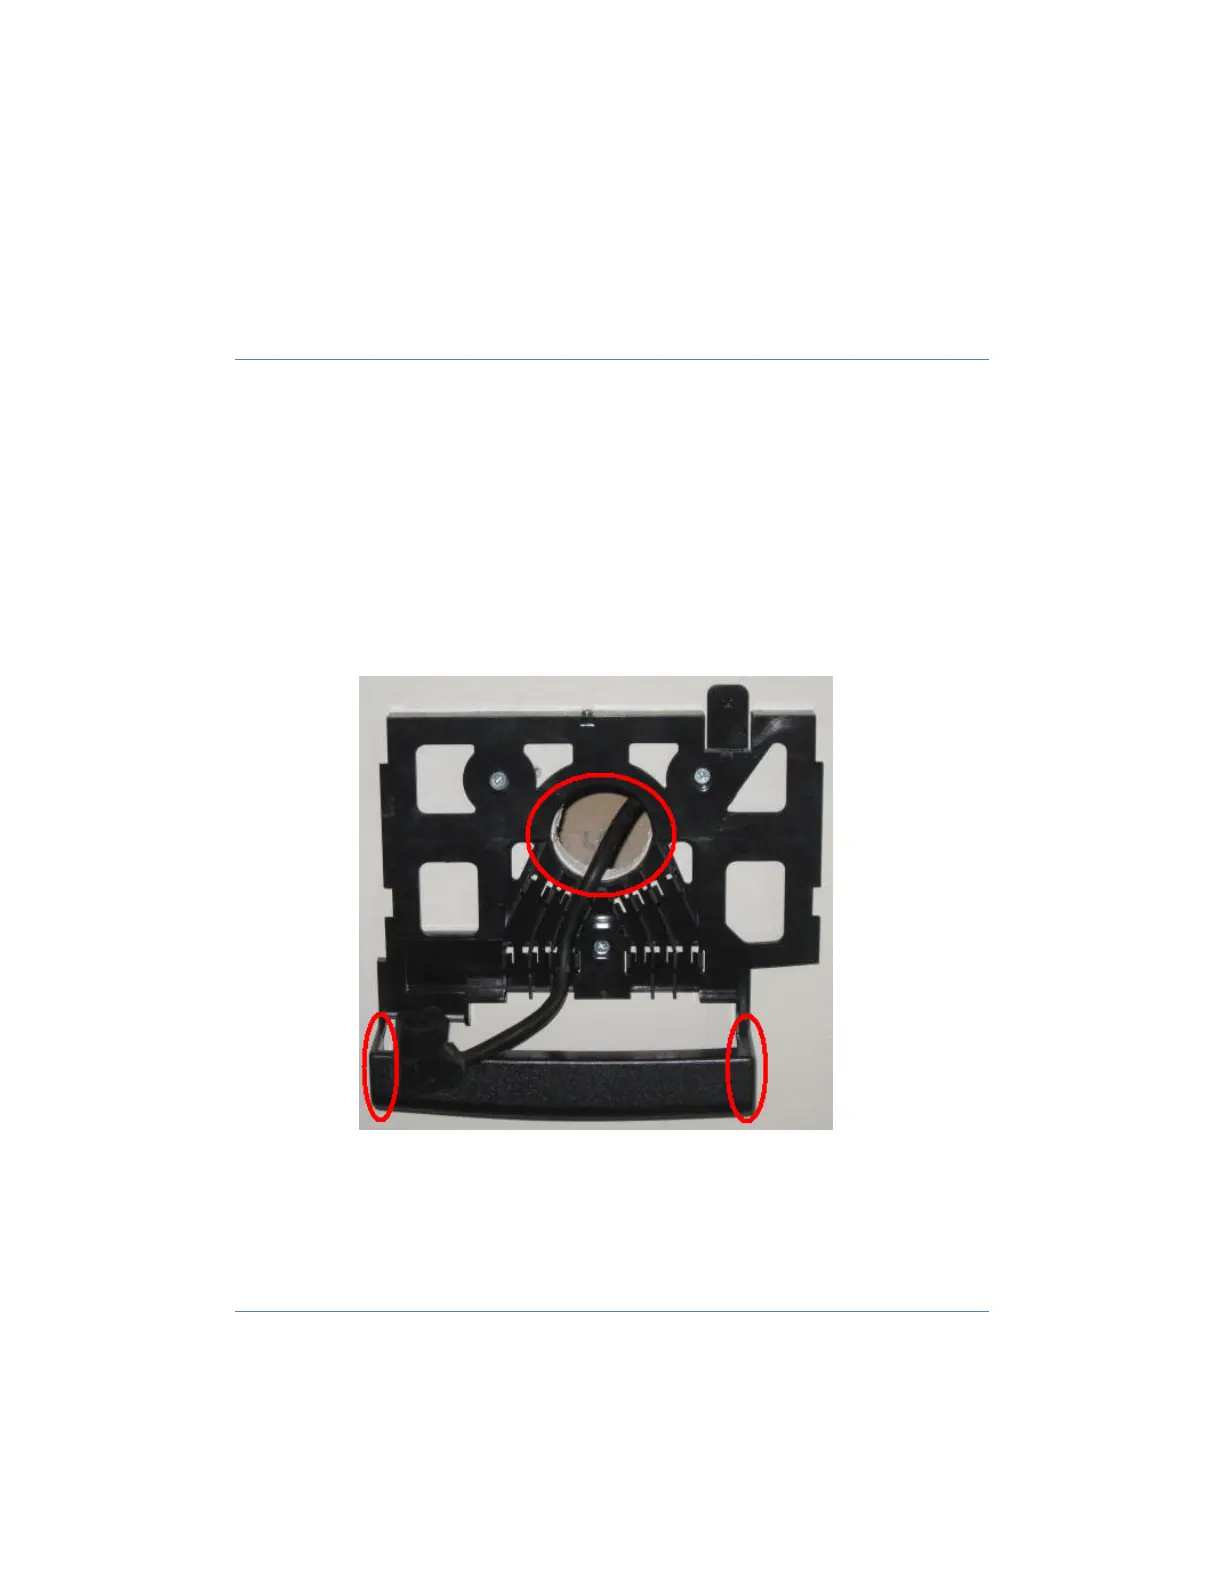
1. Remove the back/
mounting panel.
2. Using the Mounting Panel place the panel onto the wall at the correct height, making sure that the panel is
level.
a. Mark the three holes for the screws for your drilling locations.
i. Drill holes using drill bit size: 0.23” (6 mm) and insert the plastic screw anchors.
b. Options for power cable and communication wiring.
i. If you are running the wiring within the wall that the clock is mounted to, you have the
option of running the cabling through the center hole of the mounting plate.
ii. If you are bringing the cable from outside the wall, there are knockouts located on both
sides of the cable shield of the mounting plate.
Warning: Live wires in the vicinity may contain 115v or 230v. Make sure not to
drill into any electric wires. Failure to heed this warning may result in serious
injury or death.
3. Mount the back plate making sure that the plate is level.
a. Use the screws that came in the kit to complete the mounting of the back plate.
4. Mount terminal by sliding the unit unto the tabs on the back of the terminal.