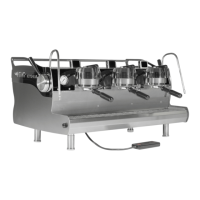
This is where you choose how many programs you would like activated on each group.
What you set on this screen will apply to all groups. As you see, 1 & 2 are already
enabled. If you would like to add or remove any options, you can do so here. Program
1 cannot be deactivated.
Scroll down until you get to the option to Return to Operation. Push the button to the left of
that text and you will go back to the Temperature Overview Screen (Home).
Prepare your coffee.
You should still be set to M mode. Brew in M Mode until you get to a shot that looks and
tastes right for your roast. When you achieve a recipe you would like to save, here is what
you do.
SAVING A RECIPE: (Reference row 1B on the Quick Start Guide)
Hold the brew handle to the right for 2.5 seconds to enter SAVE mode. You will see the green disk
appear on all groups
Shift right to advance through the enabled programs – each shift will move to the next enabled
program. Stop when you get to the one you want
Shift left to save the program to that position. You can repeat this at any position on any group
Hold right for 2.5 seconds to exit SAVE mode
**You are also able to reference and fine tune the parameters -Pre infusion, Ramp Up time,
Ramp down %, and Total Water Count - on the hand held controller. The addition of Total
Water Count is exciting because it illustrates the number of approximate pulses of the flow
meter per ml/g. So, if for example, you want to simply add a gram more water to your recipe,
you just add 5 counts to the TWC. Adjustments made with the hand held controller remain
until a new program is saved to that position.
Now, if you would like your team to be able to simply run this program as you have set it,
you can change modes to VP for maximum ease of repeatability.

 Loading...