Keep away from direct sunlight and from chemicals. Make sure the environment does not experience abrupt changes in
temperature or humidity.
Place the product right side up at all times.
Do not place near any liquids.
Before cleaning, unplug the power cord. Wipe with damp paper towels. Do not use chemical or aerosol cleaners.
To prevent the unit from falling over, do not place it on carts or any unstable surfaces.
The power cord must plug into the correct supply voltage. Make sure that the supplied AC voltage is correct and stable.
To remove all electric current from the device, ensure that all power cords are disconnected from the power source.
Risk of explosion if the battery is replaced with an incorrect type. Dispose of used batteries appropriately.
Hardware Setup
Tools and Parts for Component Installation
Please prepare the following tools and parts before setting up your Synology NAS:
A screwdriver (only for 2.5″ drives)
At least one 3.5″ or 2.5″ SATA drive (please visit www.synology.com/compatibility for compatible drive
models)
Warning: If you install a drive that contains data, the system will format the drive and erase all existing data.
Please back up any important data before installation.
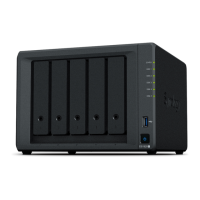
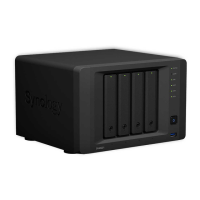
Install Drives
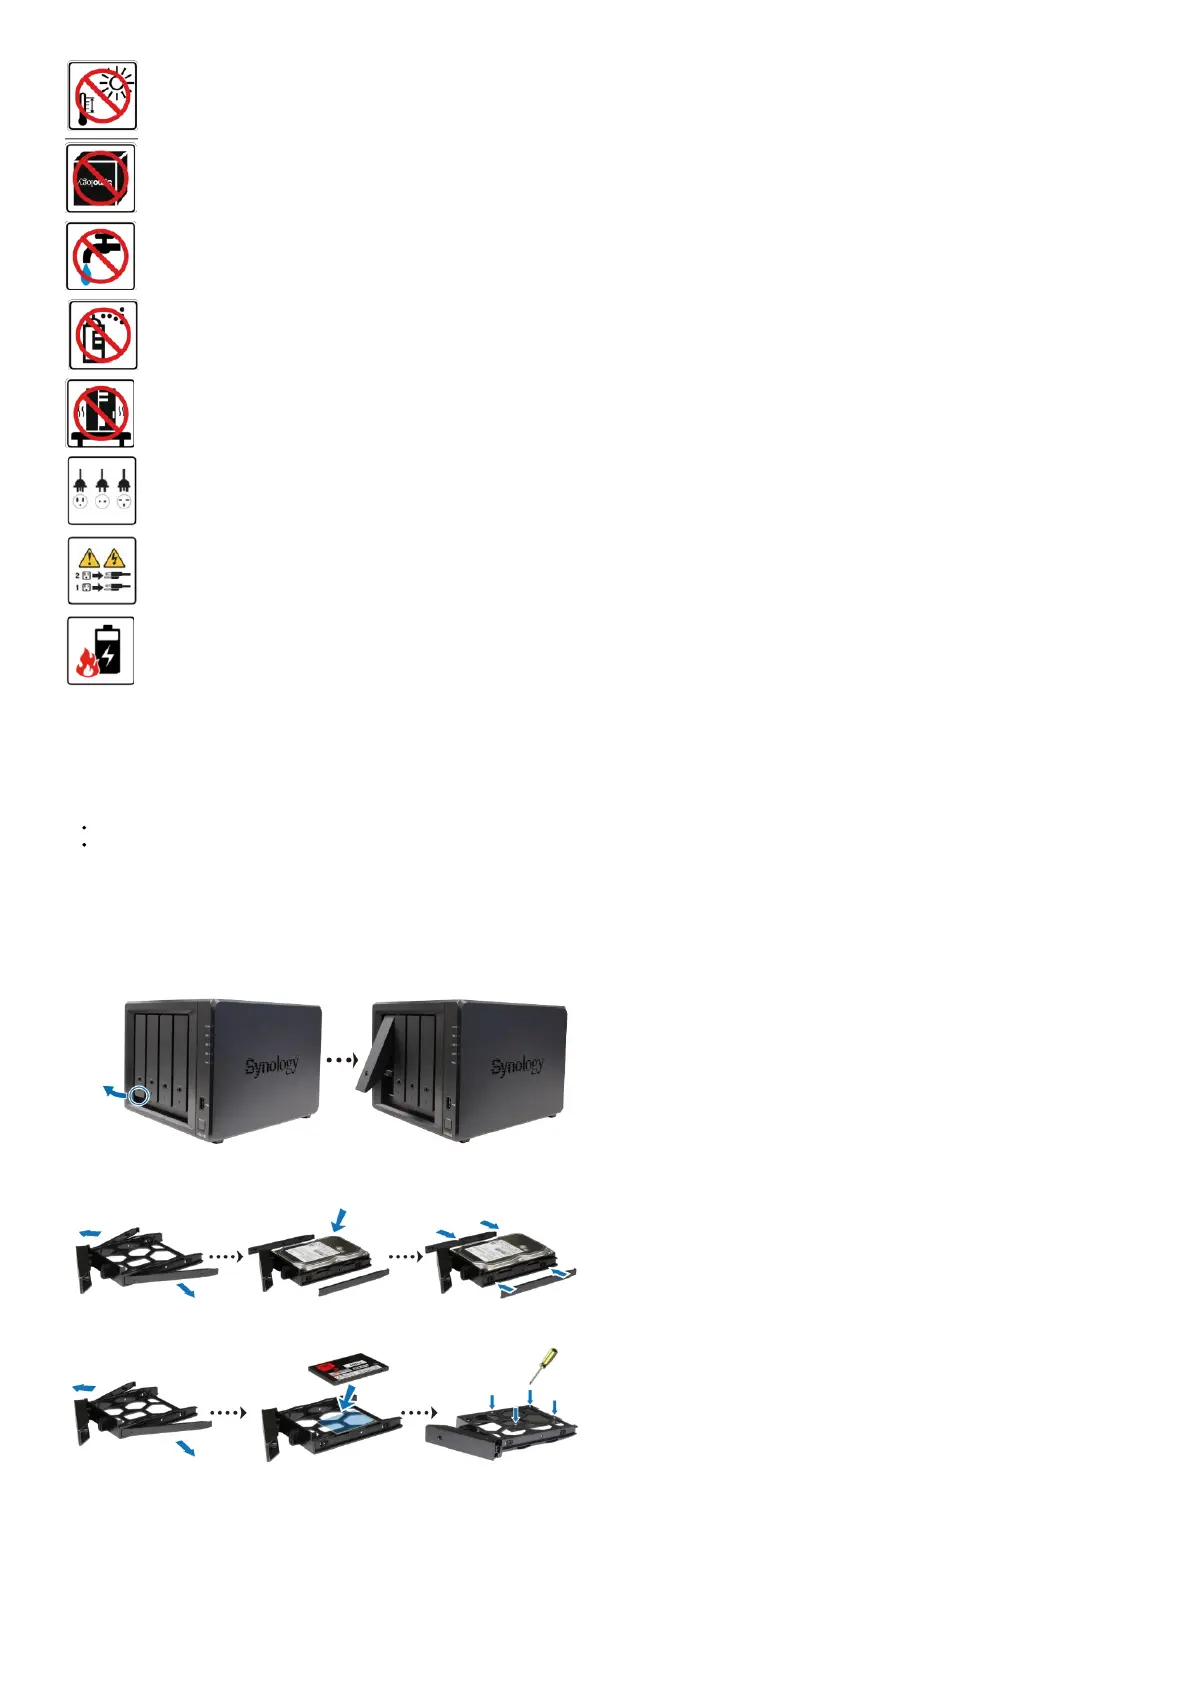
1. To remove the drive tray, pull on the circled area in the indicated direction as shown in the image below.
2. Load drives in the drive trays.
• For 3.5″ drives: Remove the fastening panels from the sides of the drive tray. Place the drive in the drive tray. Then insert the fastening panels to secure the drive in place.
• For 2.5″ drives: Remove the fastening panels from the sides of the drive tray and store
them in a safe place. Place the drive in the area of the drive tray indicated by a blue rectangle below. Turn the tray upside down and tighten the screws to secure the drive in place.
3.Insert the loaded drive tray into the empty drive bay and push it back until you hear a click
when the tray is locked into place.