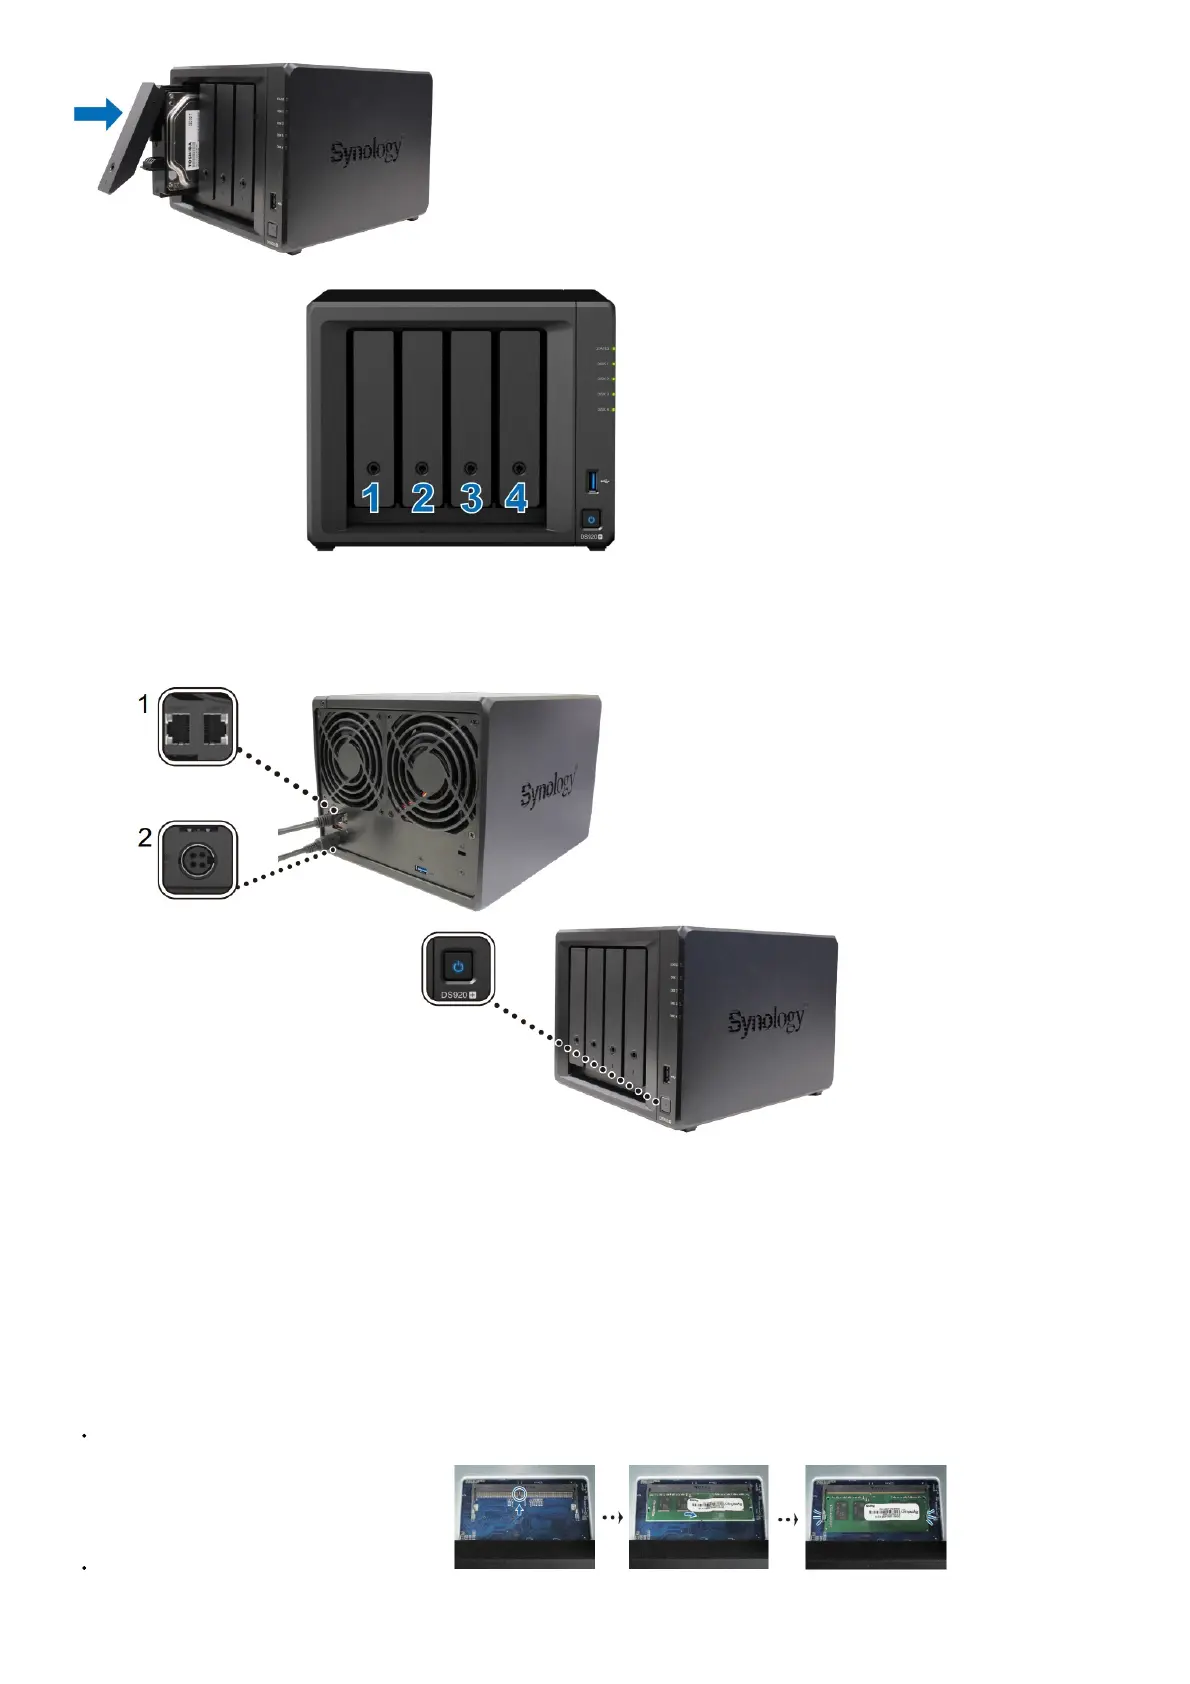
4.Repeat the steps above to install the other drives you have prepared.
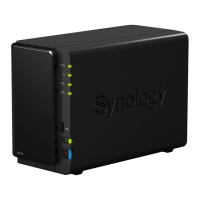
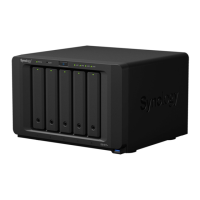
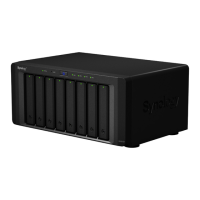
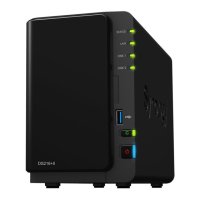
5.Drives are numbered as shown below.
Note: If you plan to create a RAID volume, we recommend installing drives of identical size to make the best use of drive capacity.
Start-Up Your Synology NAS1
1. Use the LAN cable to connect the Synology NAS to your switch, router, or hub.
2. Connect one end of the AC power adapter to the power port of your Synology NAS. Connect one end of the AC power cord to the AC power adapter, and the other to the power
outlet.
3. Press the power button to turn on your Synology NAS.
Congratulations! Your Synology NAS is now online and detectable from a network computer.
Add a Memory Module to Synology NAS
Optional Synology memory modules are designed to expand the memory of your Synology NAS. Follow the
steps below to install, check or remove a memory module on your Synology NAS.
To install the memory module
1. Shut down your Synology NAS. Disconnect all cables from your Synology NAS to prevent possible damage.
2. Remove the hard drive trays from the drive bays. An empty memory slot is located on the inner right side of your Synology NAS
Note: When you remove the drive trays, sensitive internal components are exposed. Avoid touching anything
other than the memory assembly when removing or adding memory.
3. Insert the new memory module into the empty slot:
Align the small gap between the gold connectors of the memory module with the notch on the empty slot.
Insert the memory module into the slot. Make sure that the module is properly inserted.
Gently push down the memory module until you hear a click.
Note: