14
6
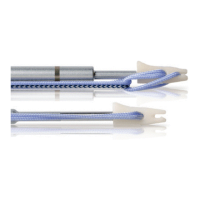
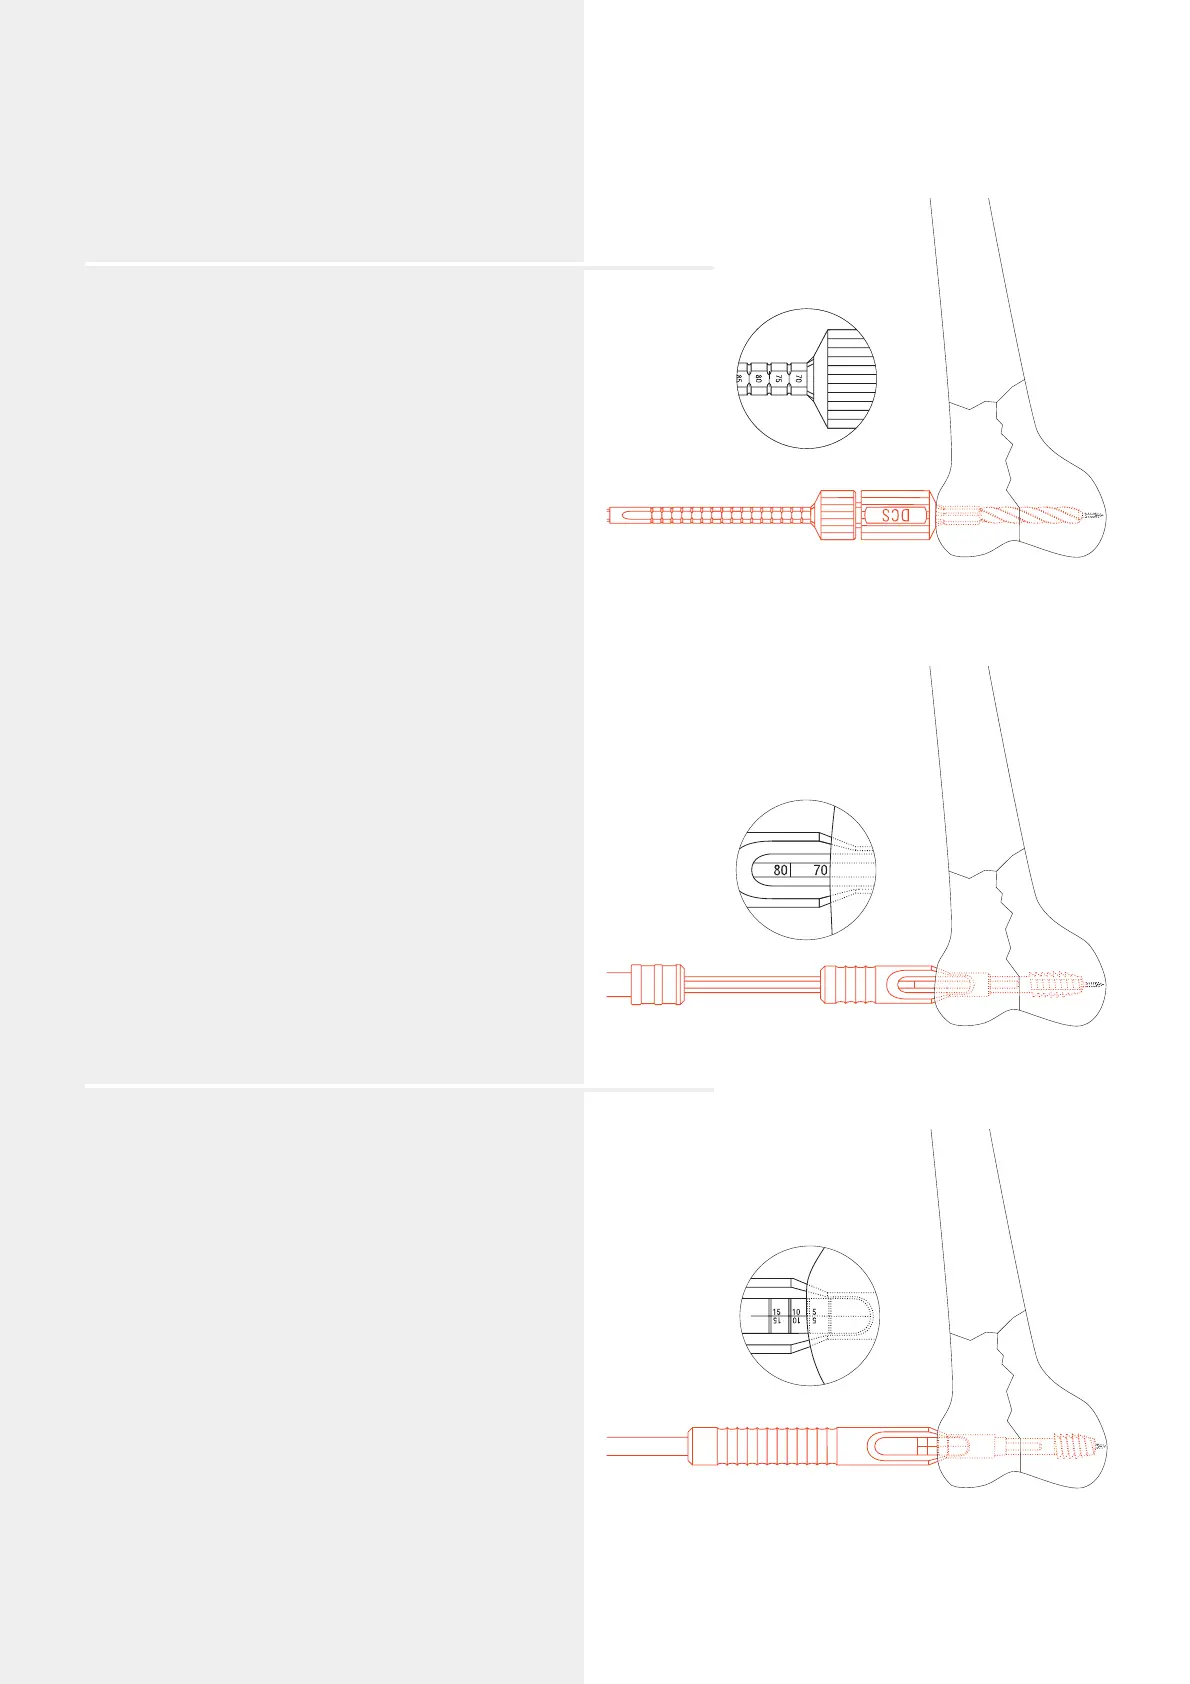
Reaming
Adjust the reaming depth on the DCS Triple Reamer
(338.460). The appropriate reaming depth is 10 mm shorter
than the measured length of the guide wire (i.e. 80 mm –
10 mm = 70 mm).
Assemble the DCS triple reamer: Slide the DCS Reamer
(338.470) over the Drill Bit 8.0 mm (338.100) until it clicks
into place at the selected mark (in this example at 70 mm).
Secure the reamer by tightening the Knurled Nut (338.120).
Ream down to the stop.
The appropriate DHS/DCS screw is 5 mm shorter than the
reaming depth (in this example the DHS/DCS screw is 65 mm
long).
Remove the DCS triple reamer.
Note: Check that “DCS“ is marked on the reamer to avoid
any mix-up with the DHS triple reamer.
Option
If the bone is hard, tap the thread using the DHS/DCS
Tap (338.170) and the short DHS/DCS Centering Sleeve
(338.180). Tap the thread until the selected depth
in the small window of the centering sleeve reaches the
lateral cortex (in this example 70 mm).
Note: The tap may not be used in osteoporotic bone.
7
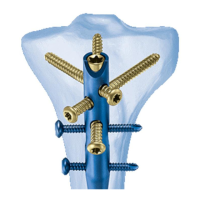
Insert the DHS/DCS screw
Slide the insertion instruments (see page 17 for assembly)
over the guide wire and advance the long Centering
Sleeve (338.190) into the drilled hole. Insert the DHS/DCS
screw until the 5 mm mark reaches the lateral cortex. In case
of osteoporotic bone continue inserting the screw for a
further 5 mm.
The handle of the DHS/DCS wrench must remain parallel
to the femoral axis since only in this screw position
can the DCS plate be positioned correctly over the flat-sided
shaft of the DHS/DCS screw against the femoral shaft.
Note: Do not use the DHS/DCS wrench to reduce the
fracture as this only allows limited transmission of forces.
Remove the DHS/DCS wrench and long centering sleeve.
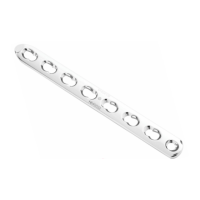
DHS/DCS Standard System
DCS plate 95°°
 Loading...