Document Number: MKT-70-1096 Revision 1 Page 16
SYSMEX XE-5000
TM
Save QAP Data Using Sysmex Insight
TM
• Sysmex Insight icon MUST be used for saving QC data for QAP.
• Review data and if desired, edit (delete) control data prior to submission.
Ensure all QC data is plotted and no analysis error data is included (- - -)
or (+ + +).
1. Click [SysmexInsight] icon on Main Menu. Sysmex Insight screen
is displayed.
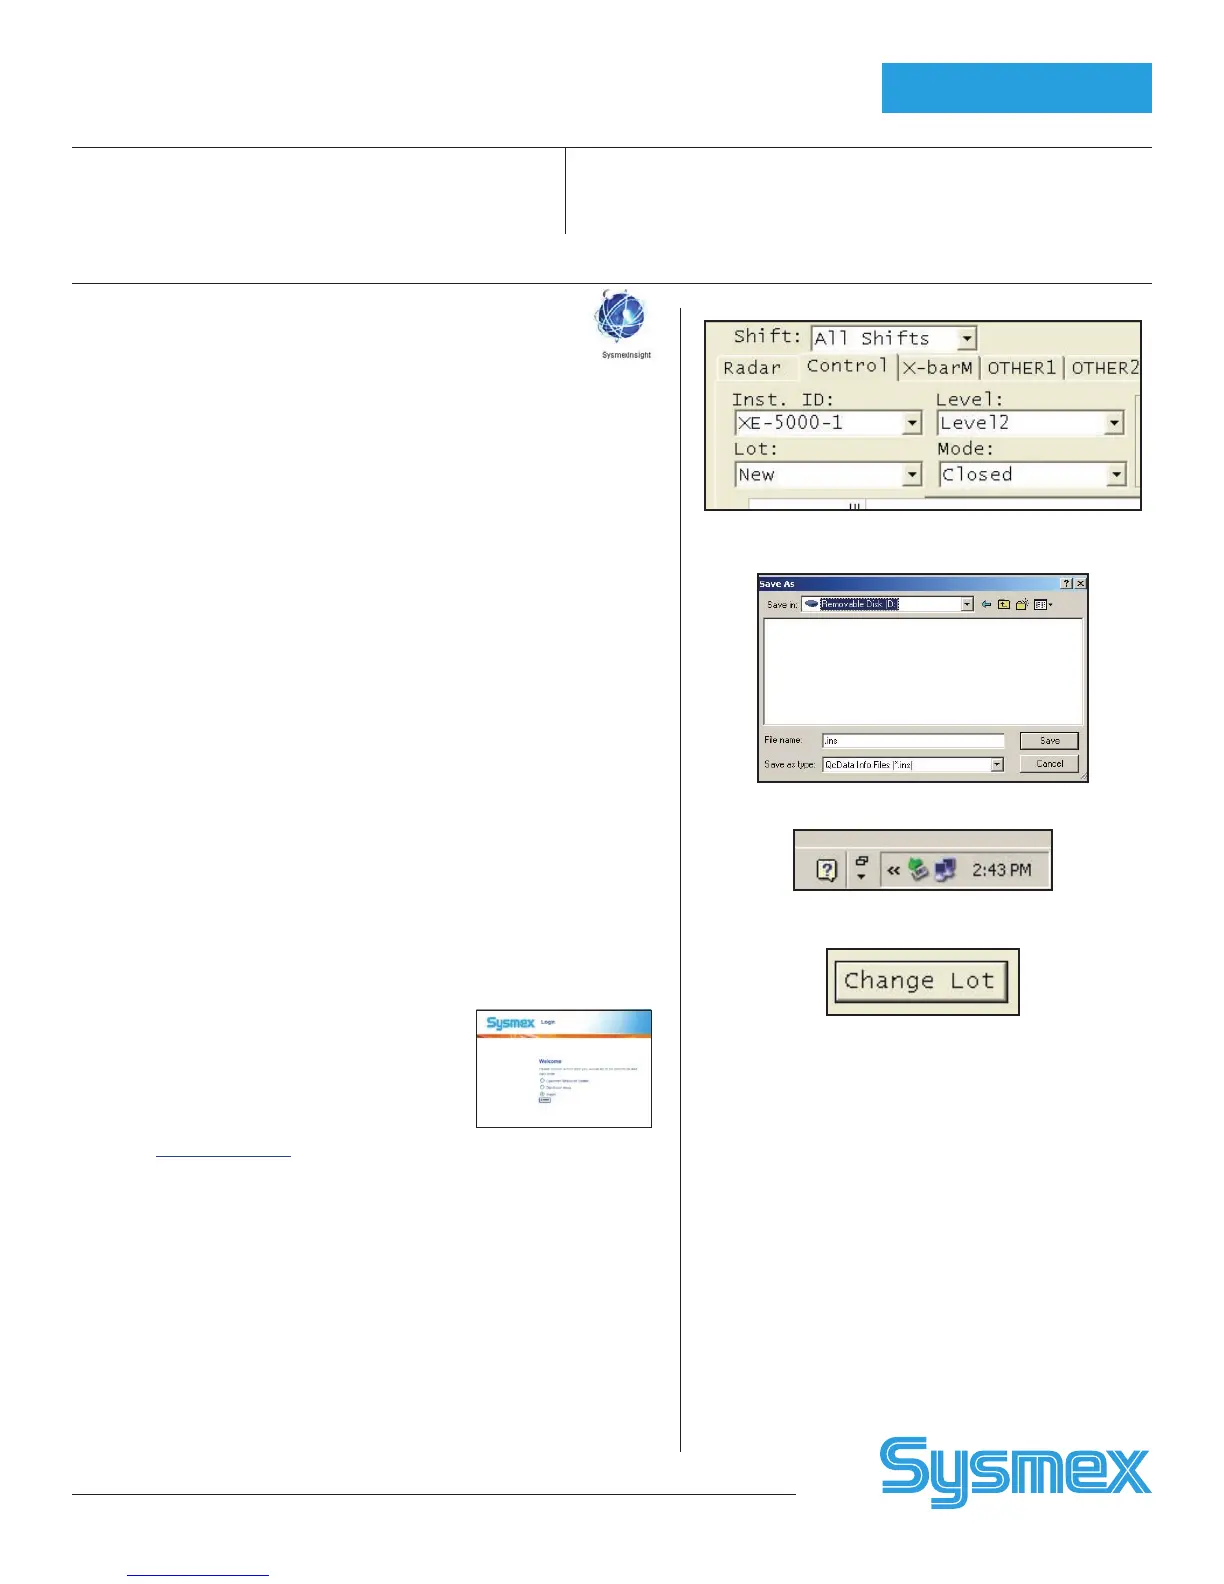
2. Click combo boxes to select QC chart:
• [MATERIAL] to select Control.
• [LEVEL] to select Level 1, Level 2, or Level 3.
• [ANALYSIS MODE] to select Manual or Closed Mode.
• [LOT] to select Lot (Current or New)
• [INSTRUMENT ID] to select Main Unit.
• Verify QC Data Info in right column.
3. Insert Flash Drive into USB port on right side of IPU and click
[SAVE]. The Save As dialog box opens.
4. Check that the name for the Flash drive appears in the Save As
box. If not, click the drop down arrow and select the Flash drive
(Removable, Securegard, Data Traveler, or similar name) from
the list
5. Click the Save button.
6. Repeat steps 2 – 5 for other levels or modes if applicable.
7. With the Flash drive still inserted To verify QC data was downloaded
to the Flash drive press and hold the Windows™ key (between Ctrl
and Alt on keyboard) and press the “E” key once.
8. Verify lot numbers and extension ending with “Lot No. ins”.
9. Remove Flash drive electronically by clicking on the .
10. Click [CLOSE] to exit Sysmex Insight function.
Note: Save each file separately. If saving both Closed and Manual Mode QC
on the same device the operator should enter the letters “C” or “M”
respectively as the first digit of file name. This prevents the second set
of data from overwriting the first.
Submit QAP Data To Sysmex
1. Go to www.sysmex.com. Click on Sysmex America Inc. “Go to Insight.”
2. Log on: User name: Input first 4 digits Insight Customer No. Password:
Input first 4 digits of Insight Customer No. and first 5 digits of institution
Zip code. Press [ENTER].
3. Your name and institution displays. Click Submit QC.
4. Click on type of data to be submitted: “Data Disk Uploaded”
5. Choose Analyzer and Shift by clicking [↓]. Insert floppy disk into drive
(A-drive). Click “Browse”. Using “Look in” box, select drive by clicking
[↓]. Select 3
1
/
2
Floppy (A).
6. Click on One of three QC files. Click “Open”. File displayed by Browse
box. Click [SUBMIT]. Then click [SUBMIT MORE FILES] and repeat for
other files.
7. Click [REVIEW REPORT] to view submitted data. Lot-to-Date report is
displayed.
8. Click [CLOSE]. Click [LOG OUT].
Change Lot:
• Current Lot is deleted and New Lot moves to Current
• Print Current L-J Charts to GP and QC Data to LP and
Submit QAP data to Insight before proceeding with
Change Lot.
1. On IPU, click QC icon. Select e-CHECK
TM
. Select lot
“Current”, Level, Mode. QC chart is displayed.
2. Click [CHANGE LOT].
3. A warning message is displayed “Save QC Data
before changing lot?” about losing the Current Lot
(which is replaced by New Lot). Insert a floppy
disk into the floppy drive if saving QC data to a
floppy disk. Click on “Yes”. Save file box displays.
Enter File Name using Lot # (Example: e-CHECK
TM
NNNN 0). Click “No” if you do not want to save
QC to disk.
5. Current QC Data is deleted and is replaced by the
New Lot.
Insight Screen
Save As dialog box
“Safe Removal” Icon
QC Setup
 Loading...