DHR Series Getting Started Guide Page 48
To install the geometry so that it is in the same position each time:
1 Move the motor shaft to the home position by holding the Lock button for 3 seconds until you hear a
short beep. Alternatively, click the Go to Home Position in TRIOS Software.
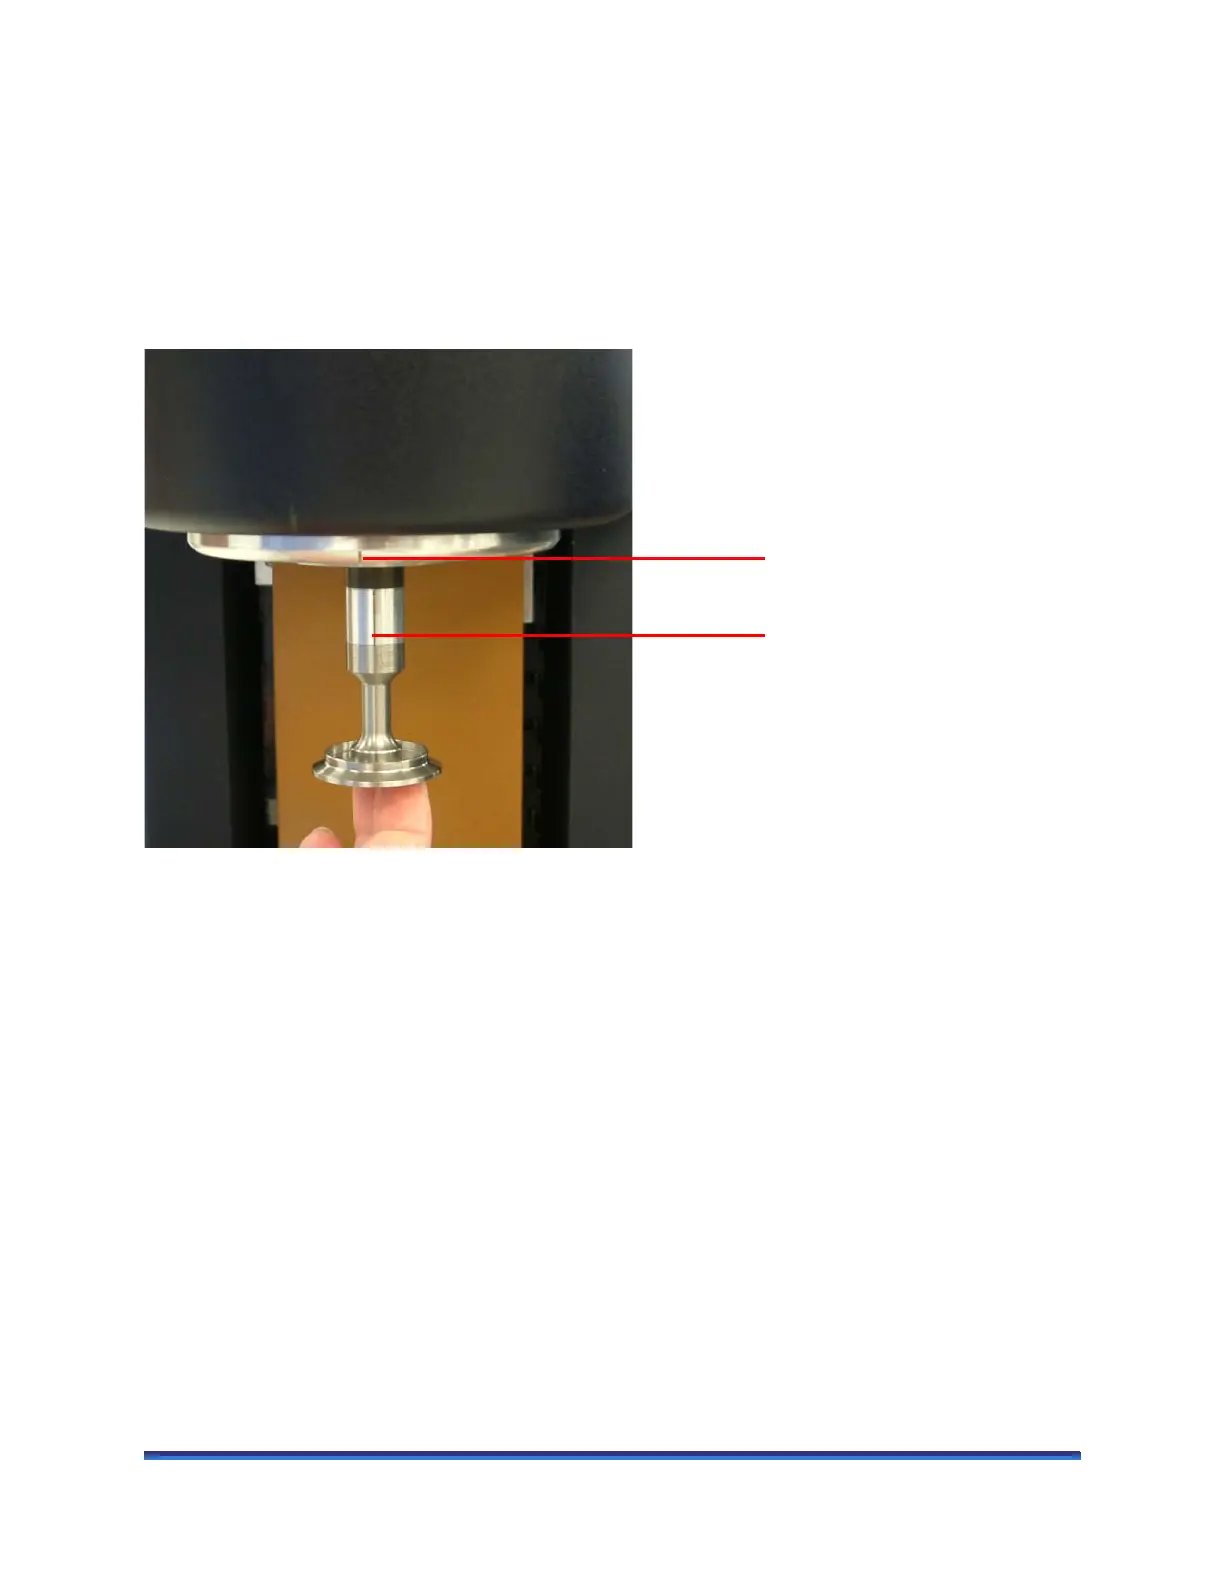
2 Align the notch on the Smart Swap geometry with the notch on the Smart Swap cover and screw in the
draw rod.
NOTE: If Smart Swap is turned on, the geometry rotates a few seconds after it is fitted to enable
identification.
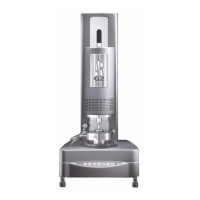
Figure 22 Aligning the Smart Swap geometry notch and Smart Swap cover notch.
Smart Swap cover notch
Smart Swap geometry notch