118 Replacing Modules TB9300 Installation and Operation Manual
© Tait International Limited April 2024
the subrack (refer to “Appendix B Inter-Module Connections” on
page 125).
5. Tighten the nut on the SMA connector to a torque of 5lbf·in
(0.6N·m).
6. Carry out the instructions in “Final Reassembly” on page 121.
8.5 Replacing a Power Management Unit
Notice You must disconnect the AC and DC power cables before
removing the PMU from the subrack.
Removal 1. If you have not already done so, carry out the instructions in “Pre-
liminary Disassembly” on page 114.
2. At the front of the PMU, unplug and remove the output power
cable
b to the subrack interconnect board. Also unplug and remove
the system control bus cable
c.
3. Unplug the output power cable to the PA
d and move it to one side.
4. Loosen the screws securing the retaining clamps
e and rotate the
clamps through 90° to clear the module.
5. Slide the PMU out of the subrack, taking care not to damage any of
the cables.
Refitting 1. Slide the replacement PMU into the subrack and secure it with the
retaining clamps.
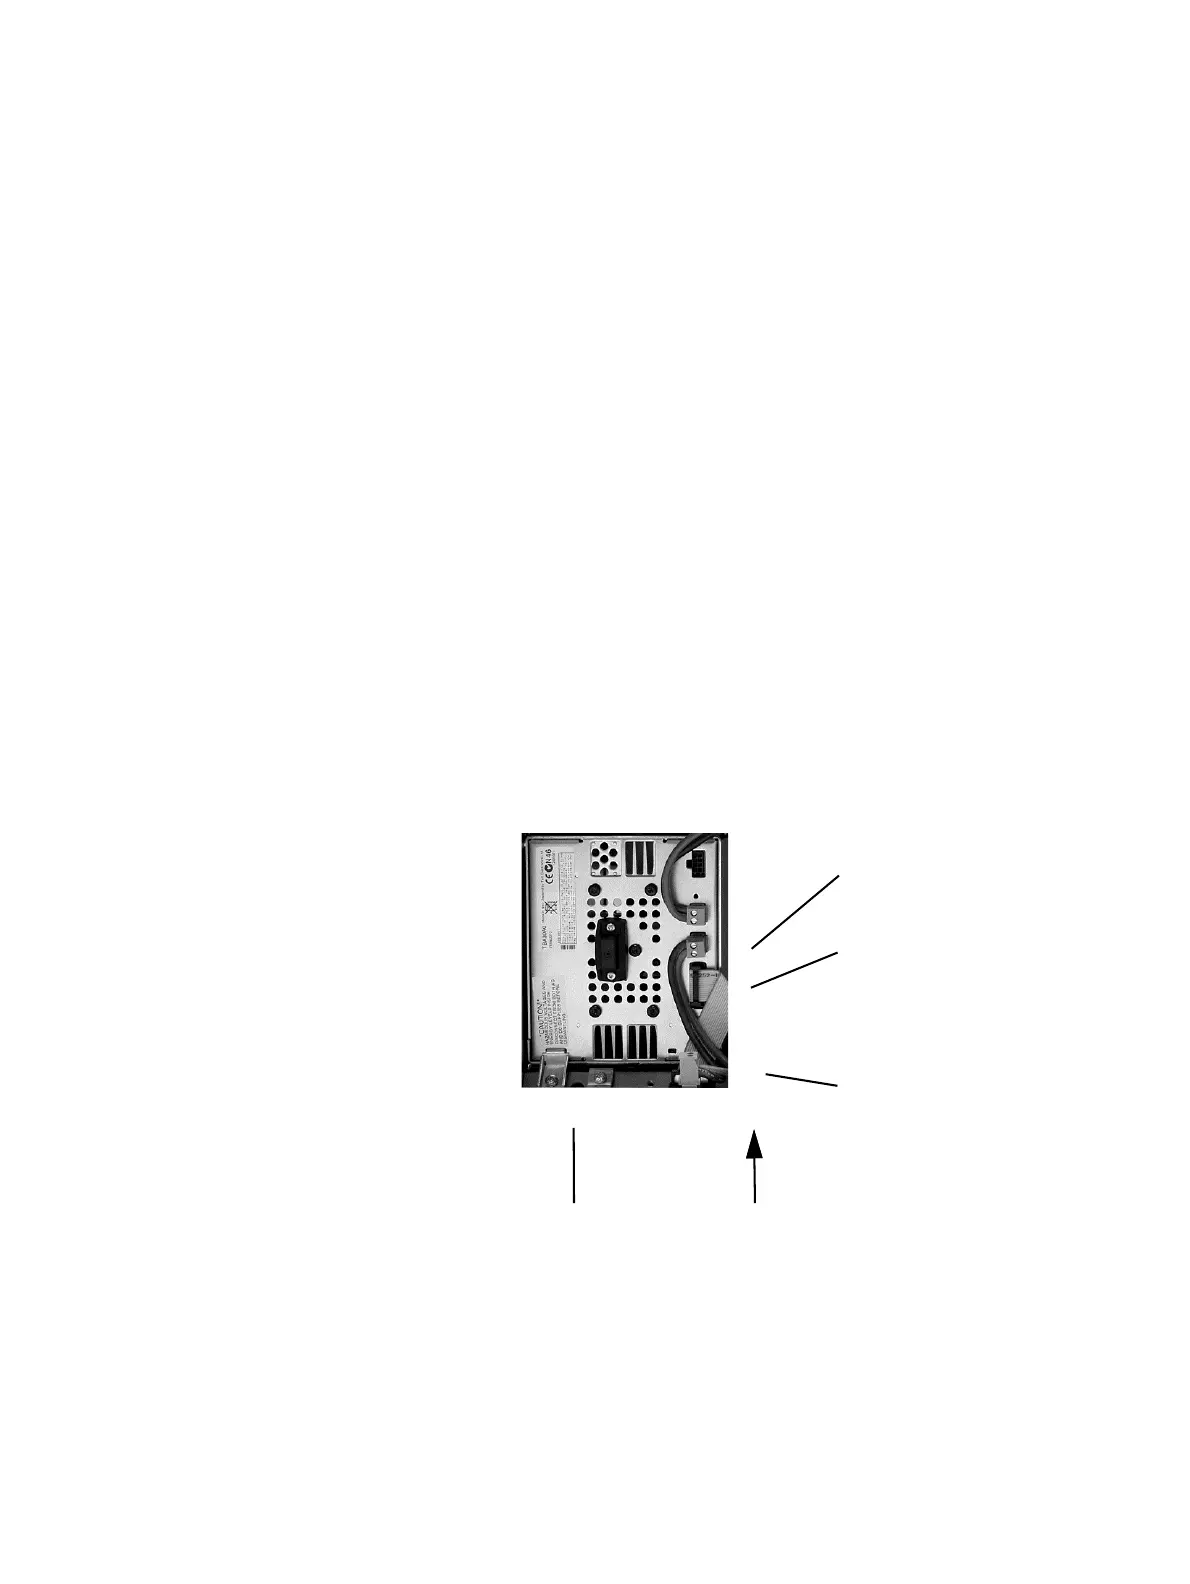
2. Reconnect all the front and rear panel cables previously
disconnected. Connect the DC power cables on the rear panel as
shown in Figure 4.8 on page 78. Tighten the screws to a torque of

 Loading...


