41
Table 4.3 Zero, calibration, bump test, response and recovery time testing
—
—
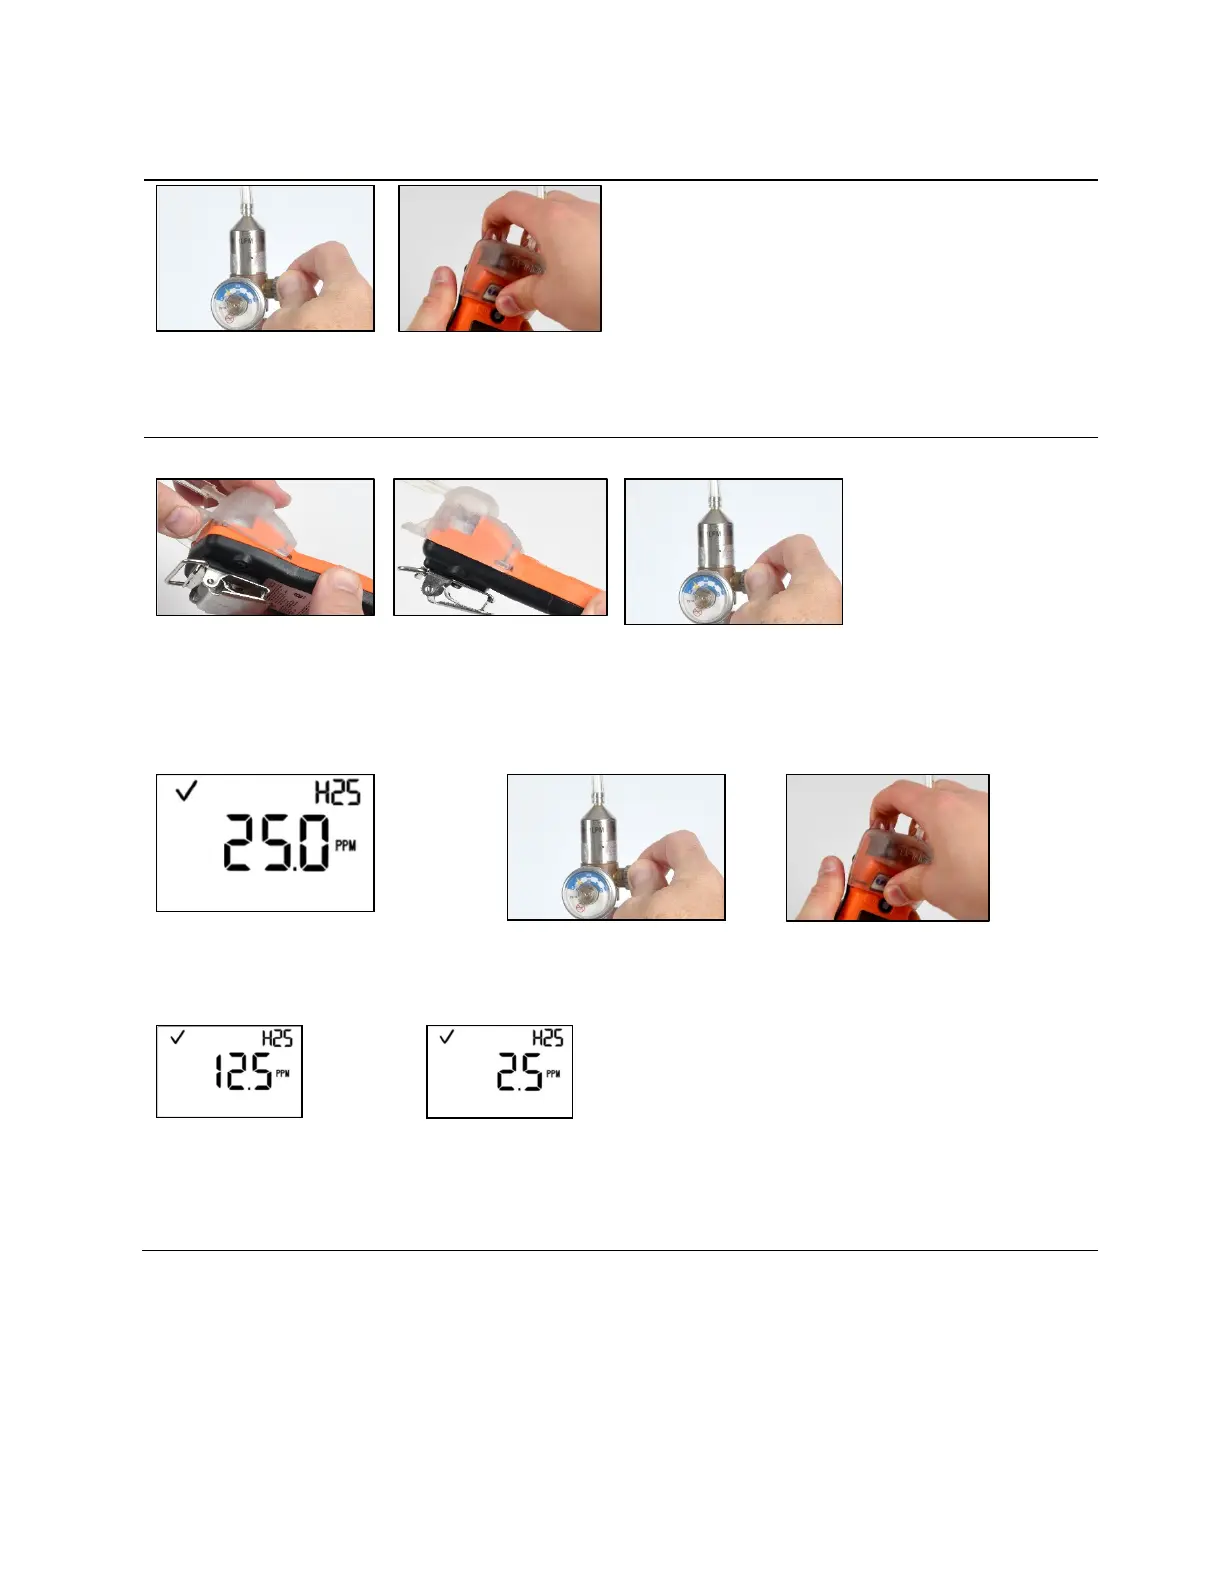
To stop the flow of gas, turn
the regulator knob in a
clockwise direction and
tighten.
To remove the calibration
cup, lift up from the cup's
tabs. Set aside or store for
future use.
Recovery time testing
Place the calibration cup over the case top; align its top
groove with the small ridge at the top of the instrument.
Press down to secure the cup in place; a click will sound.
Visually inspect the calibration cup to ensure its edges along
the top and sides align with the case top edges.
To start the flow of gas, turn the regulator knob in a
counterclockwise direction.
Allow the gas reading to stabilize before
proceeding with the next step.
Note: Recovery time is to be tested at the normal
Stop the flow of gas, turn the
regulator knob in a clockwise
direction and tighten.
Quickly remove the calibration cup, lift up
from the cup's tabs and start the timer.
Reading at 50% of calibration gas
Reading at 10% of calibration gas
—
Stop the timer when the reading reaches 50% or 10% of the calibration
gas concentration. If the time to reach the 50% or 10% times specified in
the sensor specifications is greater than 30%, the sensor should be
replaced.