BlinkerBeam™ Radio Operation Guide
13
Figure 59
RADIO SETUP
2) Set Hop Channel
3) Set Operation Mode
4) RX Sensitivity
>
RX SENSITIVITY LEVEL
0: Low
1: High
->
RX SENSITIVITY LEVEL
0: Low
1: High
->
RX SENSITIVITY LEVEL
0: Low
1: High
*
>
Is this the clearest and simplest that it could be?
1
2
3
4
Figure 60
RADIO SETUP
2) Set Hop Channel
3) Set Operation Mode
4) RX Sensitivity
>
RX SENSITIVITY LEVEL
0: Low
1: High
->
RX SENSITIVITY LEVEL
0: Low
1: High
->
RX SENSITIVITY LEVEL
0: Low
1: High
*
>
Is this the clearest and simplest that it could be?
1
2
3
4
Figure 61
RADIO SETUP
2) Set Hop Channel
3) Set Operation Mode
4) RX Sensitivity
>
RX SENSITIVITY LEVEL
0: Low
1: High
->
RX SENSITIVITY LEVEL
0: Low
1: High
->
RX SENSITIVITY LEVEL
0: Low
1: High
*
>
Is this the clearest and simplest that it could be?
1
2
3
4
Figure 57
MAIN MENU
3) Radio Setup
4) Legacy Control
5) Site Survey
>
MAIN MENU
2) Radio Status
3) Radio Setup
4) Legacy Control>
MAIN MENU
1) Controller Status
2) Radio Status
3) Radio Setup
4) Legacy Control
5) Site Survey
MAIN MENU
1) Controller Status
2) Radio Status
3) Radio Setup
>
MAIN MENU
0) Quick Setup
1) Controller Status
2) Radio Status
3) Radio Setup
>
>
MAIN MENU
1) Controller Status
2) Radio Status
3) Radio Setup
LCD Screen Icons
Selected and Saved
Saved Value
Selected
>
*
->
1
2
3
4
5
6
Figure 58
RADIO SETUP
1) Set Binding Code
2) Set Hop Channel
3) Set Operation Mode
>
RADIO SETUP
1) Set Binding Code
2) Set Hop Channel
3) Set Operation Mode
>
RADIO SETUP
1) Set Binding Code
2) Set Hop Channel
3) Set Operation Mode
>
RADIO SETUP
2) Set Hop Channel
3) Set Operation Mode
4) RX Sensitivity
>
RADIO SETUP
3) Set Operation Mode
4) RX Sensitivity
5) TX Power
>
RADIO SETUP
4) RX Sensitivity
5) TX Power
6) Find Net Devices
>
1
2
3
4
5
6
NOTICE
If radio operating mode is changed from Transmitter to
Receiver, reboot the network before changing or setting binding
values. See Reboot All the Radios in the Network.
If the operating mode is changed from Receiver to Transmitter
without rebooting (and more programming changes are
required), reset power before using the radio in the new
operation mode. See Reboot All the Radios in the Network.
Note: Only one radio can be set as the Transmitter. The
cabinet located in the most central point within a group
of cabinets is typically the best system to set as the
Transmitter.
Reception (Rx) Sensitivity
If a radio is not being found in the network, rst adjust the Transmission
Power (see below). If needed, increase the radio’s reception sensitivity.
Notes:
Your radio may only have low RX Sensitivity level available.
Wait up to ten minutes for the radio network to activate.
Before changing Reception Sensitivity or Transmission Power, refer to
the Troubleshooting section.
Adjust the Reception Sensitivity
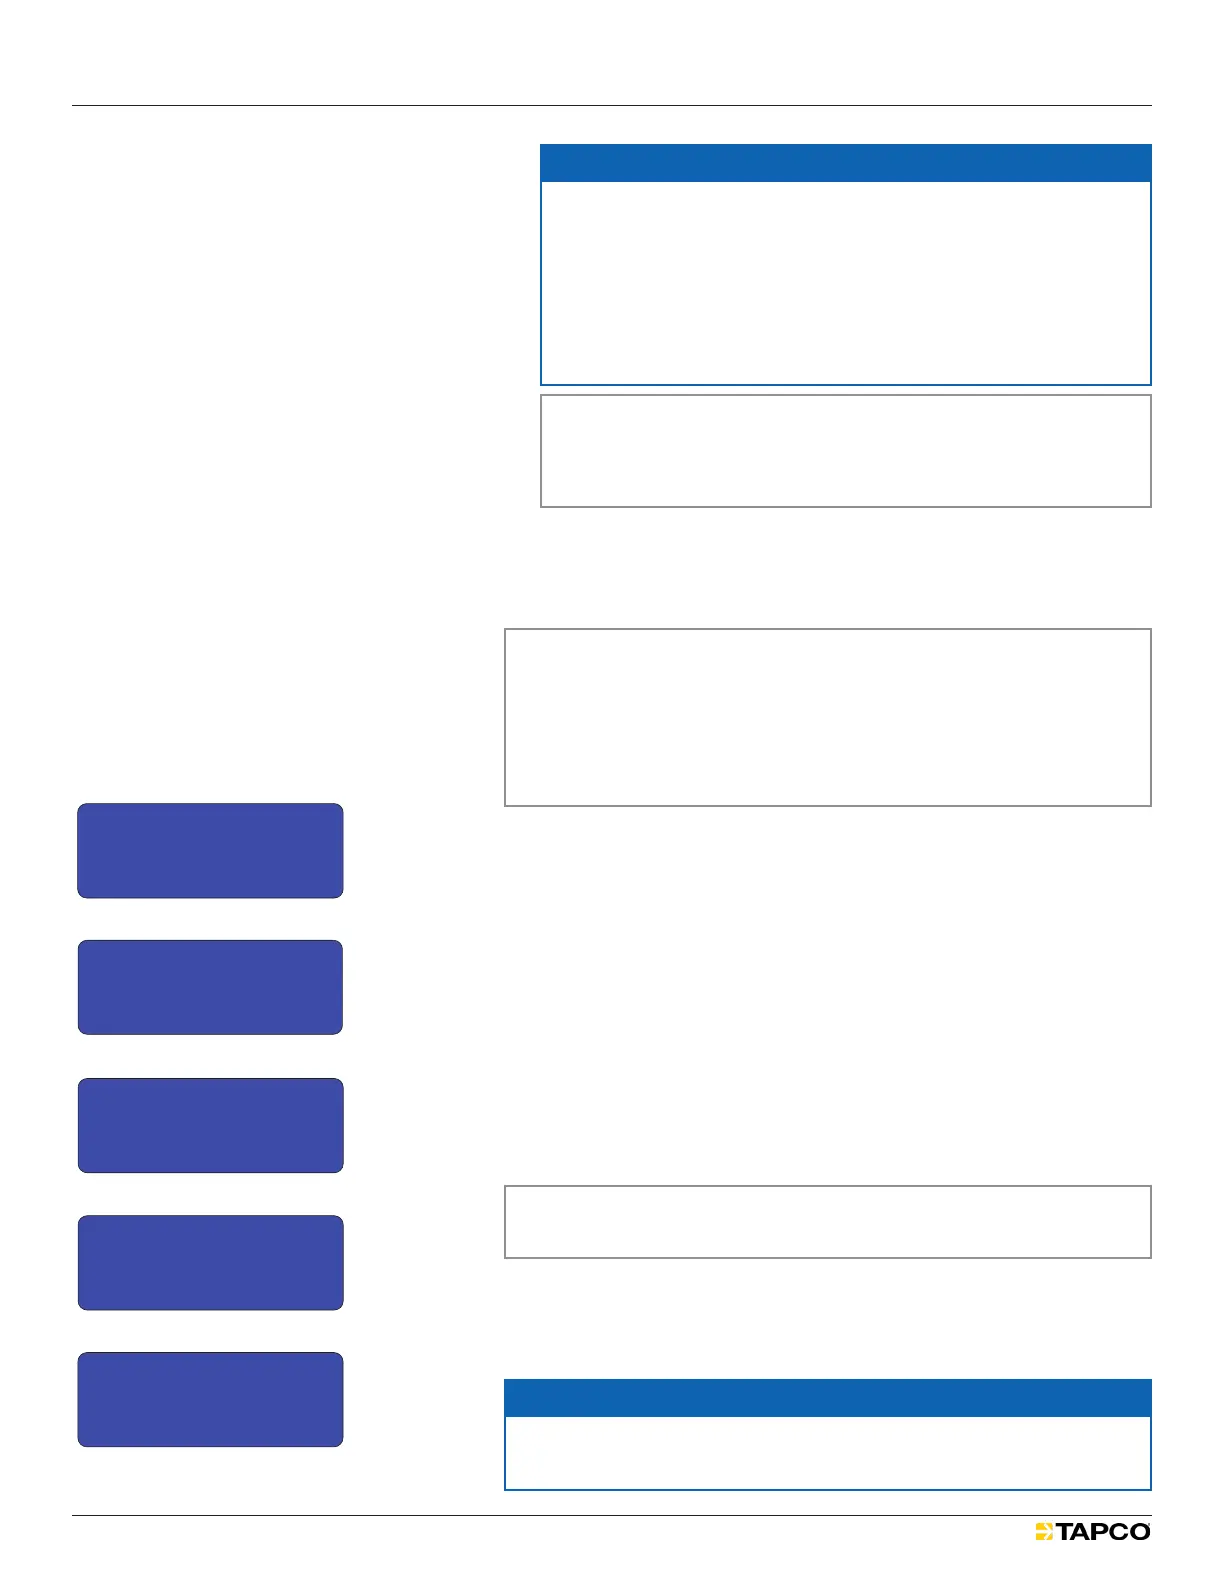
1. Select MAIN MENU > RADIO SETUP > RX Sensitivity.
See Figures 57 and 58.
The RX SENSITIVITY LEVEL screen appears. See Figure 59.
If Low is selected and saved, go to Step 3.
If High is selected and saved, see Transmission Power.
2. Scroll down to High. See Figure 60.
3. Select and conrm the new value. See Figure 61.
If increasing reception sensitivity does not solve the problem,
see Transmission (TX) Power.
Transmission (Tx) Power
Note: TX Power Level may only have low or low and medium
options available.
See Cover Page for FCC information.
Refer to the Omni and Yagi Antenna Installation Guide for information on
multiple-antenna combinations.
NOTICE
Using the radio at High power with a Yagi antenna violates FCC
regulations. Only use Low or Medium settings.