BlinkerBeam™ Radio Operation Guide
7
Notes (continued):
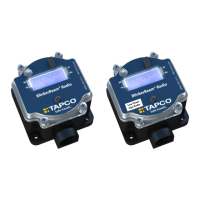
The digit currently selected to be altered will have an X to the left
of it, and the highlighted number will have an arrow.
Use the joystick’s right and left controls to navigate to the
digit to be altered.
Use the joystick’s up and down controls to scroll to the digit’s
replacement. See Figure 9.
Push the joystick to the right to select the replacement.
The asterisk should have advanced to the next digit.
If additional digits need to be replaced, repeat the previous
three substeps.
If the new numbered code is ready to be saved, press the
joystick repeatedly to the right until the asterisk goes beyond
the rst digit and the BINDING SAVING indication displays.
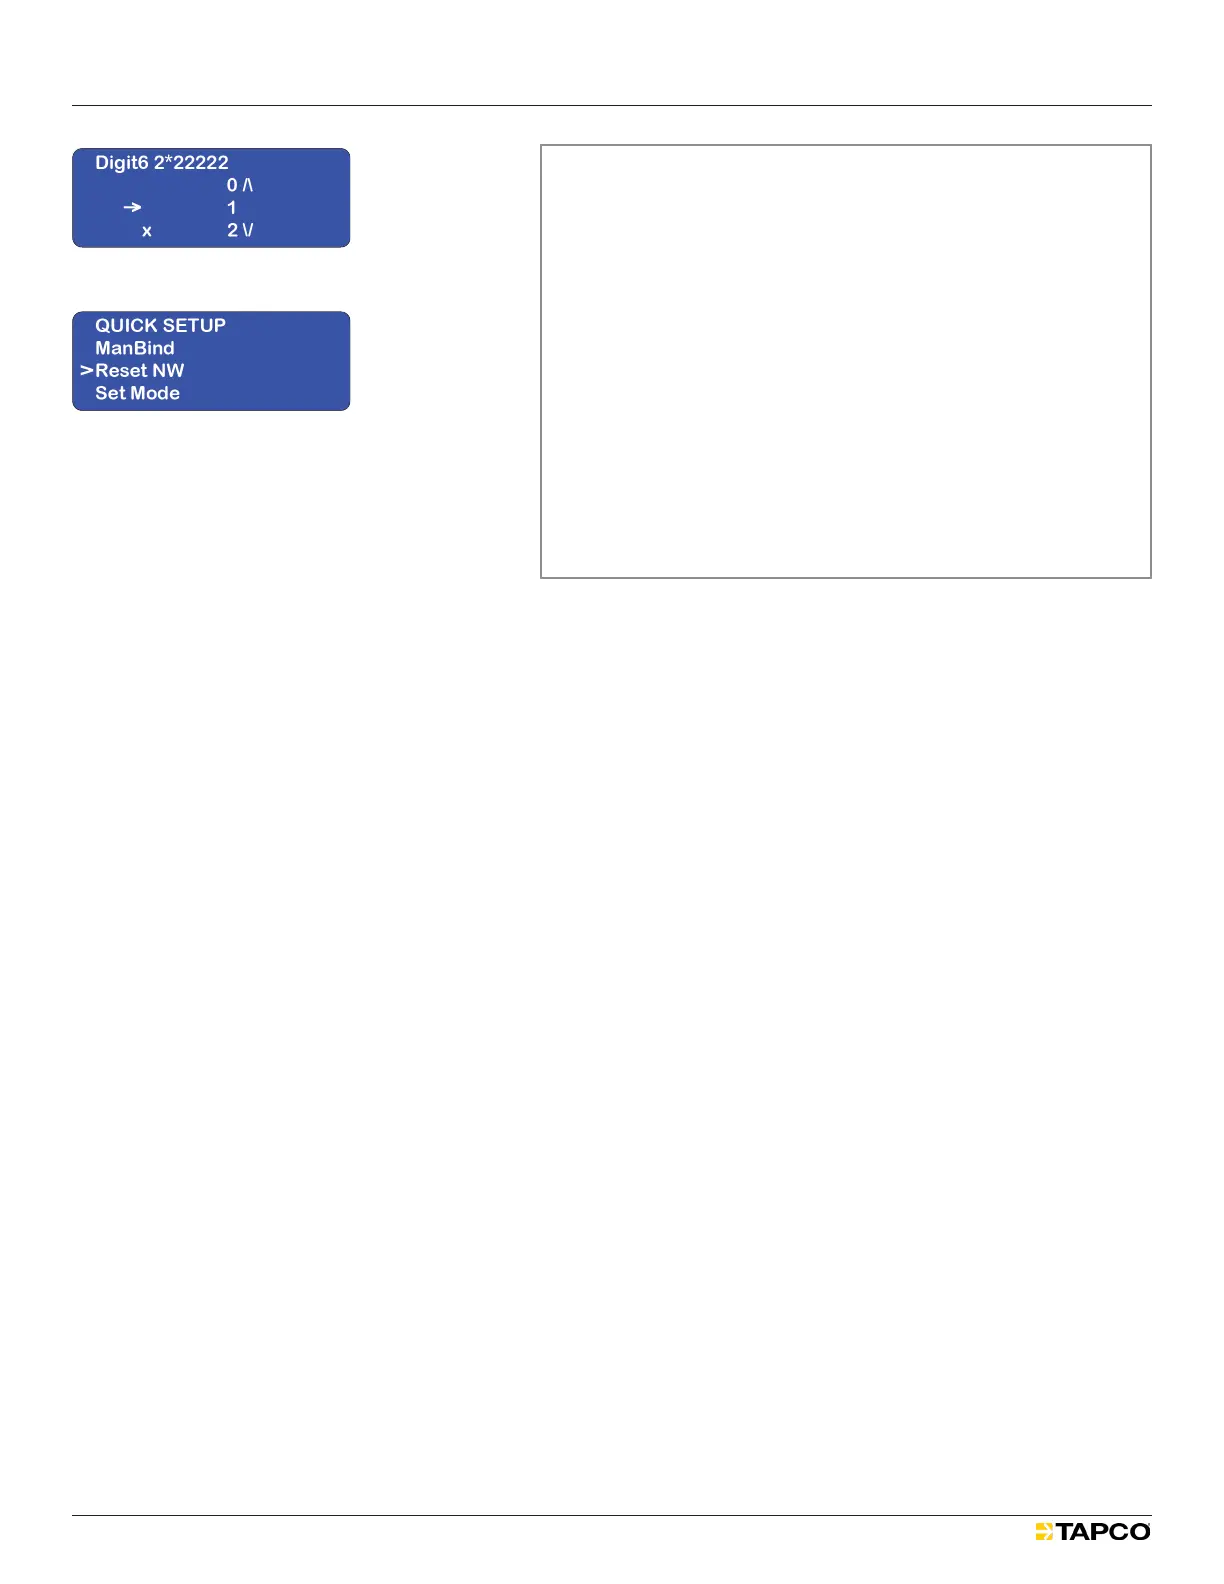
The display will then return to the QUICK SETUP menu.
Ensure the hop channel is set to match the network.
MAIN MENU > RADIO SETUP > Set Hop Channel.
5. Set ResetNW. See Figure 10.
After LEDs and a blank display ash, the MAIN MENU should return.
Wait up to ten minutes for the radio network to activate.
For more information, see “Reboot All Radios in the Network”.
Figure 10
Figure 9