TCS900003, Rev.6
04/26/2016
Check us out at www.TCSmeters.com!
Page 46
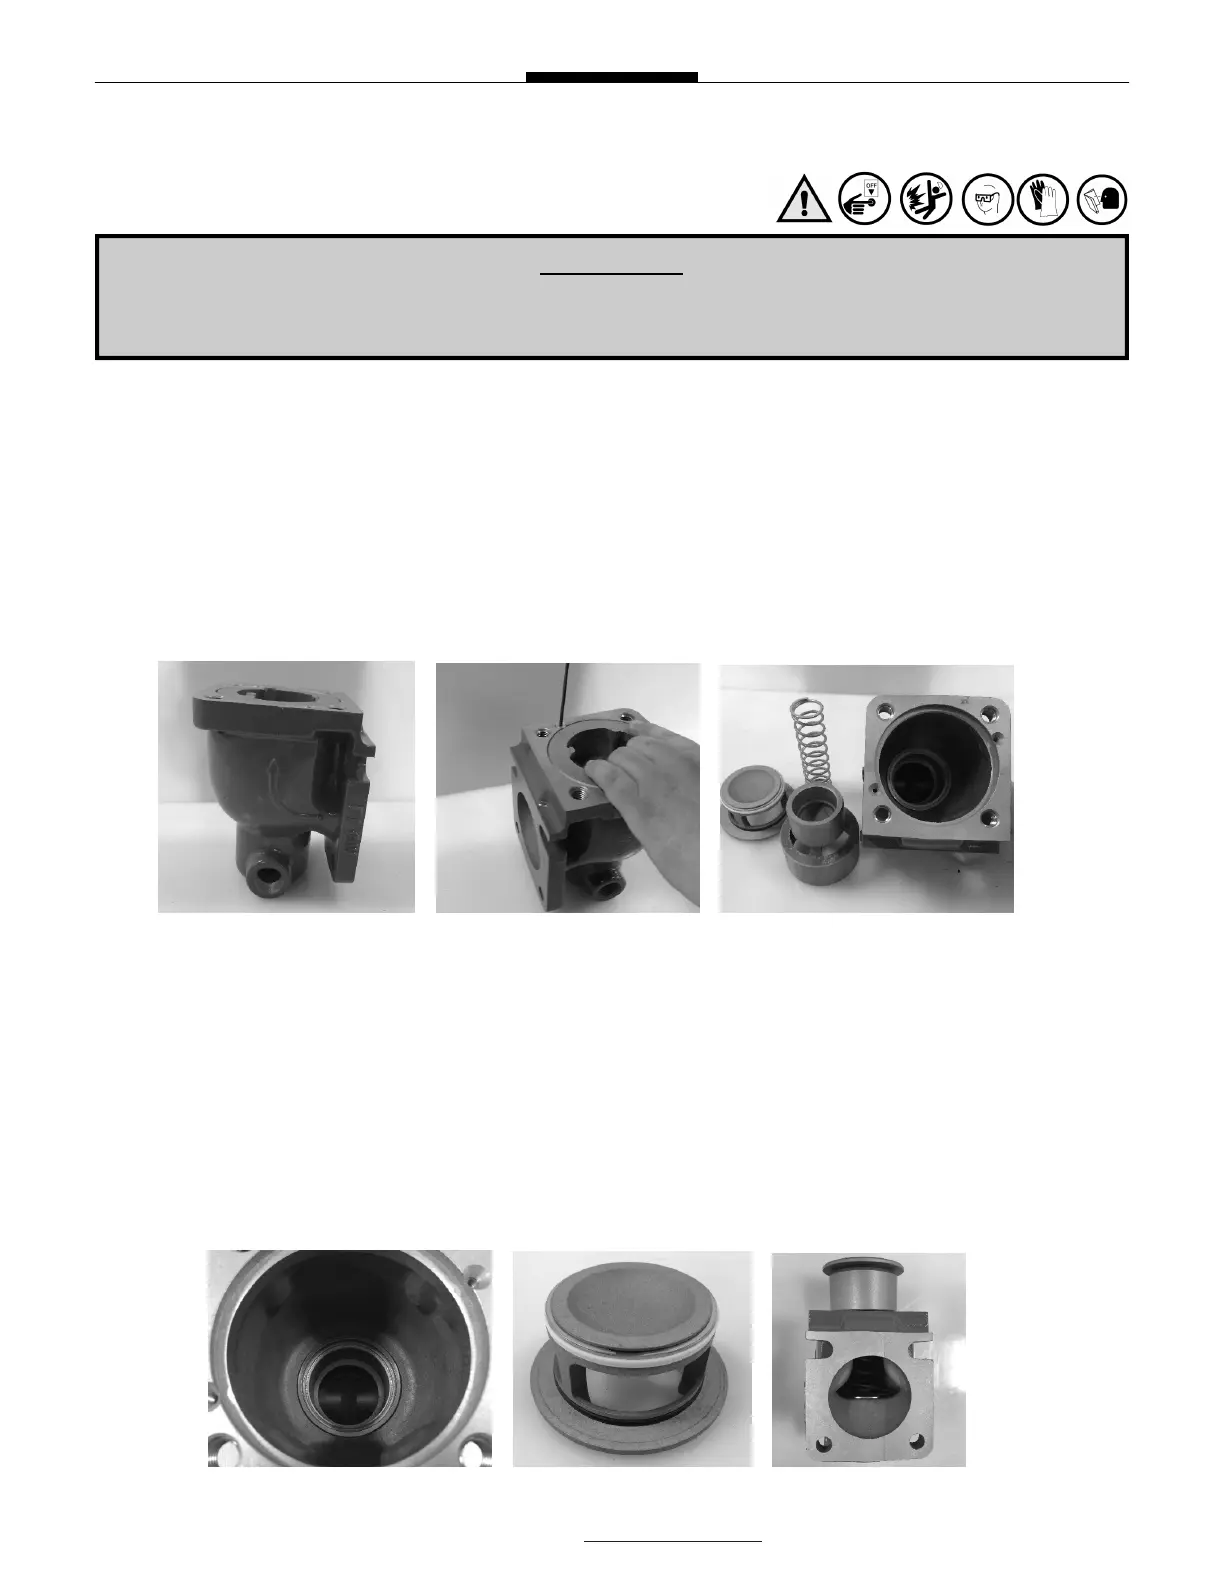
Disassembly of 760 Air Check Valve
1) Use a fixture or vice to compress and hold the poppet in place before loosening any screws.
2) Using a 1/8” Allen wrench, loosen and remove two screws.
3) Slowly release the poppet from the housing until it is no longer under spring pressure.
4) Remove the poppet assembly and spring from the housing .
5) Check housing interior for any debris. Wipe with a clean cloth.
6) Inspect and replace the seals as needed (refer to the table on page 30).
a. Housing Seal with Snap Ring
b. Piston Guide External Seal
c. Piston Guide Internal Seal with Snap Ring
d. Gasket
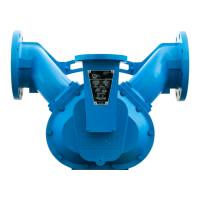
Reassembly of 760 Air Check Valve
1) Install Housing Seal with Snap Ring into Housing. Note that the spring side is facing up.
2) Install Piston Guide External Seal.
3) Install Piston Guide Internal Seal with Snap Ring. Note: Remove Spring from seal, if present.
4) Place Piston onto Piston Guide (Poppet Assembly). Must move freely.
5) Place the Poppet Assembly and spring inside Housing.
6) With the Poppet Assembly completely compressed into the housing, replace the two screws with the
1/8” Allen Wrench.
7) Verify the two screws are below the surface. Apply the flange gasket.
¡WARNING!
All internal pressure must be relieved to ZERO (0) pressure before beginning disassembly
of meter or components