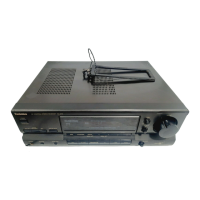
SA-EX310
Installation of the bottom cover after replacement
[XTB3+8J] (Black)
[XTW3+15T]
g
h
Step 1
Step 2
Align the ribs of bottom cover into the lugs.
Step 3
Screw (XTB3+8J)
(Prepare this screw to fix the bottom cover.)
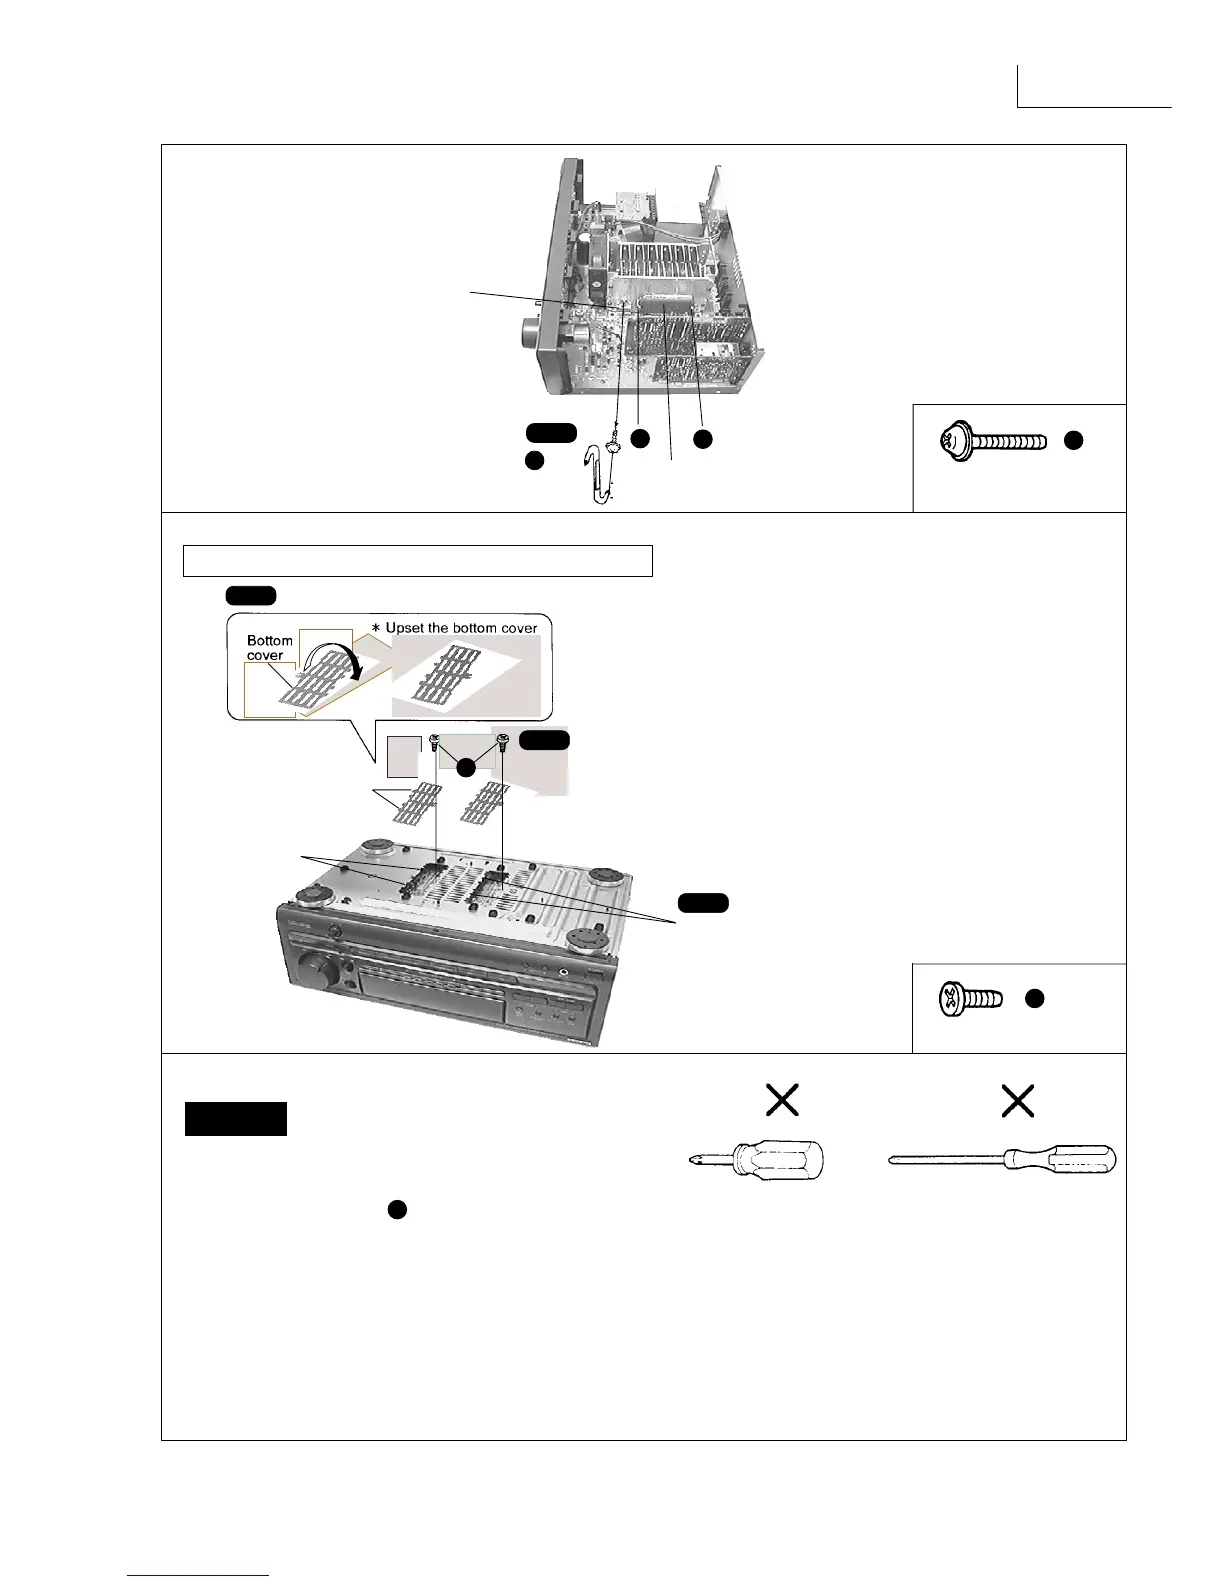
1. After replacing the power IC or regulator transistor, apply a sufficient
quantity of compound grease (RFKX0002/SZZ0L15) between the
heat sink and the power IC or regulator transistor (Radiation
of power IC).
2. Tighten enough the screws ( ) after replacing the power IC and
regulator transistor. Otherwise, the heat radiation works little.
3. When installing or removing the power IC or transistor holder, be sure
to use an offset screwdriver.
A long straight screwdriver cannot be used for removing or mounting
the screws since its long grip interferes with the neighbouring P.C.B.
and transformer.(See Fig.1 & 3)
A short straight screwdriver may be used for removal, but cannot be
used for mounting because the limited space in the unit will not allow
sufficient tightening torque.(See Fig.2 & 3)
A short straight screwdriver
A long straight screwdriver
Fig.2
Fig.1
Insufficient tightening will cause poor heat dissipation from the power
IC and regulator transistor and,in the worst case, may lead to their
thermal breakdown.
g
X 3
Step 5
g
g
Power IC (IC602)
[RSN3305-P]
g
Regulator transistor
(Q701,Q708)
[2SD2374PQAU,2SB1548PQAU]
*
h
Ribs
Lugs
CAUTION