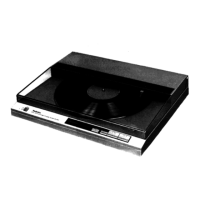
Push
<;:,f\
ull
out
To
remove the cartridge
-1
. Remove the cartridge setscrew.
-2
. Pull
out
the cartridge.
• When removing the stylus, it is
not
necessary to remove the cartridge.
-To
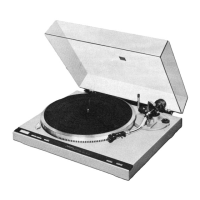
remove the 45 r.p.m. adaptor
• Remove the turntable platter and
release the 2 claws.
-
To
remove the record
detector
1. Remove the turntable platter.
2. Remove the setscrew.
>w
to remove lower side parts
rnchro-rec. jack
--
--tt-----~
1r
(M,
MC]
areas)
9tscrew
O.
vnchro-rec.
jack
e cover.
ator
frame Ass'y
setscrews
frame Ass'
y.
ilector
switch
racket setscrew
9 the bracket.
:itscrews
(@
,
0)
.
::>r
sw
itch P.C.B.
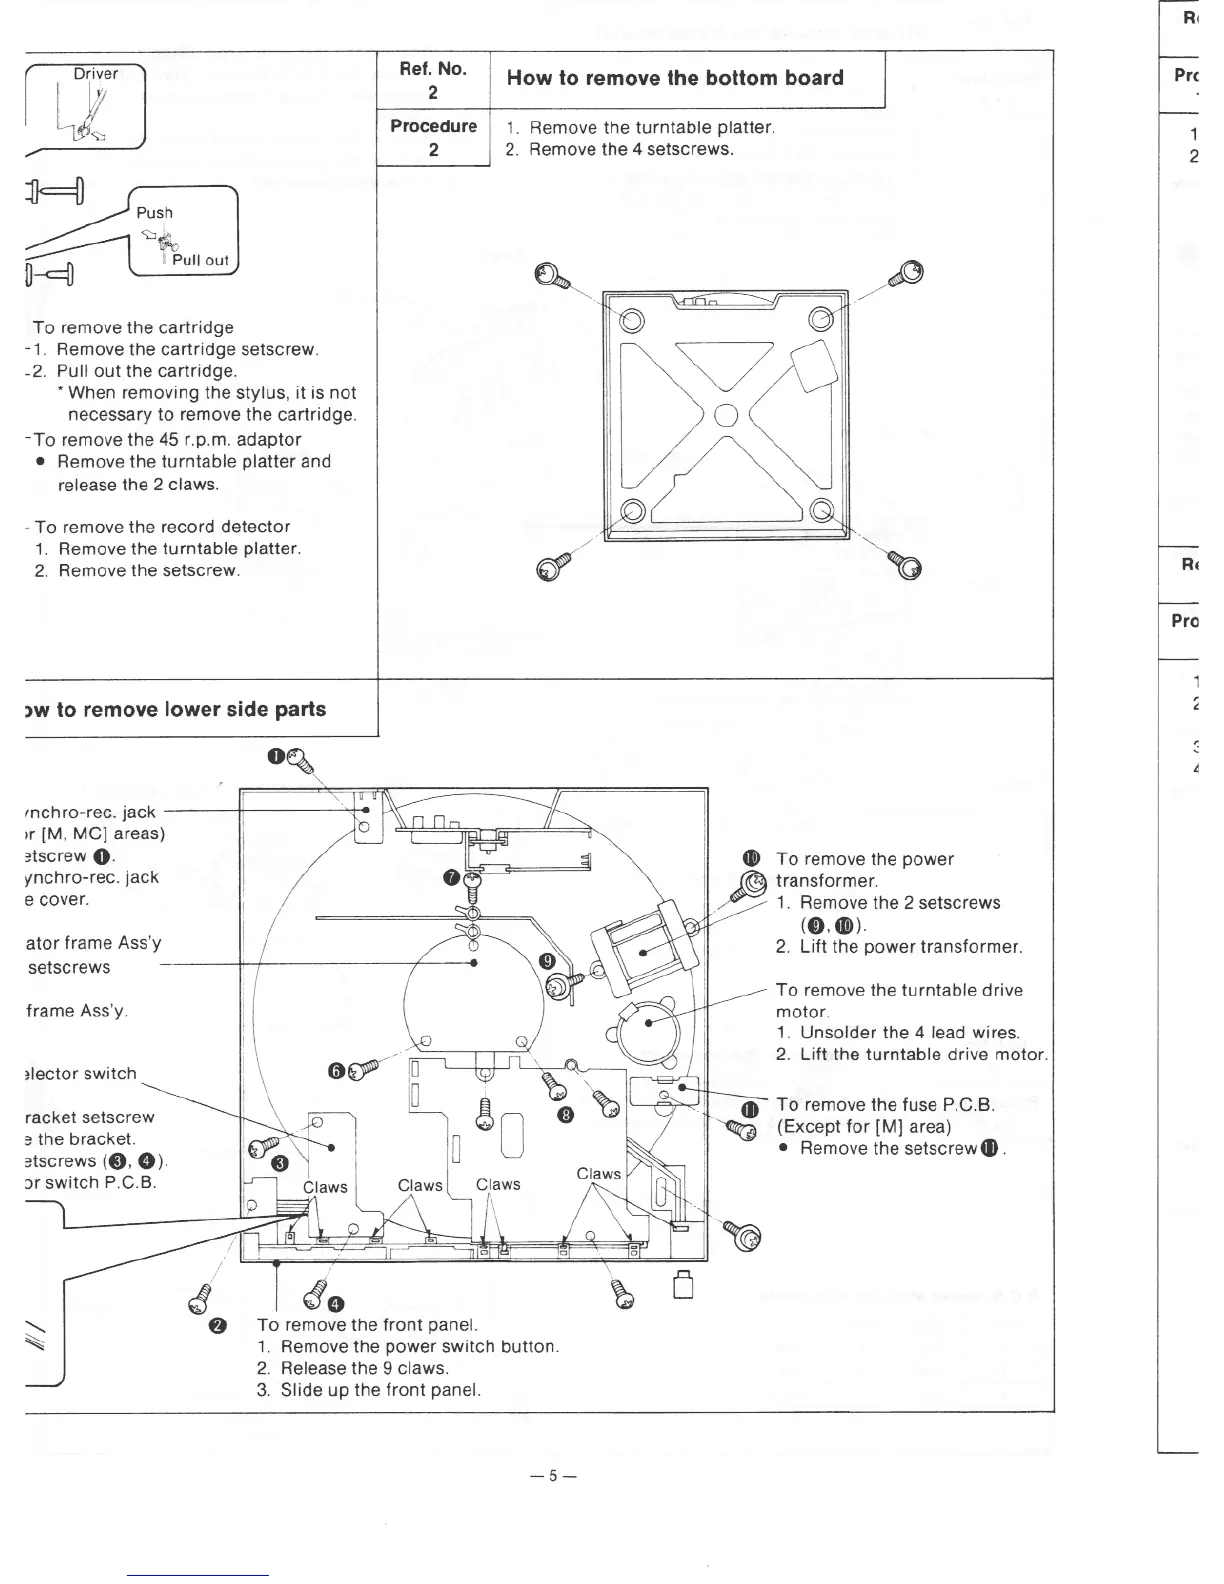
Ref.
No.
2
Procedure
2
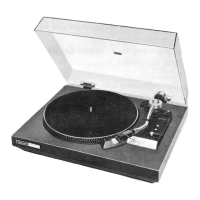
To
remove the
front
panel.
How
to remove the bottom board
1. Remove the turntable platter.
2. Remove the 4 setscrews.
GI>
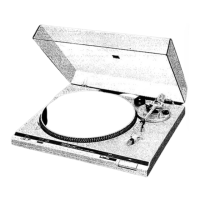
To
remove the power
@ transformer.
~
1.
Remove the 2 setscrews
(f)
,
@)
.
2.
Lift the
power
transformer
.
To remove the turntable drive
motor
.
1.
Unsolder
the 4 lead wires.
2.
Lift
the turntable drive motor.
To
remove the fuse P.C.B.
(Except
for
[M) area)
• Remove the setscrew
41.
1. Remove the power
sw
itch button.
2.
Re
lease the 9 claws.
3.
Slide
up
the
front
panel.
-5
-
Pre
1
2
RE
Pro
4