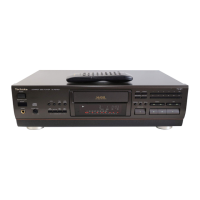
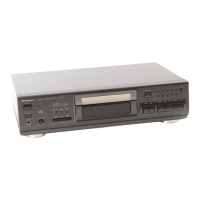
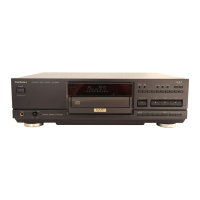
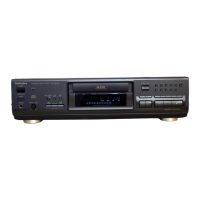
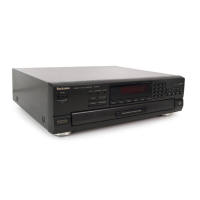
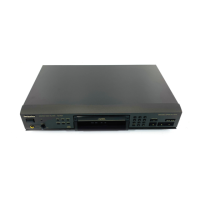
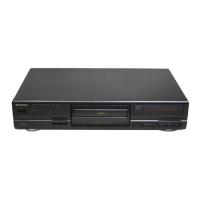
The provided document is a service manual for the Technics SL-PS740A Compact Disc Player.
Function Description
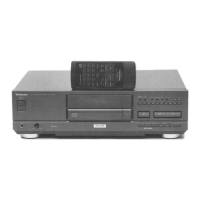
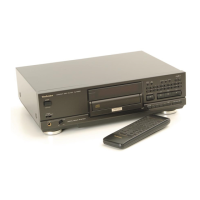
The Technics SL-PS740A is a compact disc player designed for high-quality audio playback. It incorporates MASH (Multi-stage Noise Shaping) 1-bit DA converter technology, which is a proprietary Technics (Panasonic) development in collaboration with NTT (LSI Labs), aimed at improving digital-to-analog conversion accuracy and reducing noise. The player supports standard compact discs (CDs) and features a digital audio output, allowing connection to external digital-to-analog converters or digital recording devices. It also includes a synchro edit function for coordinated recording with compatible Technics cassette decks.
Important Technical Specifications
Audio Section:
- No. of channels: 2 (left and right, stereo)
- Frequency response: 2–20,000 Hz, ±0.3 dB
- Output voltage: 2 V (at 0 dB)
- Dynamic range: 100 dB
- S/N (Signal-to-Noise ratio): 115 dB
- Harmonic distortion (1 kHz, 0 dB): 0.0018%
- Total harmonic distortion (1 kHz, 0 dB): 0.0023%
- Wow and flutter: Below measurable limit
- DA converter: MASH (1 bit)
- Output impedance: 600 Ω
- Load impedance: More than 10 kΩ
- Headphone output level: 15 mW max. 32 Ω (adjustable)
Pickup Section:
- Wavelength: 780 nm
- Laser Power: No hazardous radiation is emitted (with safety protection)
General Section:
- Power consumption: 10 W
- Power supply: AC 50/60 Hz, 230–240 V
- Dimensions (W×H×D): 430 × 125 × 289 mm
- Weight: 4.6 kg
The player is available in a black type color, indicated by the suffix (K) in the model number. Specific regional models include (E) for Europe, (EB) for Great Britain, and (EG) for Germany and Italy.
Usage Features
The SL-PS740A offers a range of playback and control features:
Basic Playback:
- Power "STANDBY/ON" switch: Toggles the unit between on and standby modes. In standby, a small amount of power is still consumed.
- Disc tray open/close button: Opens and closes the disc tray.
- Play button: Initiates disc playback.
- Stop button: Halts playback.
- Pause button: Temporarily suspends playback.
- Skip buttons (◄◄/►►): Skips tracks forward or backward.
- Search buttons (◄◄◄/►►►): Fast-forwards or fast-reverses through a track.
- Numeric buttons (1-10, >10, 0): Direct track selection.
Advanced Playback Modes:
- Repeat button: Repeats the current track or entire disc.
- Random play button: Plays tracks in a random order.
- A-B repeat button: Repeats a specified section of a track.
- Program function: Allows users to program a sequence of tracks for playback. Includes "Program," "Clear," and "Recall" buttons.
Audio Control & Display:
- Level control buttons (- LEVEL +): Adjusts the output level.
- Output level meter on/off button: Toggles the display of the output level meter.
- Headphones jack (PHONES): For private listening.
- Headphones volume control (PHONES LEVEL): Adjusts headphone output volume.
- Time mode select button: Changes the time display mode (e.g., elapsed time, remaining time).
- Time fade button: Fades out the audio output over a set time.
- Tape length button: Used in conjunction with the disc link function for recording to cassette tapes of specific lengths.
- Tape side select button: Selects tape side (A/B) for recording.
- Disc link button: Facilitates synchronized recording with compatible cassette decks.
- Auto cue button: Automatically cues the start of a track.
- Peak search button: Scans the disc to find the loudest passage, useful for setting recording levels.
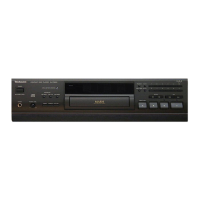
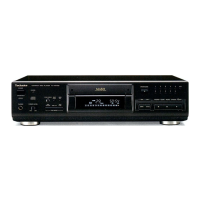
Display Indicators:
- The front panel features a comprehensive display including indicators for: Pause, Play, Time fade/fade out, Random play, Program, Repeat, A-B repeat, Disc link, Auto cue, Track number, Level control, Index/program sequence, Time, Compact disc edit, Peak search, Tape side, Output level (dB), and an "Over" mark.
Remote Control:
- The unit comes with a remote control transmitter (EUR642100) that provides access to most of the player's functions, including power, playback controls, programming, and various audio adjustments.
Maintenance Features
The manual provides detailed instructions for disassembly and maintenance, particularly focusing on the optical pickup and printed circuit boards.
Laser Diode Precaution:
- The product utilizes a laser diode with a wavelength of 780 nm and a maximum output radiation power of 100 µW/VDE. Users are warned against disassembling the optical pickup unit, adjusting the variable resistor on the pickup unit, or staring at the focus lens with optical instruments for extended periods, as invisible laser radiation is emitted when the unit is "on."
Electrostatic Discharge (ESD) Precautions:
- When handling the traverse deck (optical pickup), extreme care is advised to prevent damage from static electricity. Technicians are instructed to use an anti-static wrist strap for human body grounding and to ground the work table with a conductive material or steel sheet. A shorting pin is inserted into the flexible board (FPC board) to prevent laser diode breakdown, and it should be removed and reconnected as quickly as possible. Stress on the FPC board should be avoided.
Lens Cleaning:
- If the lens is stained, causing sound skips or operation failure, the manual describes a cleaning procedure:
- Open the top cover by pressing the open button.
- Use a blower (from the lens cleaning kit, Part No.: SZZP1038C) to remove dust or dirt.
- For fingerprints, moisten a cotton rod with lens cleaner solution and wipe the lens carefully from the center outwards.
- Warnings are given against directly applying solution to the lens, using too much solution, or applying excessive stress to the lens to prevent scratching or optical pickup trouble.
Disassembly Instructions:
- The manual provides step-by-step instructions with diagrams for disassembling various components, including:
- Cabinet removal
- Front panel assembly removal
- Power switch P.C.B. and headphones P.C.B. removal
- Operation P.C.B. removal
- Disc lid removal
- Holder and ring removal
- Loading unit removal
- Main P.C.B. removal
- Power supply P.C.B. removal
- Servo P.C.B. removal
- Optical pickup unit removal
- Loading motor removal
- Bottom base removal
Measurements and Adjustments:
- Instructions are provided for checking the servo P.C.B. and main P.C.B., including:
- Laser Power Adjustment: Using an oscilloscope to adjust VR3520 on the servo P.C.B. to achieve a specific voltage (-50±2mV) across R3501 while playing a test disc (SZZP1054C).
- Focus Offset Adjustment: Using an oscilloscope to adjust VR3569 on the servo P.C.B. to center the signal amplitude at 400mV across R3562 and Jumper (-).
- Play Operation Check: After adjustments, verifying normal skip search, manual search, and playability with a test disc (0.7mm black dot and wedge) to ensure no sound skip or noise.
Parts List:
- A comprehensive replacement parts list is included, detailing integrated circuits, transistors, diodes, variable resistors, coils, transformers, oscillators, displays, switches, connectors, earth terminals, resistors, and capacitors, along with their part numbers, descriptions, and remarks. Special attention is drawn to safety-critical components marked with a triangle (▲).