10
Installing the Network Access Controller
Installation guidelines
Installers must adhere to any country dependent requirements and local
applicable standards.
• Installation must be performed in accordance with AS/NZS 2201.
• The installation environment must comply with environmental
specifications.
• The Network Access Controller, as well as all other boards with earth
terminals must be earthed according to the recommendations in the
section “System earthing" in Appendix D: Cabling requirements on page
36.
• The batteries used with this unit must comply with the requirements
provided in the section “Batteries” on page 16.
• Avoid loops of wire inside the enclosure, and route cables so that they do
not lie on top or underneath the printed circuit board. The use of cable ties
is recommended and improves neatness of the wiring within the box. All
wires entering the enclosure should be secured near point of entry, as
required by applicable codes.
Installation procedure
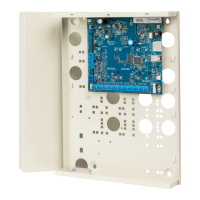
The Network Access Controller must be installed in an approved, compatible
enclosure, as detailed in the Specifications table on page 7. Ensure the
enclosure has been mounted on the wall and the transformer is installed in the
enclosure before mounting the Network Access Controller. Refer to the enclosure
installation manual for the details.
Mounting Network Access Controller in the enclosure
The installation procedure is as follows:
1. Install six standoff board mounts for the TS1067E board in the enclosure.
Refer to the enclosure installation for standoff mount location and fitment.
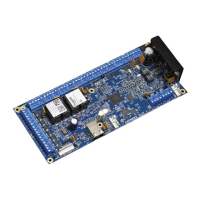
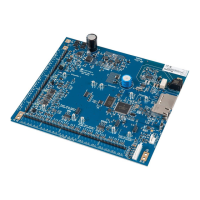
2. Remove the TS1067E board from its antistatic bag.
3. Use six M3 x 10 pan head screws to fix the board to the enclosure’s
standoffs. Refer to Figure 2 on page 12 for the mounting hole locations.
4. Combine terminal blocks as appropriate (e.g. 2 x 3-way, 2-way + 3-way, 2
x 2-way) and attach to the headers (e.g. 6-way, 5-way, 4-way) around the
periphery of the board.
5. If the Network Access Controller is to be connected to a ChallengerPlus
then its address must be configured. Refer to “DIP switch settings” on
page 11.