7.8. Replacing the activated carbon / the activated carbon cassette
The activated carbon absorbs gases and unpleasant odours. The activated carbon has to be replaced
as soon as gases appear on the clean air side.
Therefore, replace the activated carbon in the activated carbon cassette. Alternatively, you can replace
the entire activated carbon cassette. Different spare parts are required for these two options (see list of
spare parts).
The saturation degree of the activated carbon is not monitored.
7.8.1. Replacing the activated carbon
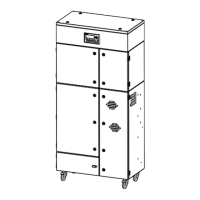
● Open the service door of the
activated carbon housing (see
chapter 2.1).
● Lower the lifting device (A) by
turning the clamping screw (B).
● Carefully pull the entire filter pack,
incl. the activated carbon cassette
(see chapter 2.1), out of the
housing. Before doing so the
projecting measuring hose has to
be separated from the
intermediate frame.
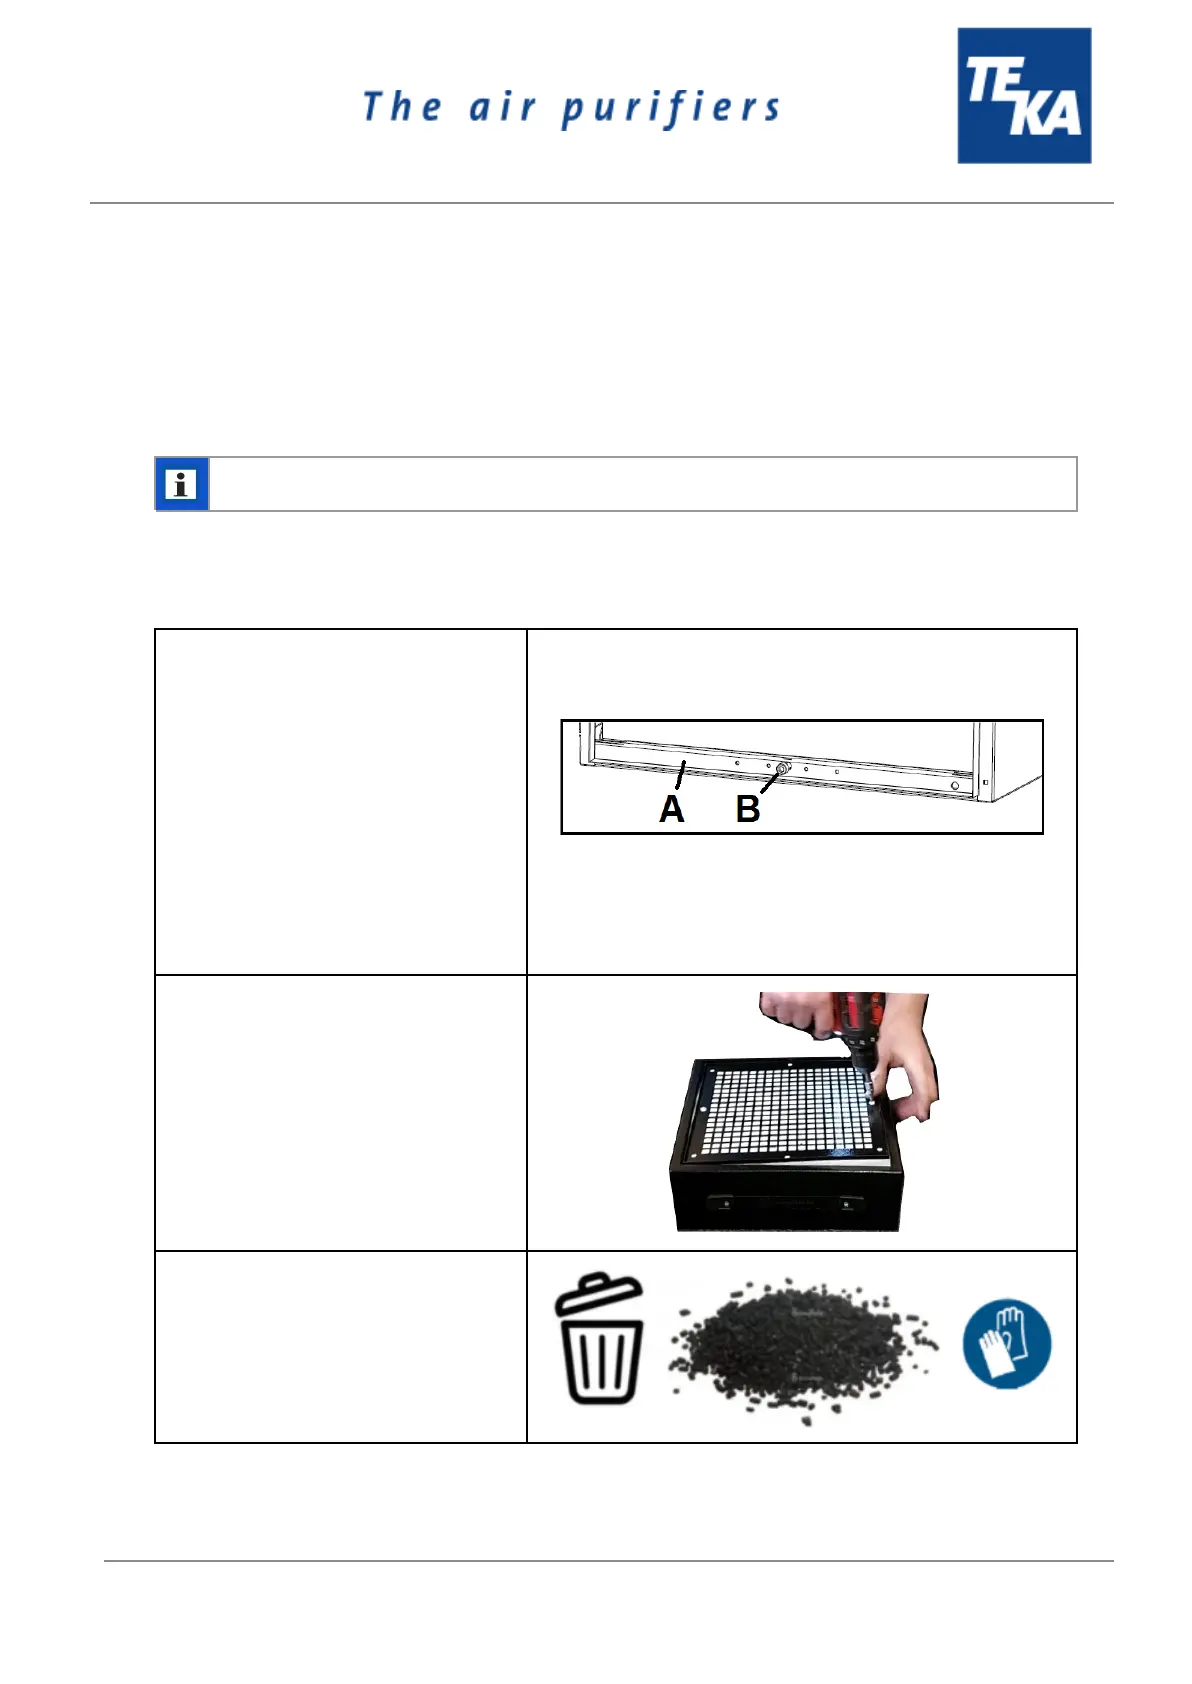
● Remove the cover of the activated
carbon cassette. To do this, it is
necessary to undo the screws.
(The activated carbon cassette shown
in the illustration may possibly be of a
different size to the one installed in
your filter unit. However, the principle
is identical.)
● Remove the top filter fleece mat.
● Carefully empty the activated
carbon. The used activated carbon
must be emptied into an
appropriate container and
disposed of.
BA_LFE-101-201-301_220114_EN