Command Groups
2–14
TDS Family Oscilloscope Programmer Manual
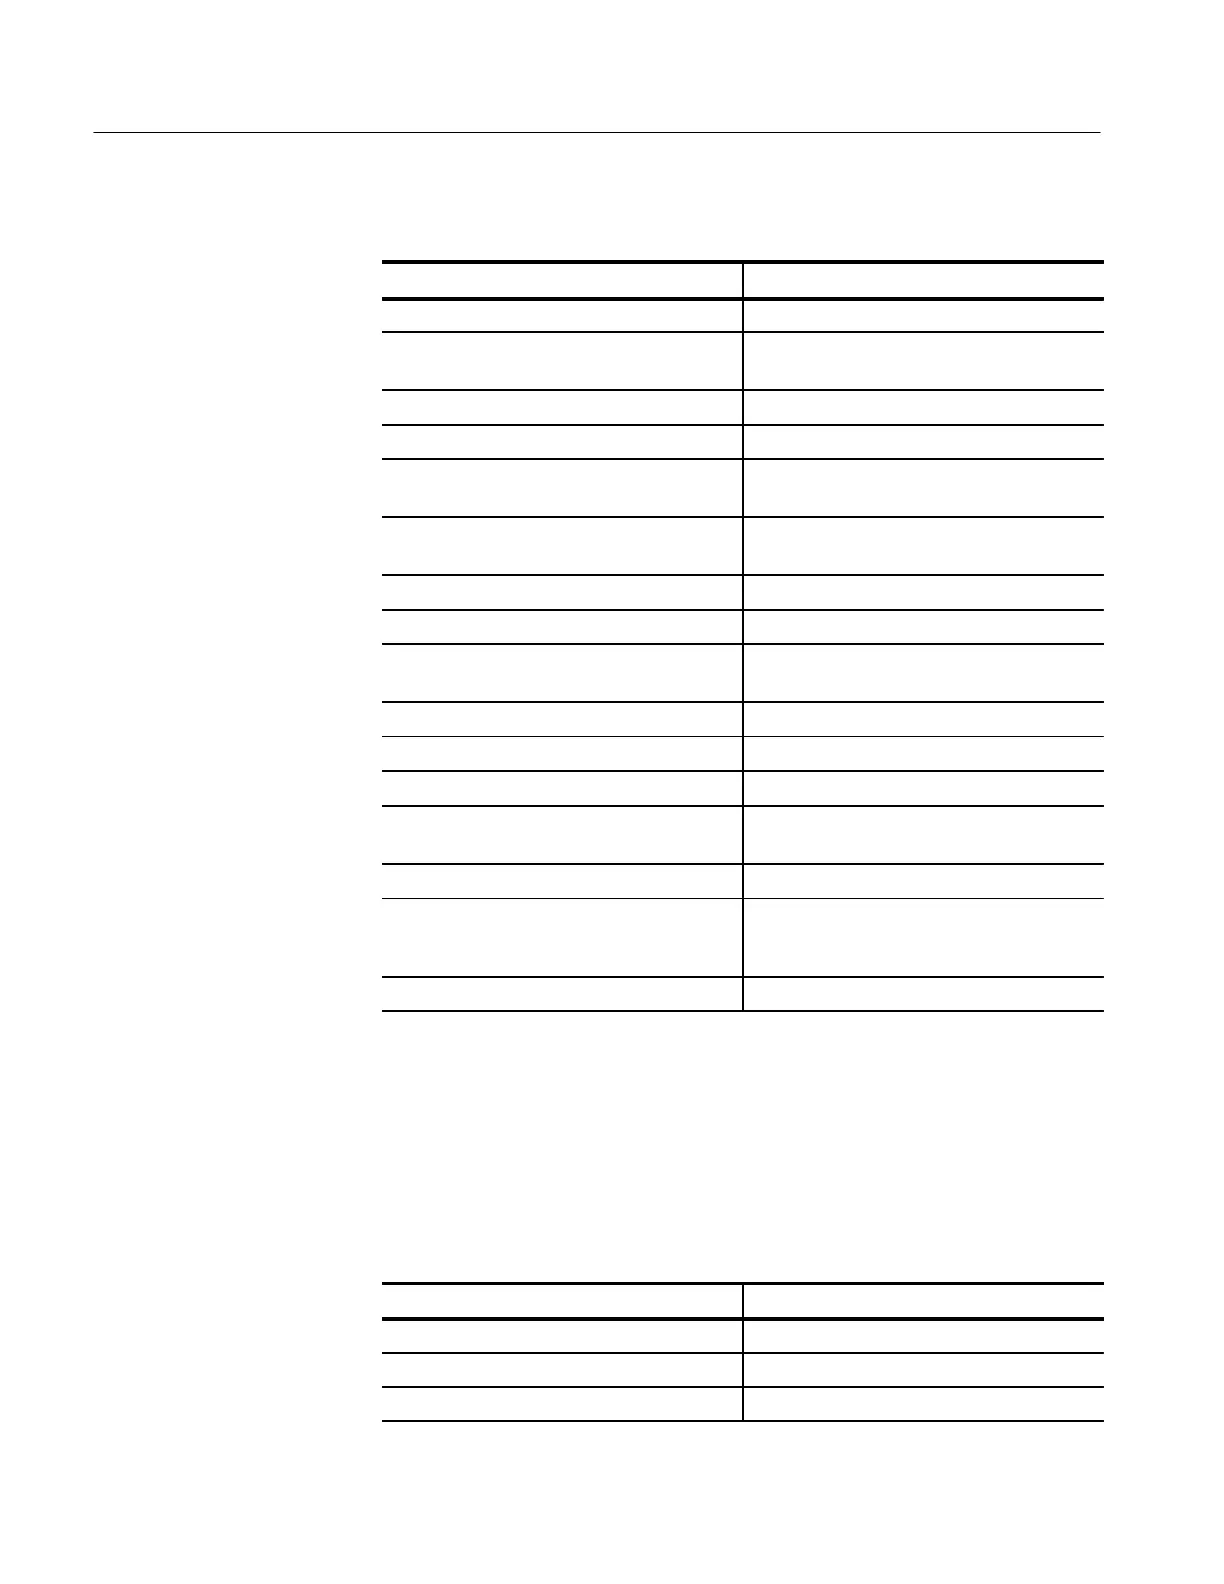
Table 2–8: Cursor Commands (Cont.)
Header Description
!## Positions paired cursors. Also, returns settings
!## Return horizontal distance between 1
st
and
2
nd
paired cursors.
!## Return horizontal position of 1
st
paired cursor
!## Return horizontal position of 2
nd
paired cursor
!##' %
(TDS 4XXA)
Position the horizontal paired cursor in units of
% of record length
!##' Set or return vbar position of the1
st
or 2
nd
paired cursor
!##% Select active paired cursor
!##%$ Set paired cursor units
!## Return vertical distance between 1
st
and 2
nd
paired cursors
!##$ Position vertical bar cursors
!##$ Return horizontal distance between cursors
!##$' Position a vertical cursor
!##$' %
(TDS 4XXA)
Position a vertical cursor in units of % of
record length
!##$% Set which cursor the knob controls
!##$%$ Set vertical cursors to seconds, frequency, or
to lines (with option 05 video on the TDS
5XXA, 6XXA, & 7XXA)
!##$# (TDS 4XXA) Return unit string for the vertical bar cursor
Display Commands
Display commands let you change the graticule style, change the displayed
intensities, display messages, and clear the menu. Table 2–9 lists these com-
mands.
Table 2–9: Display Commands
Header Description
& Clear menus from display
"( Return display settings
"( Control the display of the date/time stamp
 Loading...


